Online Manual
Q16pro-Gen2-4U

1.3 Main Menu
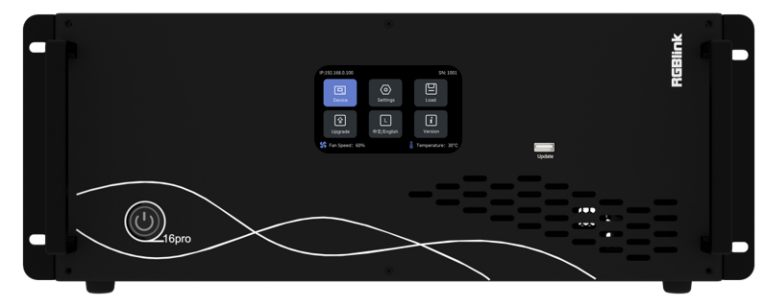
After powered on, the LCD touch screen will show LOGO and then enter the main menu.
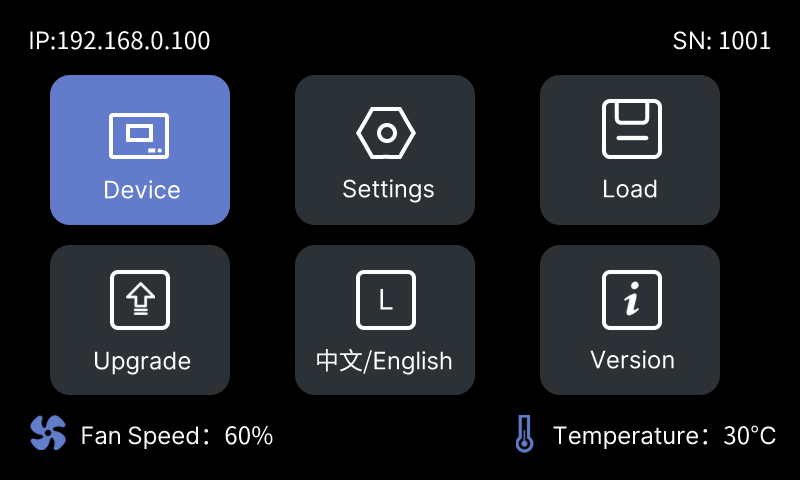
The Main Menu includes: Device, Settings, Load, Upgrade, Language and Version.
| Device | Main Menu | |
|---|---|---|
 | 👉 |  |
1.3.1 Device
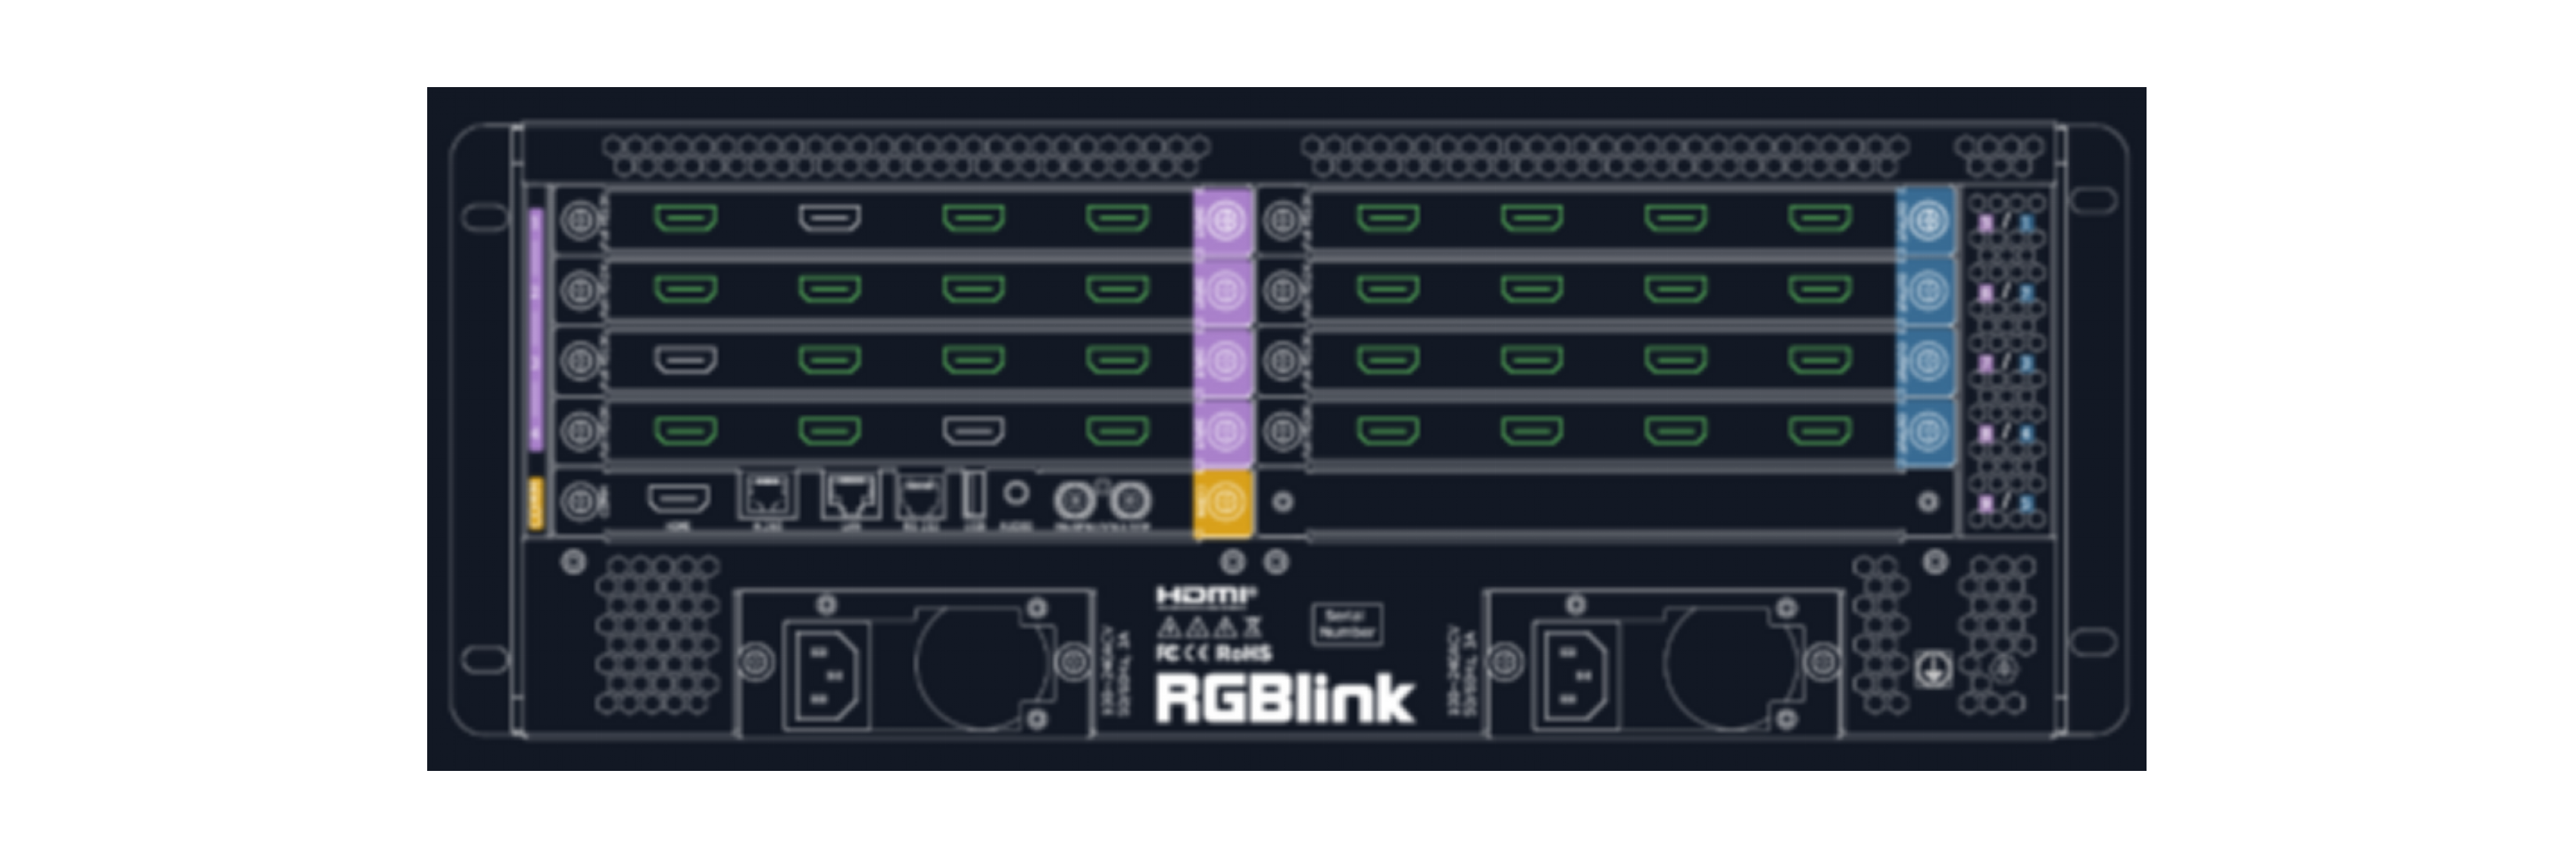
Click Device, the LCD screen will show the rear panel of Q16pro Gen2.
| Indicator Color | Status |
|---|---|
| Green | There is a signal plug in |
| Grey | No signal for this port. |
1.3.2 Settings
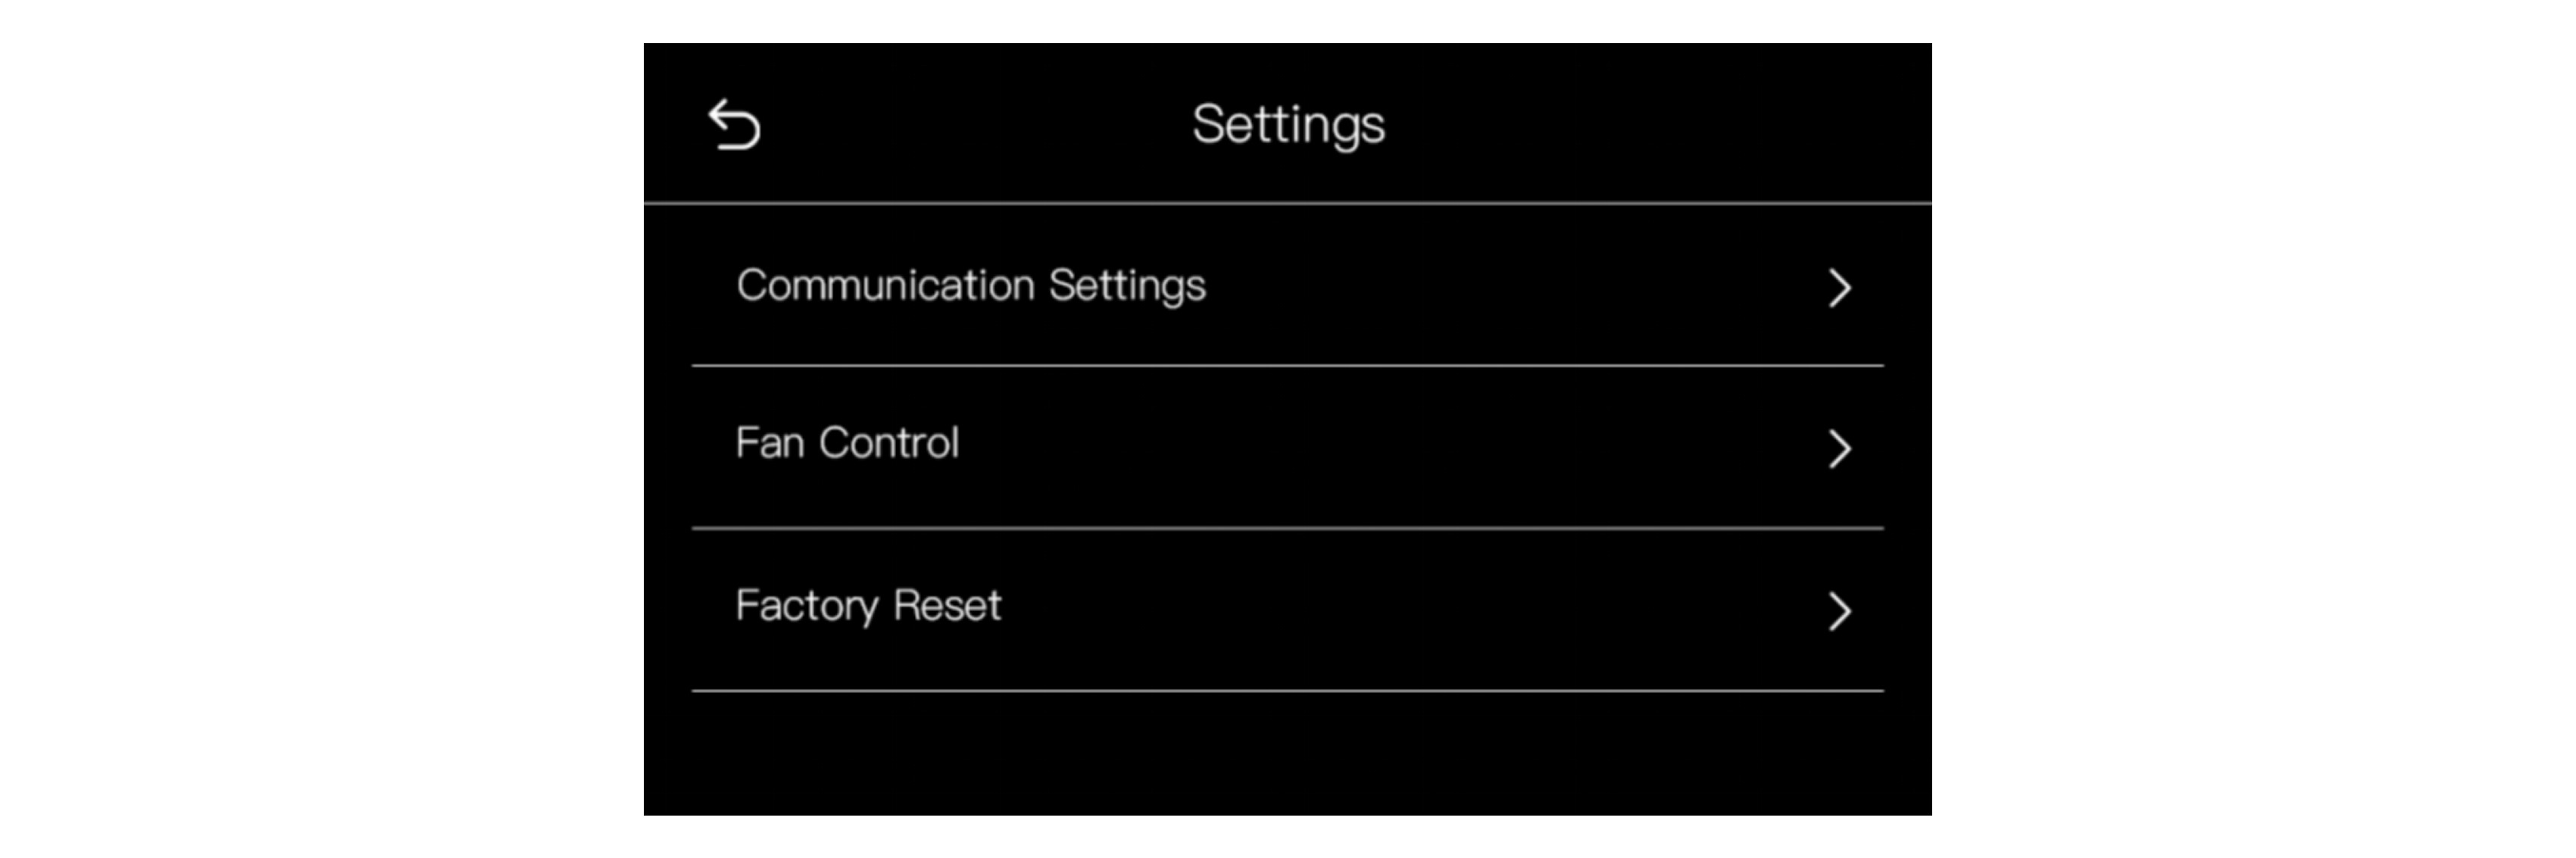
Click Settings to enter the page, which includes Communication Settings, Fan Control, Factory Reset.
Communication Settings
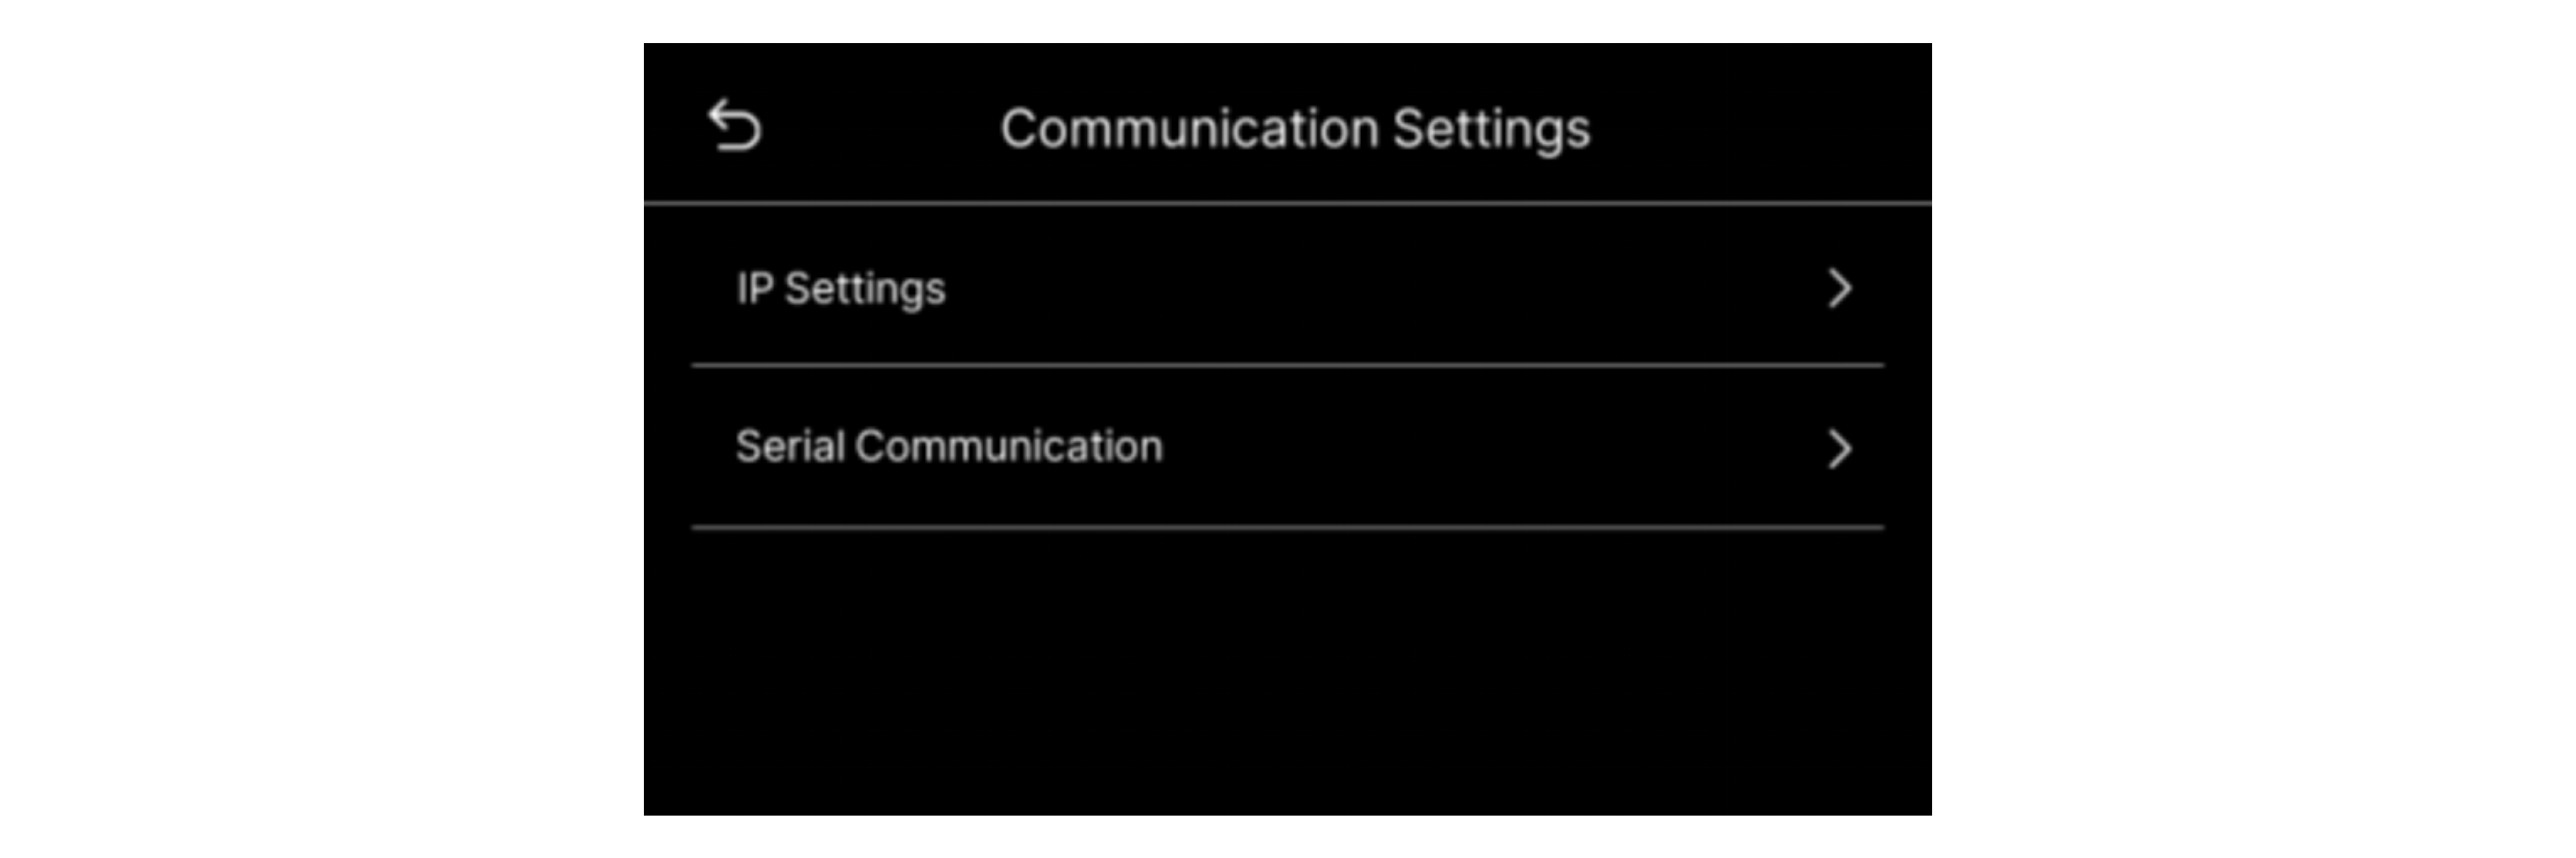
Click Communication Settings to do settings of IP and Serial Communication.
| Settings | Illustration | Description |
|---|---|---|
| IP Settings | 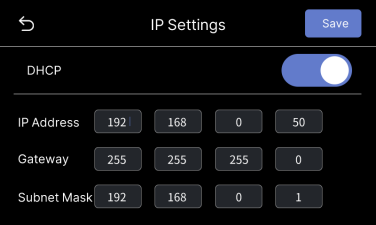 | Display IP address of the device by default. Disable DHCP to manually set the IP address, subnet mask and gateway. Click Save to save parameters. |
| Serial Communication | 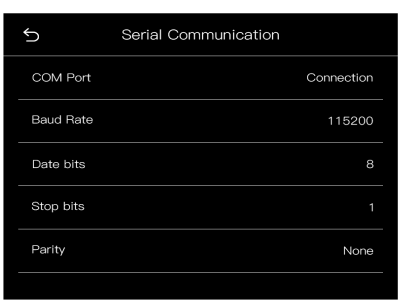 | COM Port: default COM port. If connected, it will show Connection. + Baud Rate: 115200 (default) + Data Bits: 8 + Stop Bits: 1 + Parity: None |
Fan Control
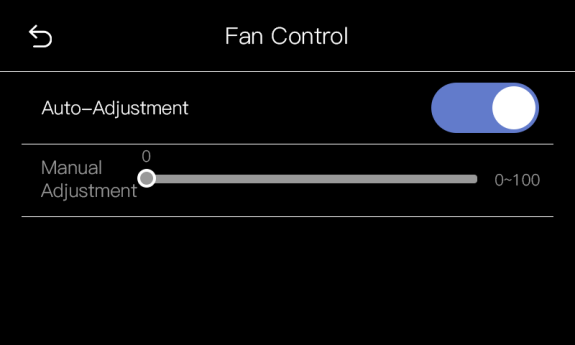
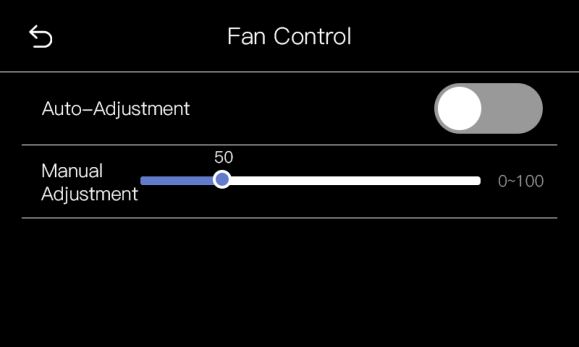
Click **Fan Control **to do settings of fan speed.
Two modes are optional. The default mode is Auto-Adjustment Mode. If you need to manually control the fan speed, please turn off the Auto-Adjustment Mode to adjust the fan speed.
| Auto Mode | Manual Mode |
|---|---|
 |  |
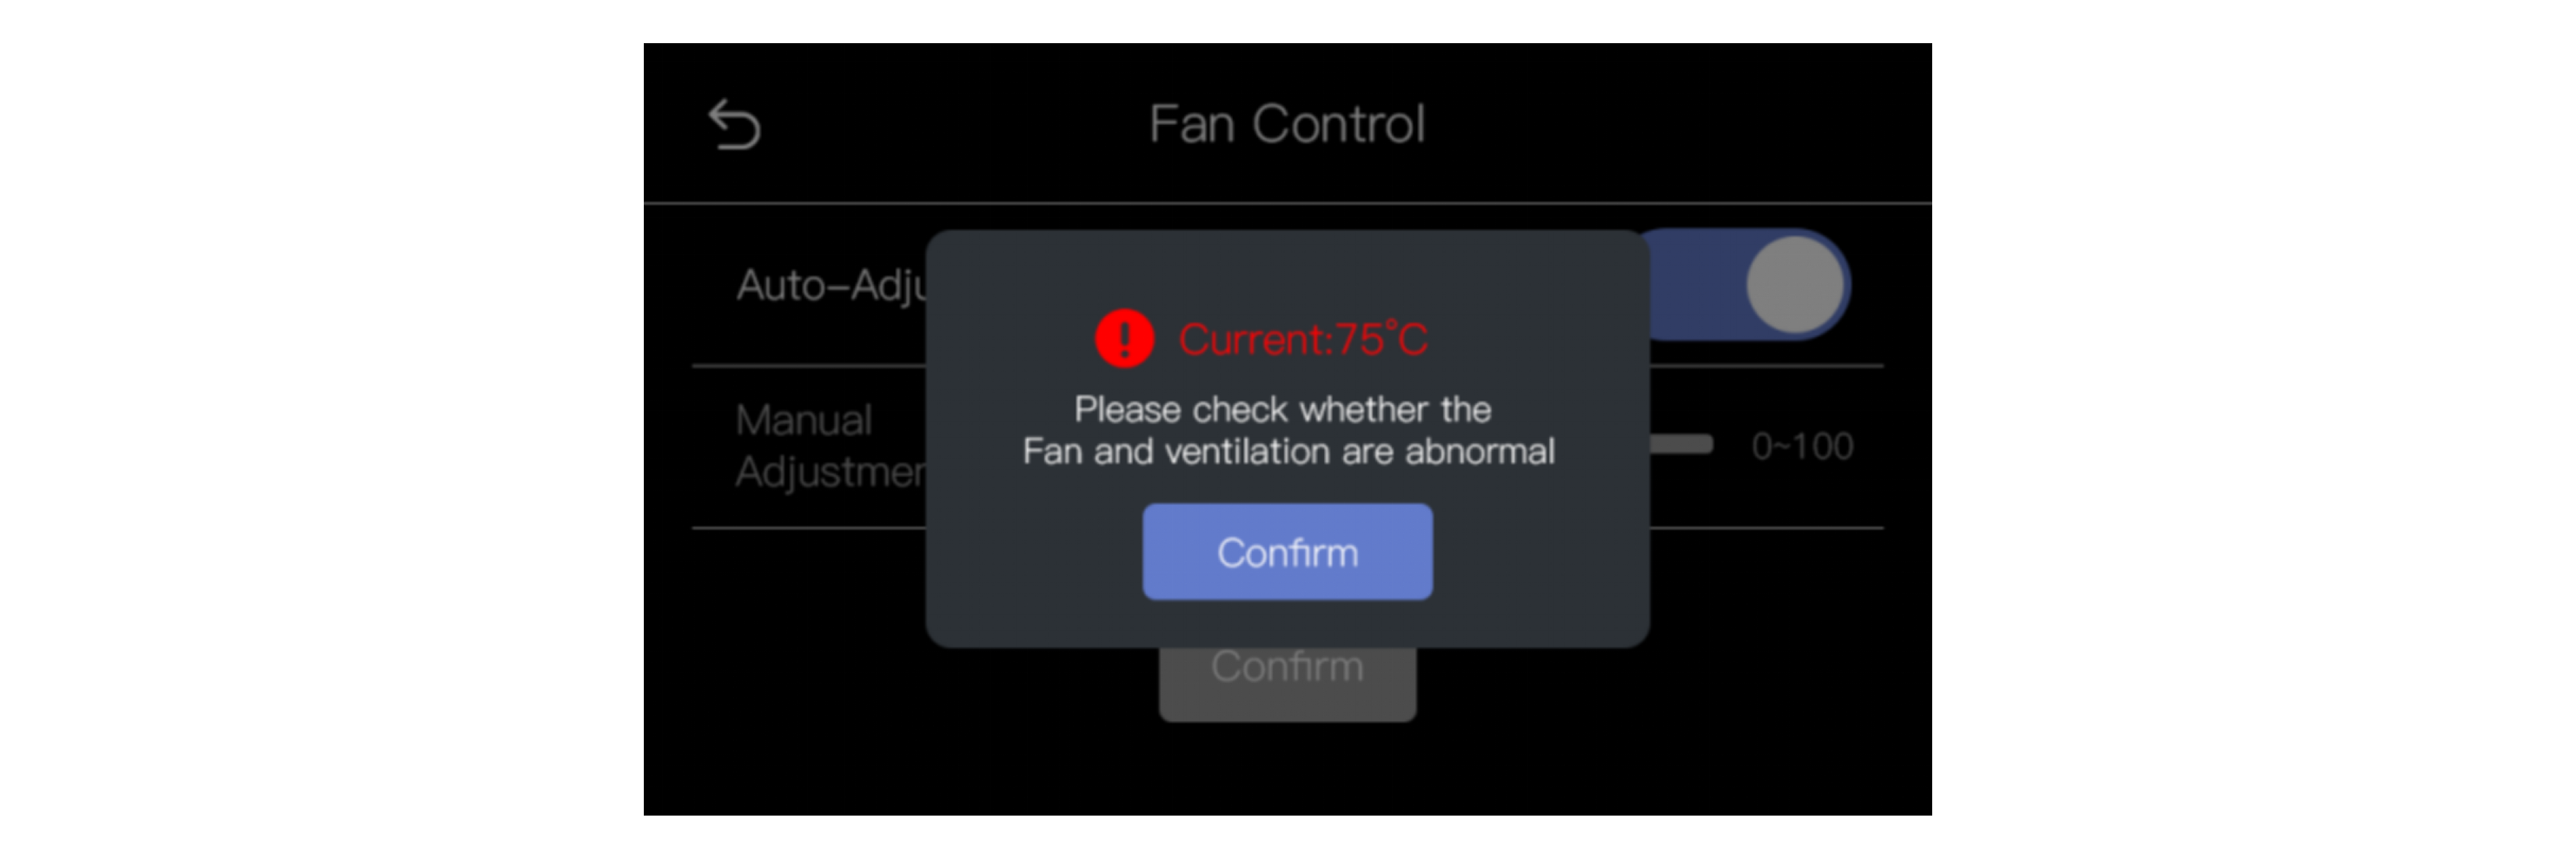
If the temperature exceeds 70℃, a prompt will pop up on the LCD screen as shown above.
Factory Reset
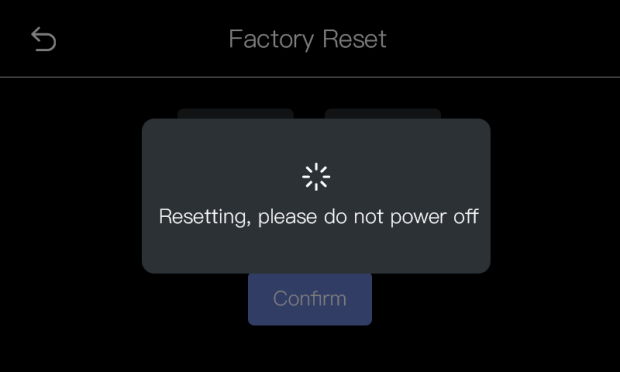
Click Factory Reset to enter the interface. In this interface, you can choose to Reset IP or Reset EDID. You can also choose to Reset both EDID and IP if necessary.
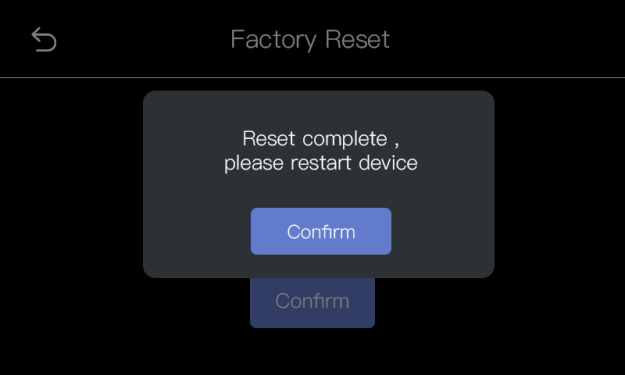
After clicking Confirm, the LCD screen will prompt "Resetting, please do not power off" during the process; After reset is completed, the screen will display "Reset completed, please restart device", as shown below:
| Resetting | Reset Completed | |
|---|---|---|
 | 👉 |  |
1.3.3 Load
**📢 Notes**
Please do Scene Setting in XPOSE firstly and then you can load bank. (Please refer to 3.3.6 Preset Management)
```Click
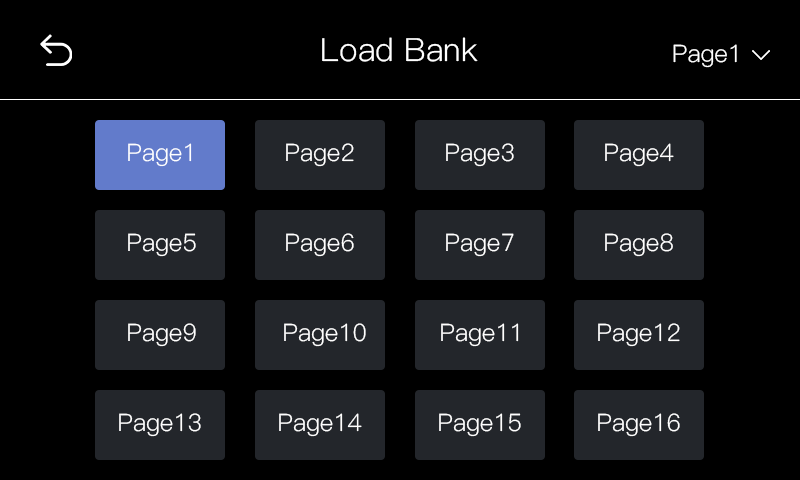
**Load **to enter the interface of load bank.
| **Bank: **16 banks in each page. | | **Page: **16 pages optional |
| --- | --- | --- |
| 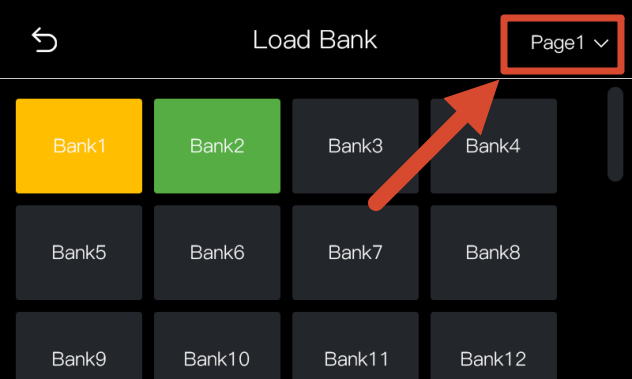 | 👉 |  |
| **Bank Color** | **Description** |
| --- | --- |
| Yellow background | current bank |
| Green background | with parameter saved |
| Grey background | empty bank |
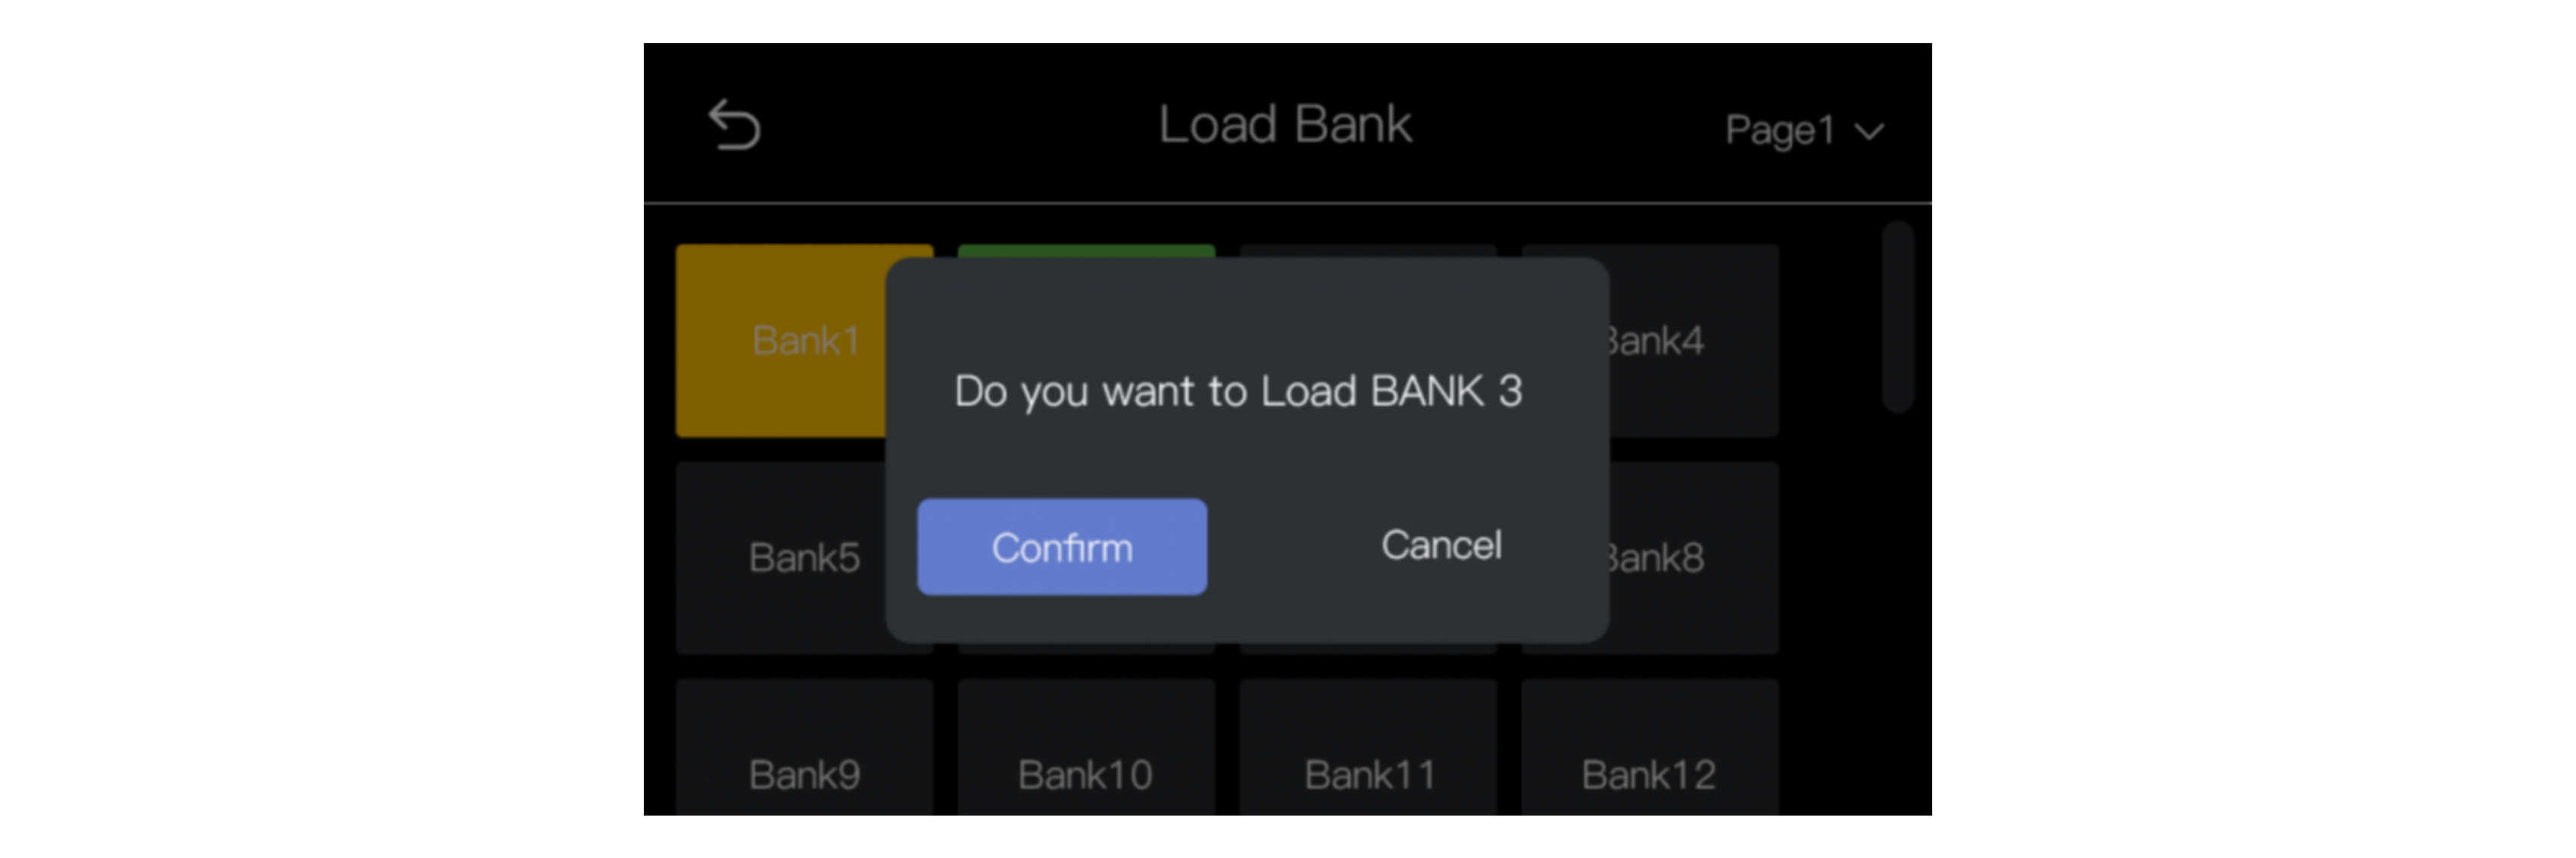
When the user selects the desired bank, the interface will pop up "Do you want to Load Bank X", shown as below. Click **Confirm** to do the selection.
#### 1.3.4 Upgrade
Click **Upgrade** to enter the interface for device upgrade.
If no USB disk is inserted, the interface will prompt the user to insert the USB disk for upgrading.
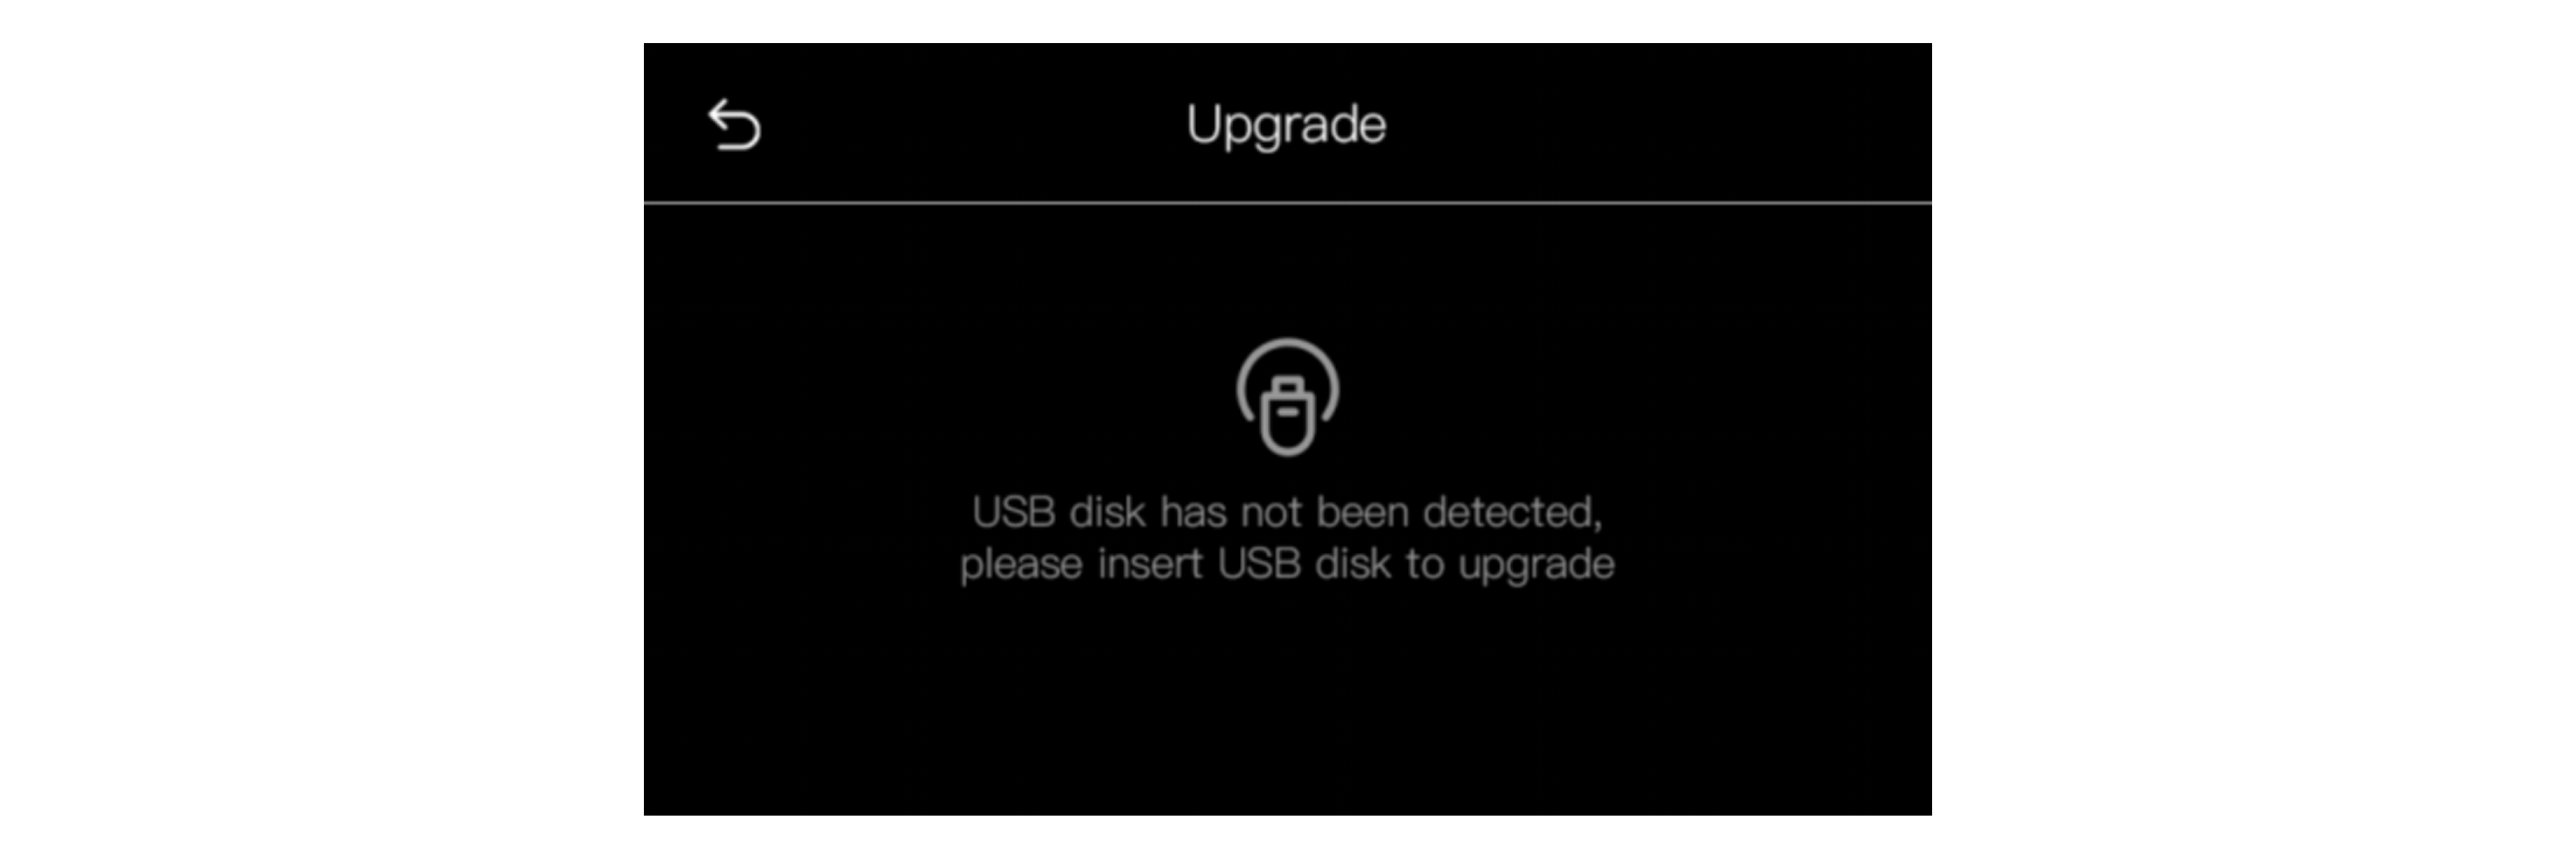
If the user has inserted the USB disk, the interface will pop up a prompt for device upgrade. If the user selects "Confirm", the interface will start upgrading and show the progress bar.
| **Confirm** | | **Updrading** |
| --- | --- | --- |
|  | 👉 |  |
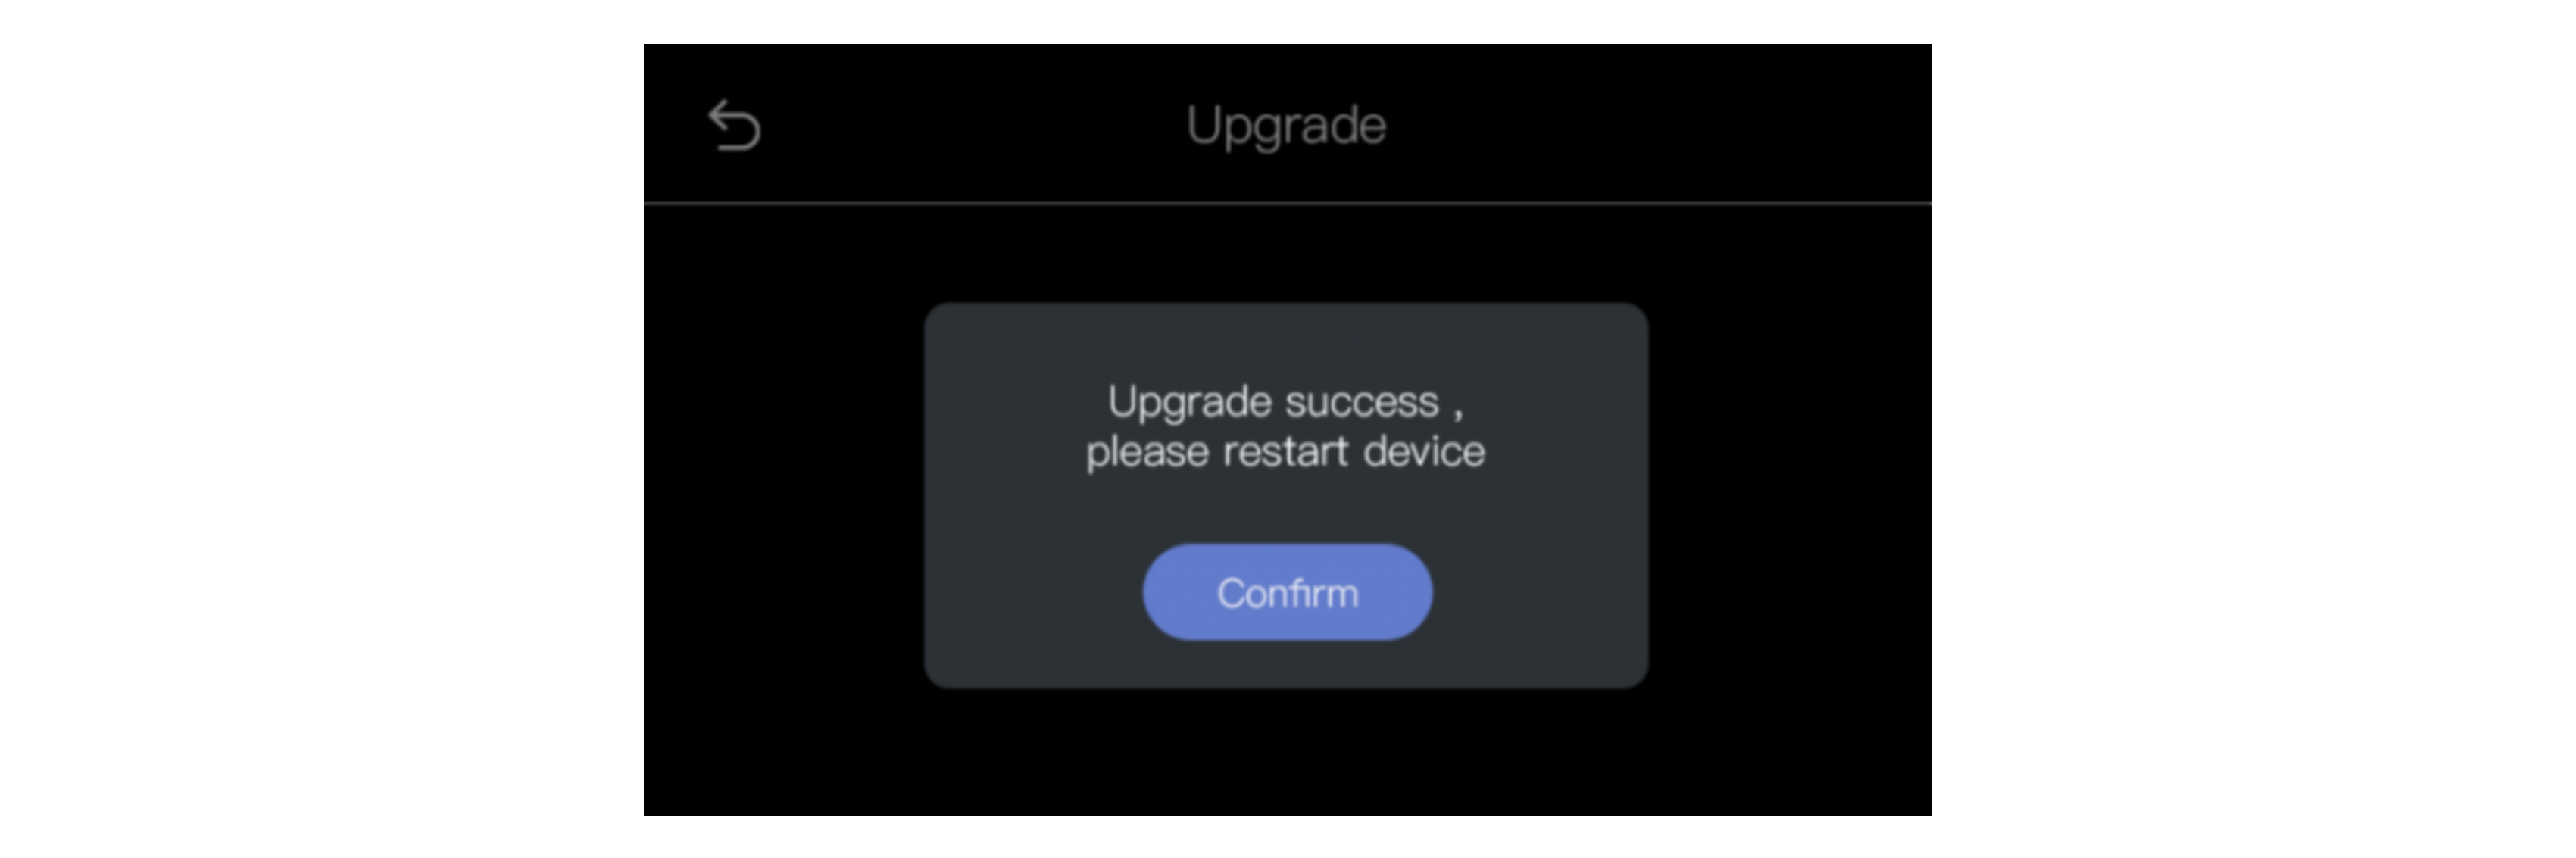
After upgrade is completed, the interface will pop up a prompt to restart the device. Click [Confirm] to restart.
#### 1.3.5 Language
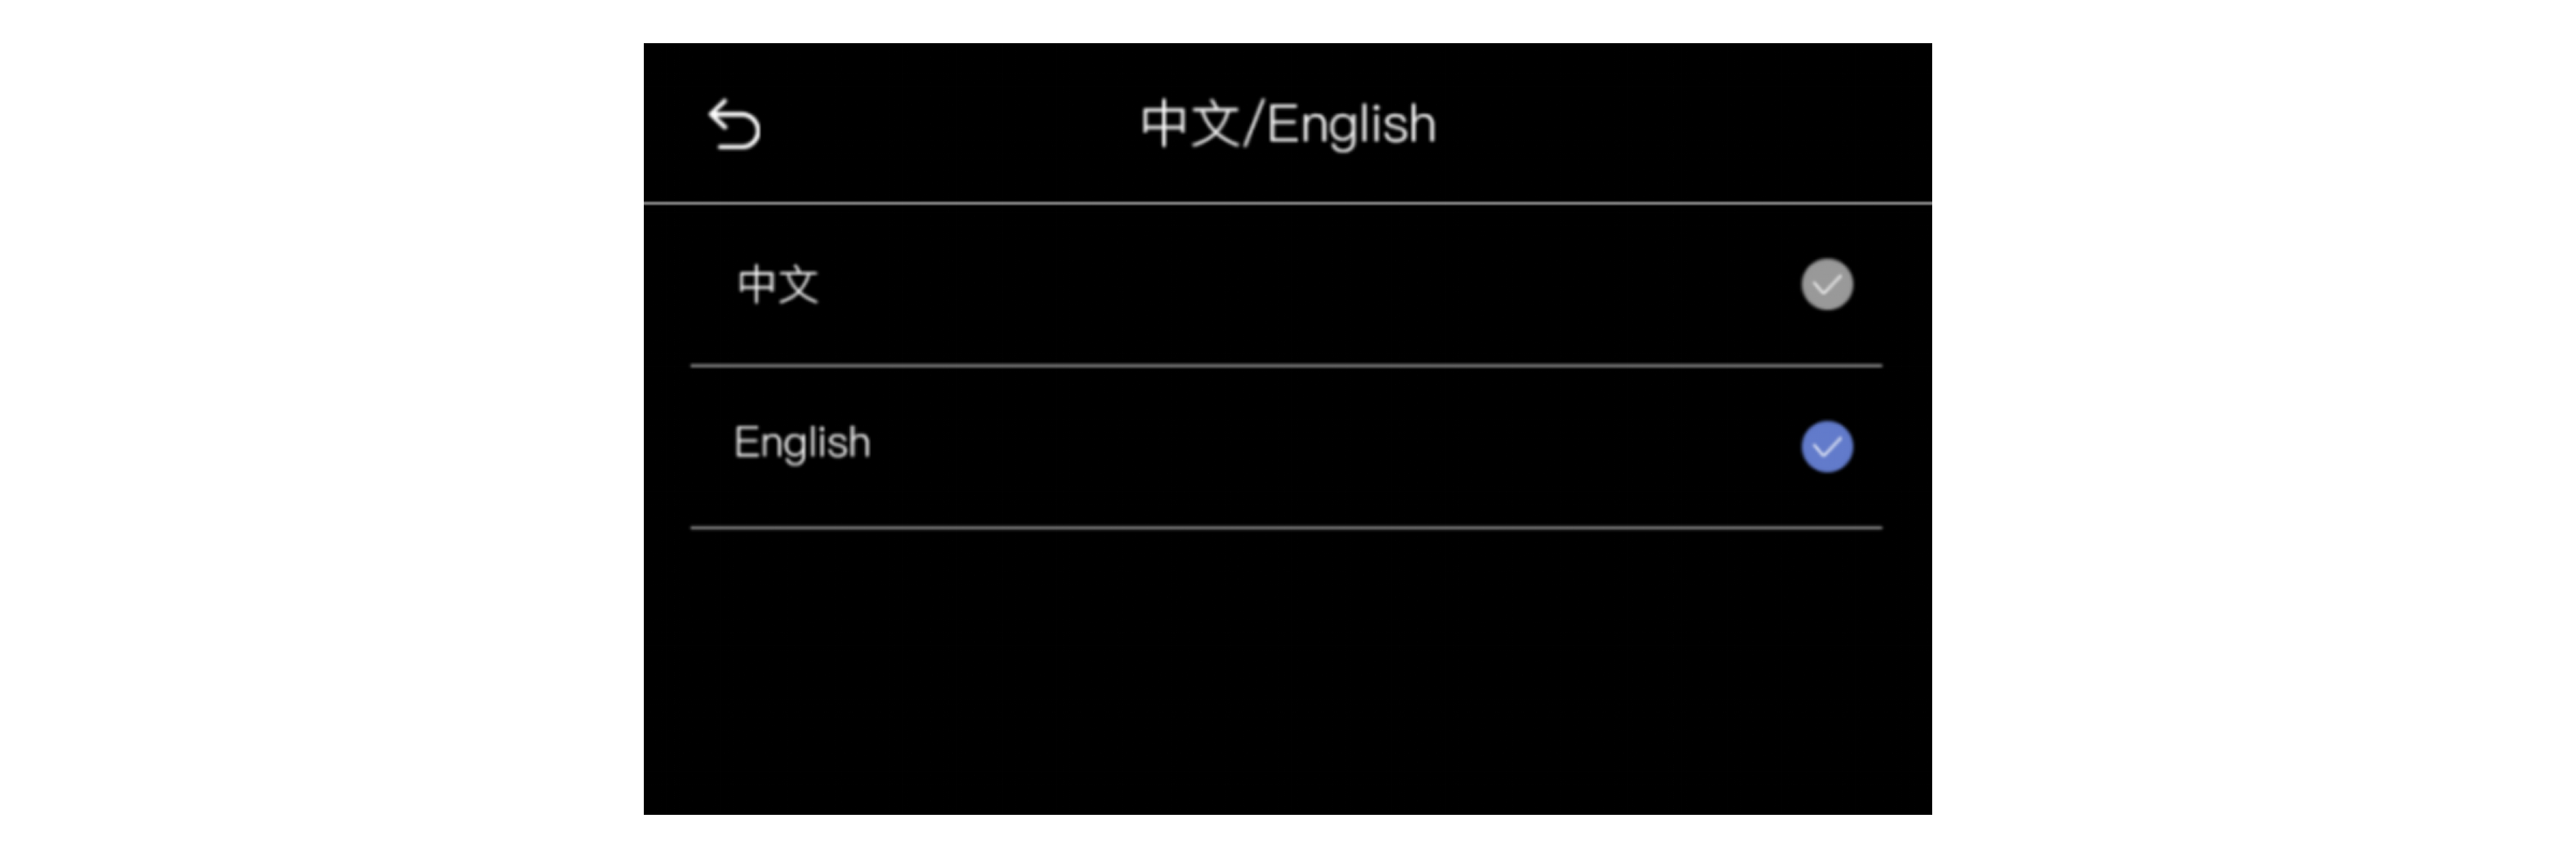
Click** 中文/English **for language switching. Chinese and English are available.
#### 1.3.6 Version
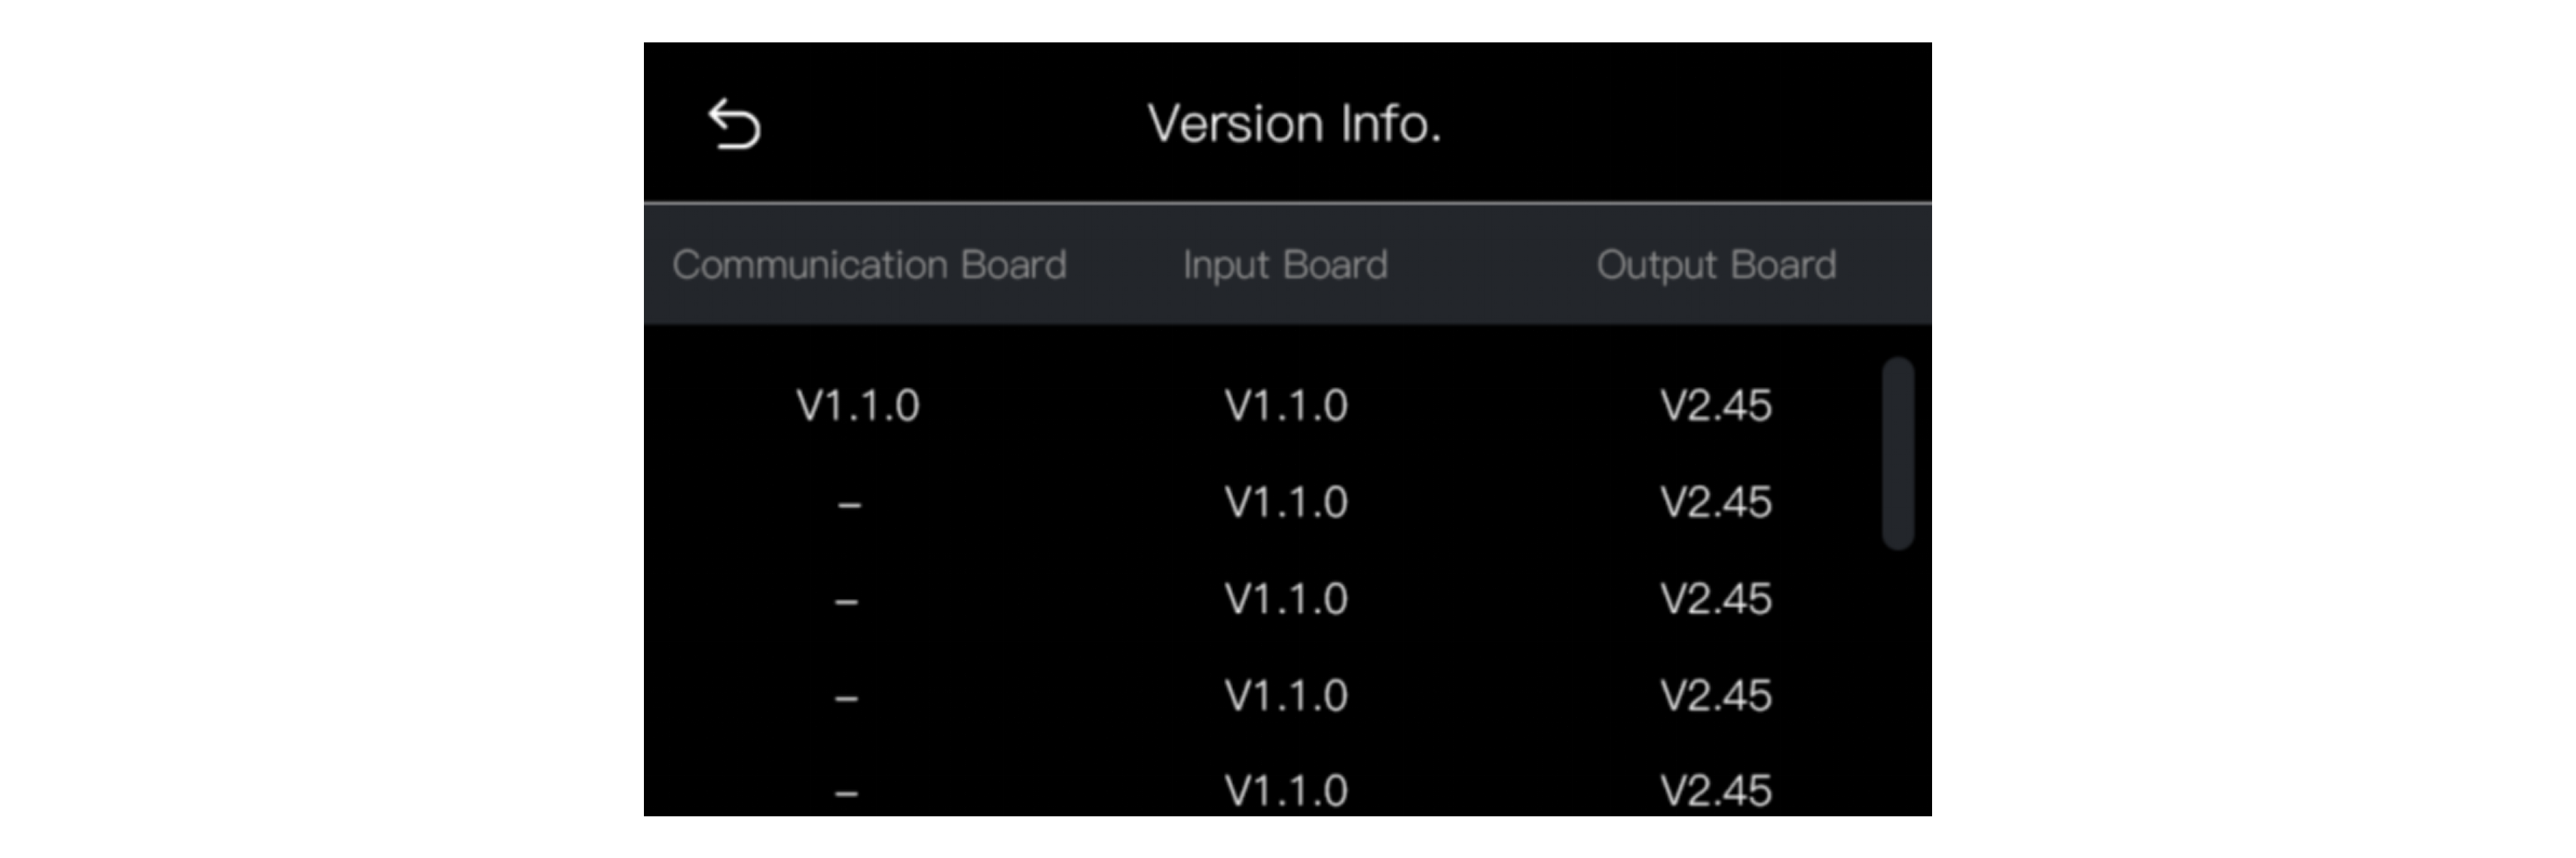
Click **Version **for overview of version info. The version of communication board, input boards and output boards will be shown in this interface.