General / XPOSE 2.0 / Software Install Steps
XPOSE 2.0 Software Installation Steps
System Requirements
Windows
| Item | Requirement |
|---|---|
| Processor | 1 GHz or higher (32-bit or 64-bit) |
| CPU | Intel® Core™ i5 or above |
| Memory | 4 GB or above |
| Graphics | DirectX 9 compatible, 128 MB VRAM or above (Aero enabled) |
| Storage | 16 GB or more available space (system partition, NTFS) |
| Operating System | Windows 7 or later (Full version only; Ghost and customized editions are not supported) |
macOS
| Item | Requirement |
|---|---|
| CPU | Intel® Core™ i5 or above |
| Display Resolution | 1680 × 1050 or higher |
📢  Notes

If the display resolution is lower than 1680 × 1050, some features or interface elements may not be displayed correctly.
Installation
Launch the Installer
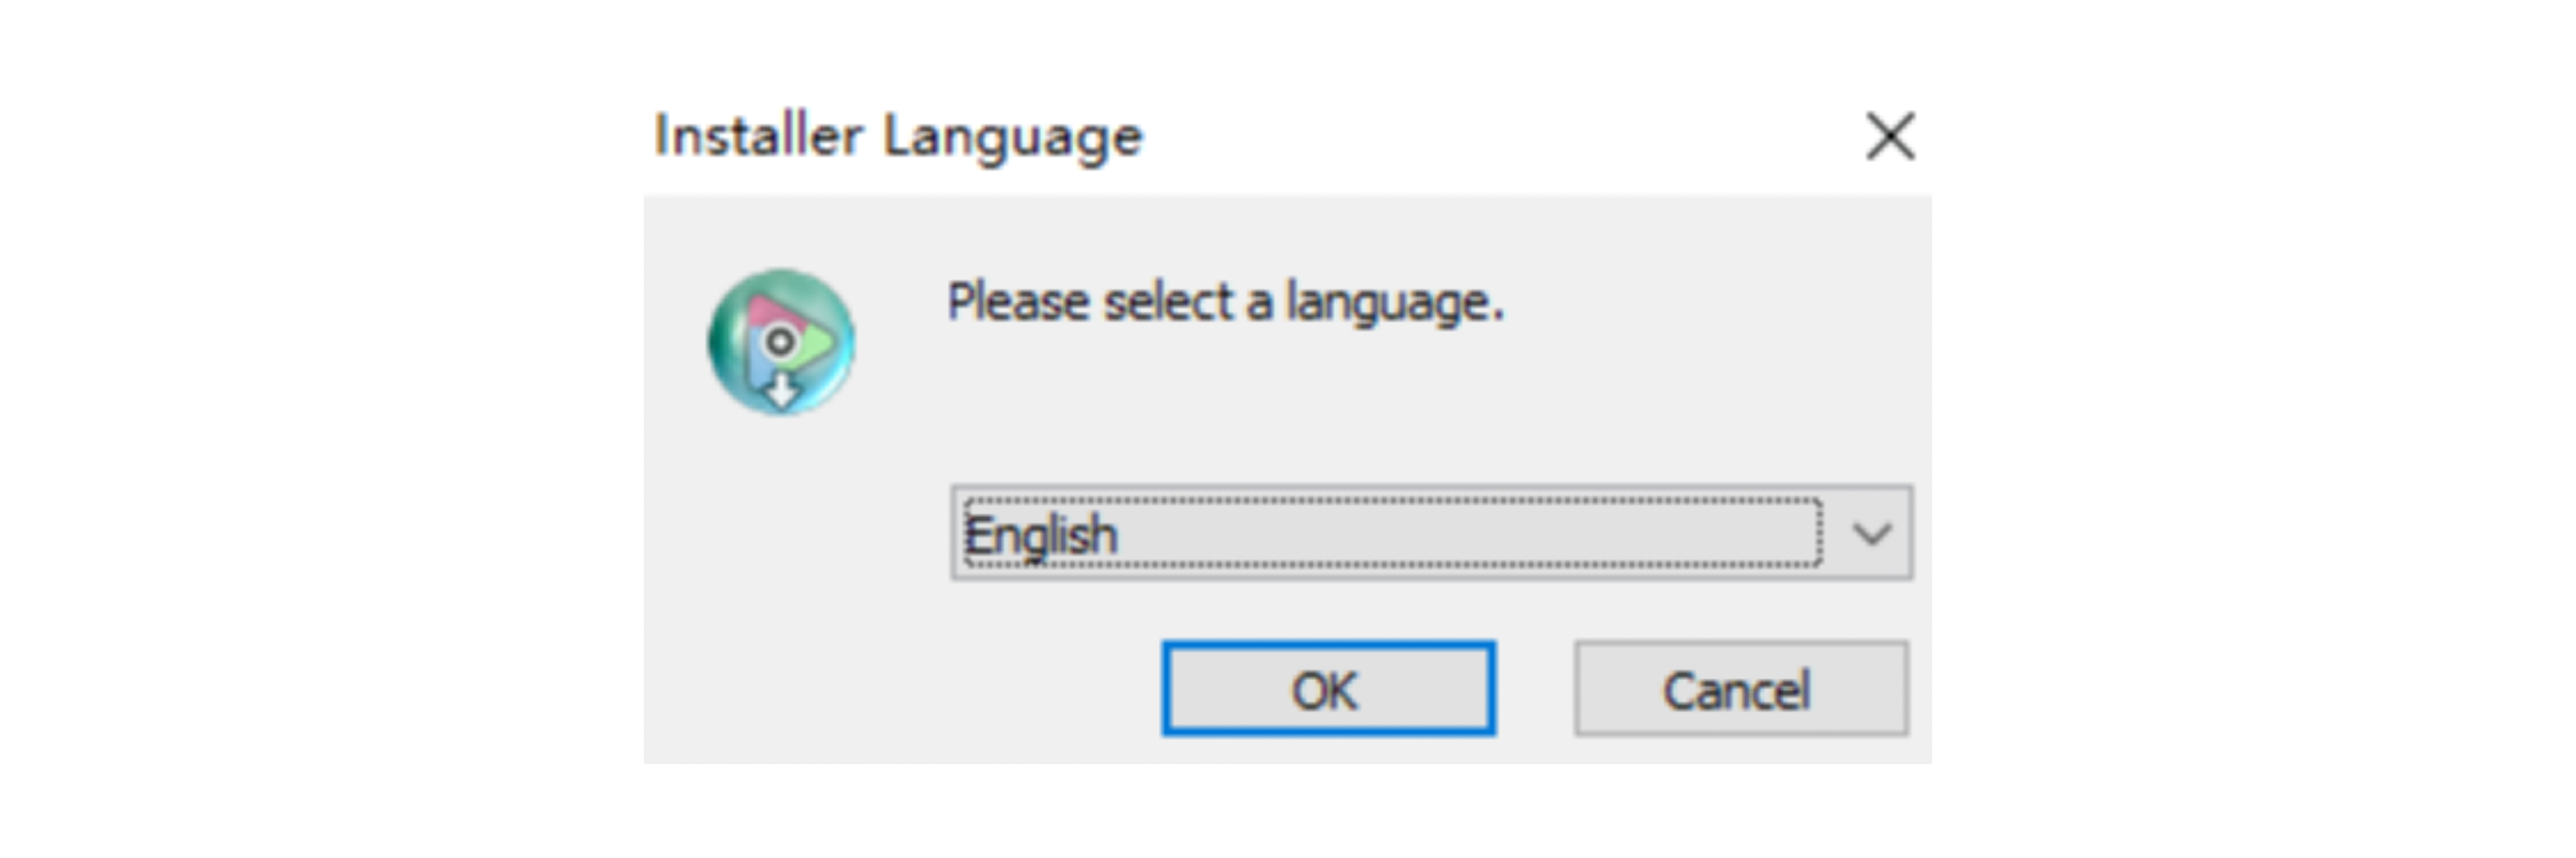
Double-click the installer on the desktop.
When the language selection dialog appears, choose the desired language and click OK.
Start Installation
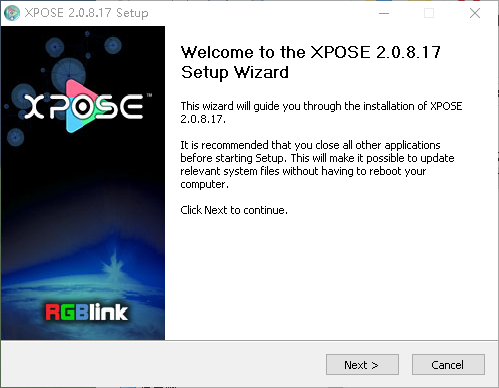
When the Setup Wizard opens, click Next> to continue.
Select the Installation Location
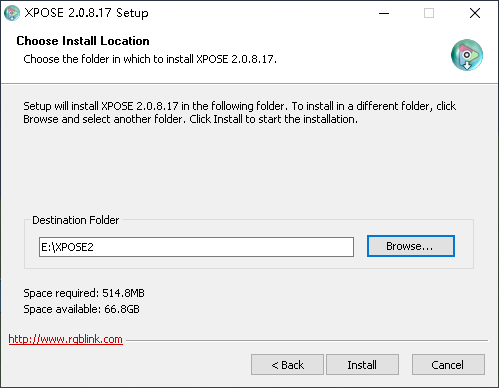
Click Browse... to choose the installation directory, then click Install.
📢  Important

On Windows 7 or later, administrator privileges are required when installing to the system drive (C:).
Install the Multimedia Components
During installation, the multimedia component installer opens automatically.
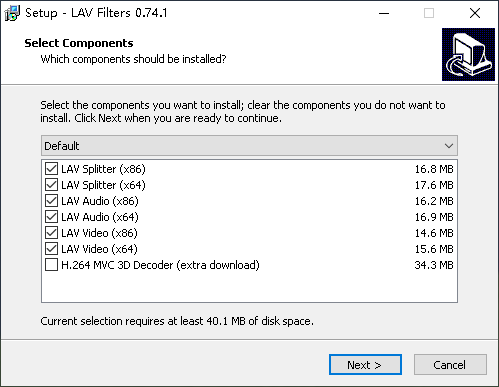
- In Select Components, choose the required decoder components, then click Next >.
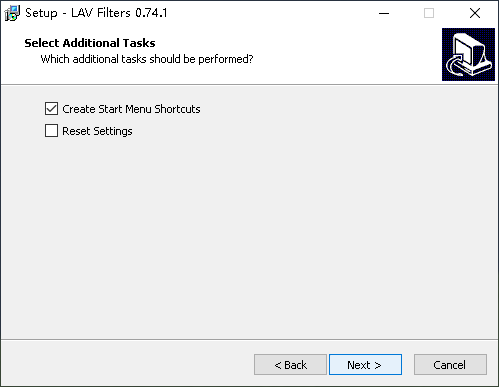
- In Select Additional Tasks, configure the additional options, then click Next>.
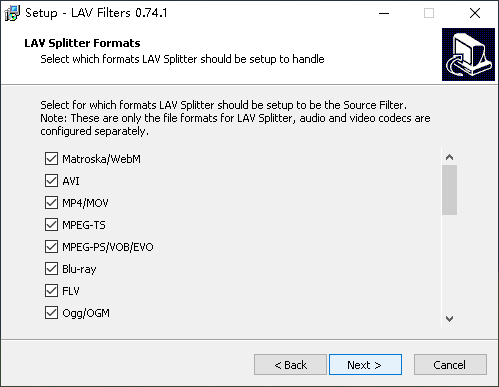
- In LAV Splitter Formats, select the required formats, then click Next >.
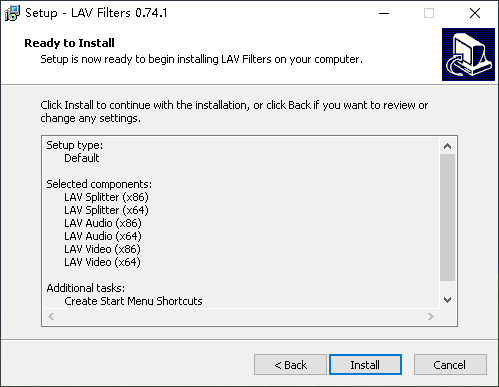
- Review the installation settings, then click Install.
- When installation is complete, click Finish.
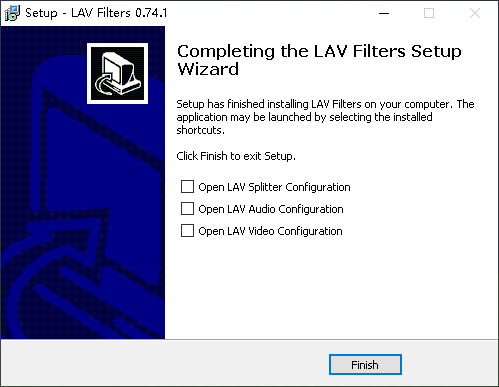
Complete the Installation
After the multimedia components are installed, the XPOSE Setup Wizard resumes.
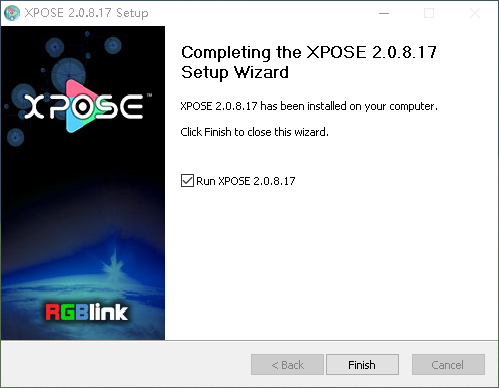
Click Finish to complete the installation.