Online Manual
Q16pro-Gen2-manual

2 Install Your Product
Q16pro Gen2 models share the same installation and connection procedure.
Q16pro Gen2 4U is used as the example throughout this chapter.
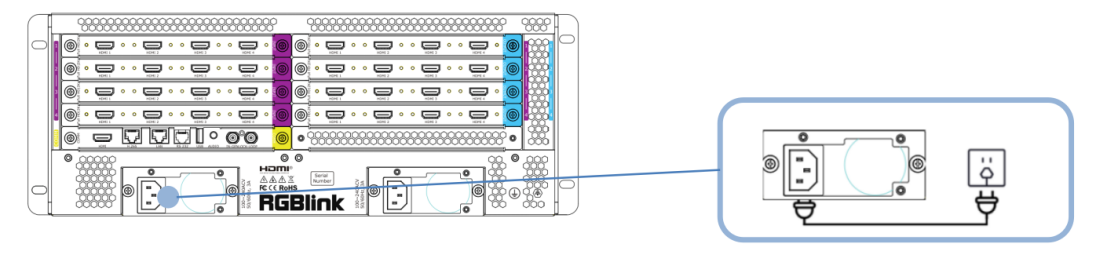
Connecting Power
Connect Q16pro Gen2 4U to a power outlet using the standard AC power cord.
Connecting Signal Source and Control Computer
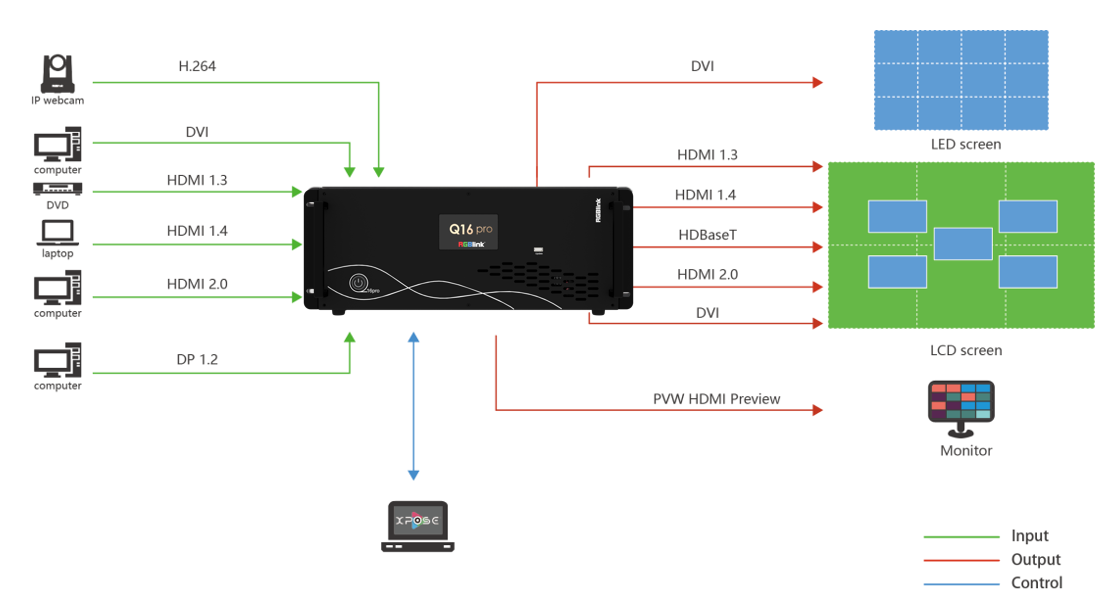
Q16pro Gen2 4U supports HDMI,SDI,DP 1.2,HDMI 2.0, HDBaseT and other optional input and output modules.
Q16pro Gen2 4U is operated by XPOSE, so it is necessary to connect device with control computer.
Method 1: Direct Connection: Do direct connection via communication connection or serial connection. It is suitable for single user to control the device.
Method 2: Router Connection: Connect control computer and Q16pro Gen2 4U with Router as shown in the figure above. It supports simultaneous online operation by multiple users.
Powering On
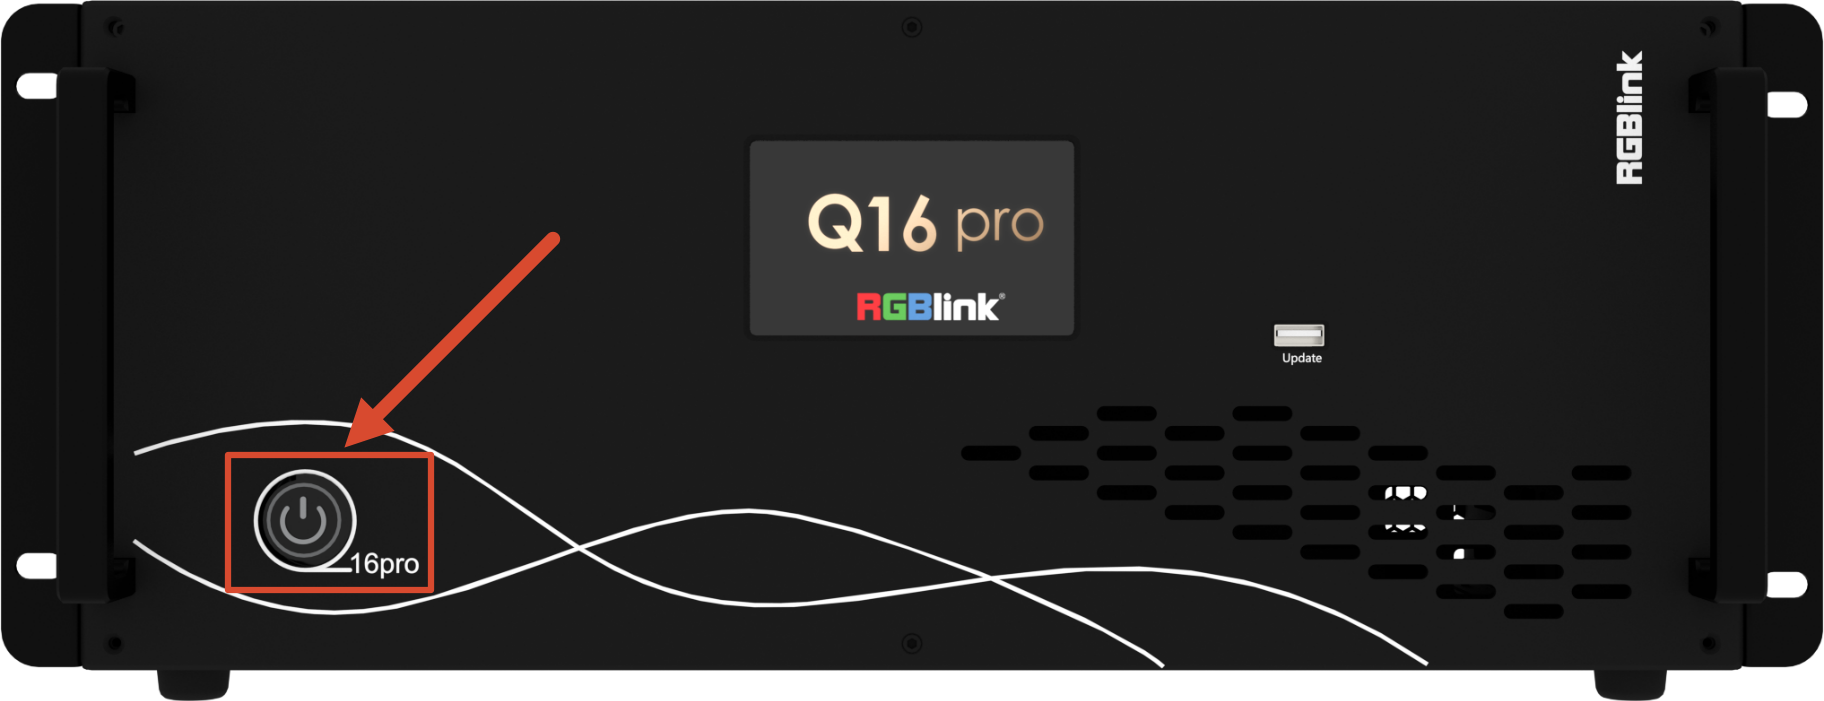
After connection, slightly press the power button in the front panel to turn on Q16pro Gen2 4U.