Online Manual
Q16pro-Gen2-manual

3.1.1 Front Panel
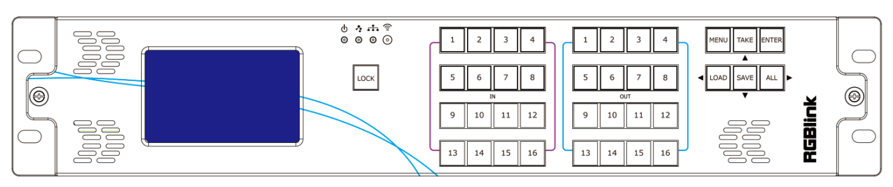
Refer to the following table for the functions of the CPX buttons.
| Button | Description |
|---|---|
 | The LCD screen displays the menu interfaceduring menu operation. |
 | Button lock: 1. Press and hold to lock or unlock the other buttons. The indicator lights up when the buttons are unlocked and turns off when they are locked. 2. The indicator is off by default. |
 | Menu: 1. Press to open the Main Menu. 2. In a submenu, press to return to the previous menu. |
 | Save/Up: 1. Press to save a preset in Scene Mode. 2. In the menu, use it as the Up key. |
 | Switch Mode/Confirm: 1. Press to enter Switch Mode from Matrix Mode. In Switch Mode, select output ports with OUT 1-16, then select an input with IN 1-16 to route the input to the selected outputs. 2. Press again to return to Matrix Mode. 3. In the menu, press to confirm a selection. |
 | Scene Mode/Left: 1. Press to enter Scene Mode from Matrix Mode. Press OUT 1-16 to load a saved scene. Only one scene can be selected at a time. 2. Press again to return to Matrix Mode. 3. In the menu, use it as the Left key. |
 | OSD Mode/Down: 1. Press to enter OSD Mode from Matrix Mode. Press IN 1-16 to load OSD 1 or OUT 1-16 to load OSD 2 to the selected output port. 2. Press again to return to Matrix Mode. 3. In the menu, use it as the Down key. |
 | Matrix Mode/Right: 1. CPX enters Matrix Mode automatically after startup. 2. In Matrix Mode, select an input with IN 1-16, then select one or more outputs with OUT 1-16 to route the input signal. 3. In the menu, use ALL as the Right key. |
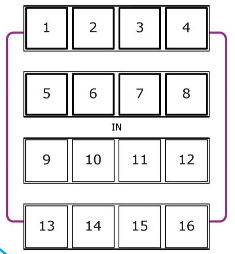 | Input/Page/OSD 1: 1. In Matrix Mode and Switch Mode, select input ports 1-16. 2. In Scene Mode, select pages 1-16. 3. In OSD Mode, press IN 1-16 to load OSD 1 to the selected output port. |
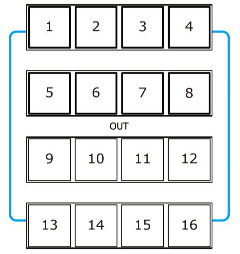 | Output/Scene/OSD 2: 1. In Matrix Mode and Switch Mode, select output ports 1-16. 2. In Scene Mode, select scenes 1-16. In OSD Mode, press OUT 1-16 to load OSD 2 to the selected output port. 3. In the menu, use OUT 1-9 to enter numbers 1-9 and OUT 10 to enter 0. |