Online Manual
Ystreamer

3.1 Operation
Volume Control
Ystreamer let you adjust volumes of individual audio inputs and monitoring output independently.
Adjusting an Input Volume
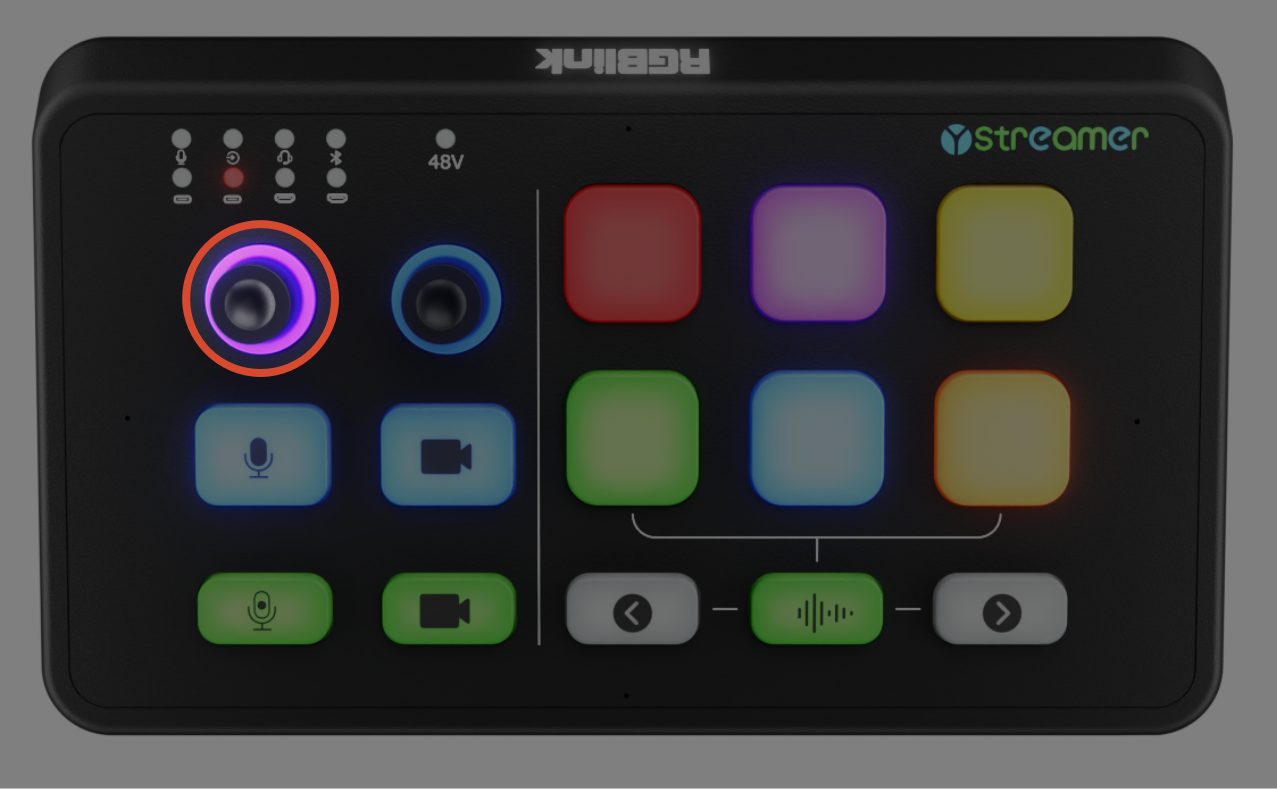
- Rotate the Input Volume Adjustment knob to select an input channel. The corresponding input indicator lights green.
- Rotate the knob again to adjust the volume of the selected input.
- Press the knob to switch to the next input channel.
Knob Ring Light Status:
| Status | Description |
|---|---|
| Purple | Current volume level |
| Red | Remaining volume range |
| Solid Red | Muted |
Adjusting the Monotoring Volume
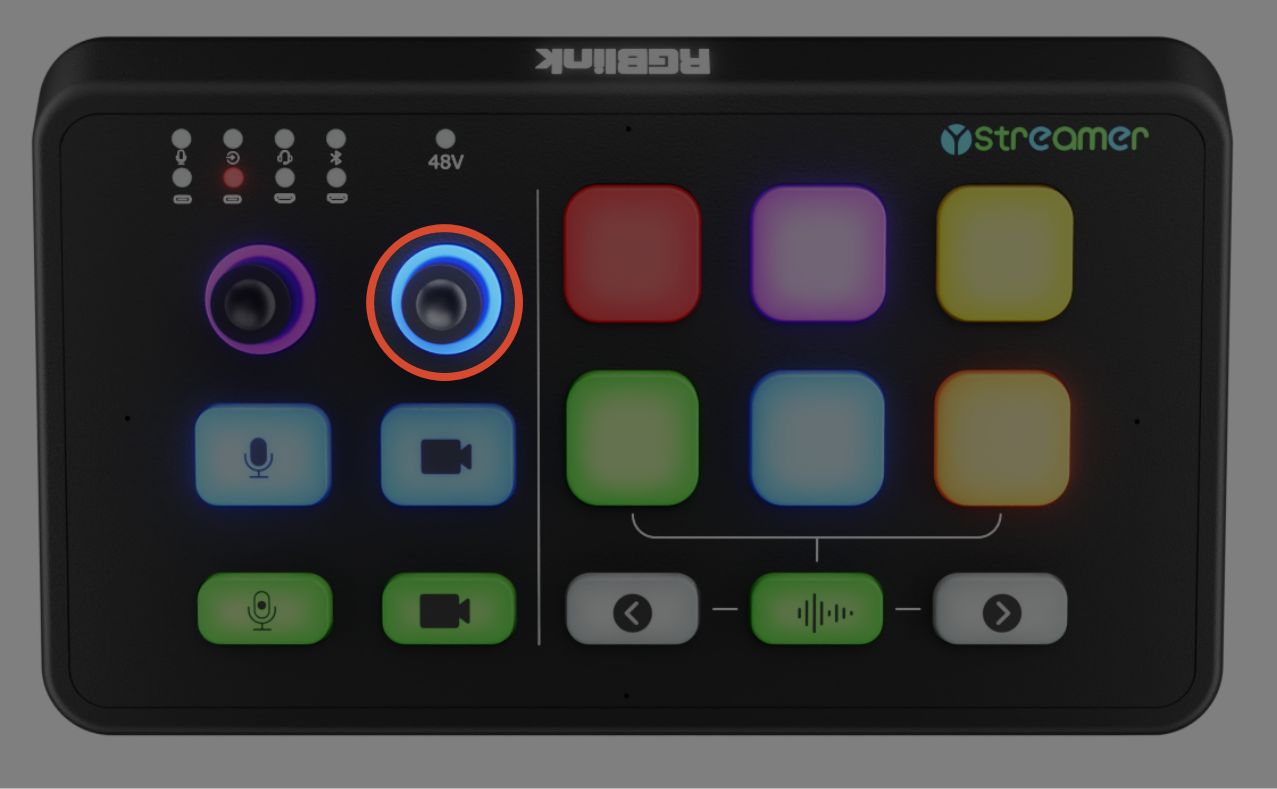
Rotate the Output Volume Adjustment knob to adjust monitoring volume for connected speakers and headphones.
Knob Ring Light Status:
| Status | Description |
|---|---|
| Blue | Current volume level |
| Red | Remaining volume range |
| Solid Red | Muted |
Mute and Black Screen
Muting Audio Inputs
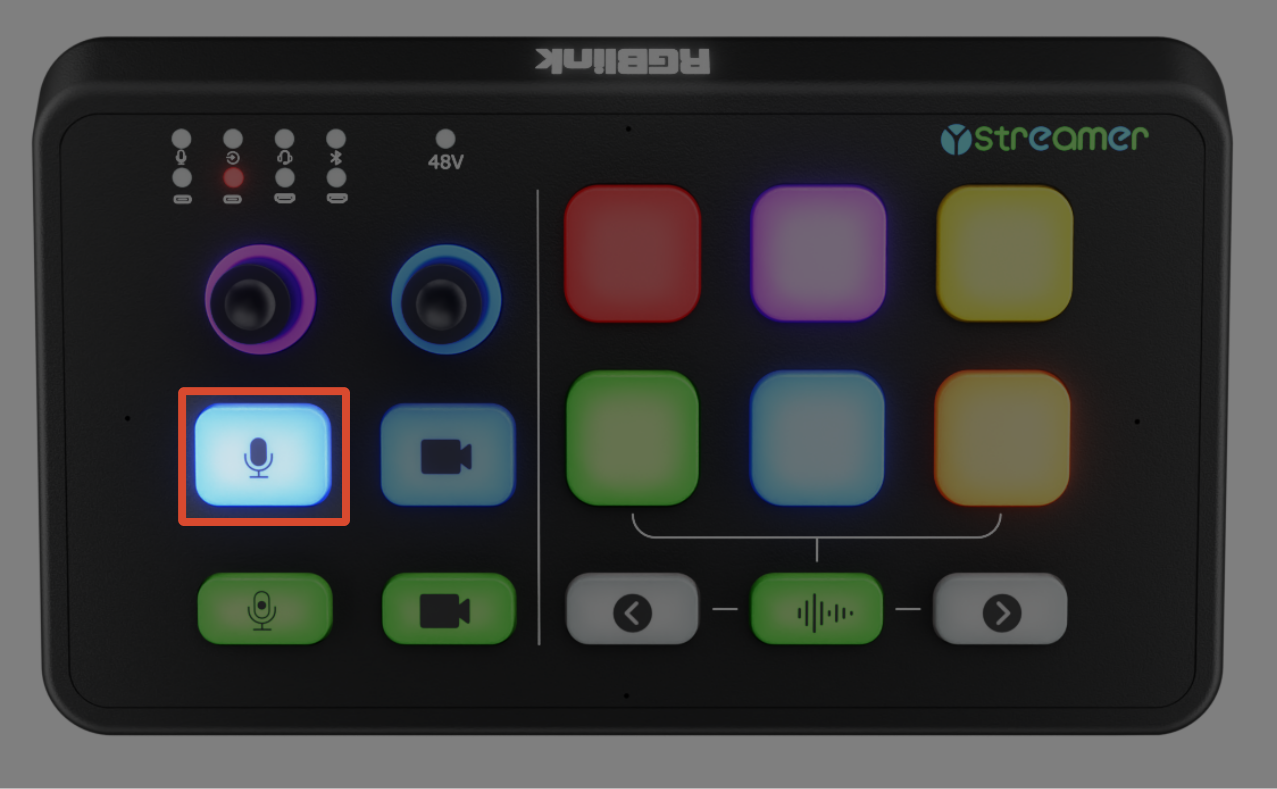
Press the Mute button to mute or unmute all audio inputs.
| Status | Description |
|---|---|
| Blue | Audio active |
| Red | Muted |
Muting the Monitoring Output
Press the Output Volume Adjustment knob to mute or unmute the monitoring output.
HDMI Black Screen
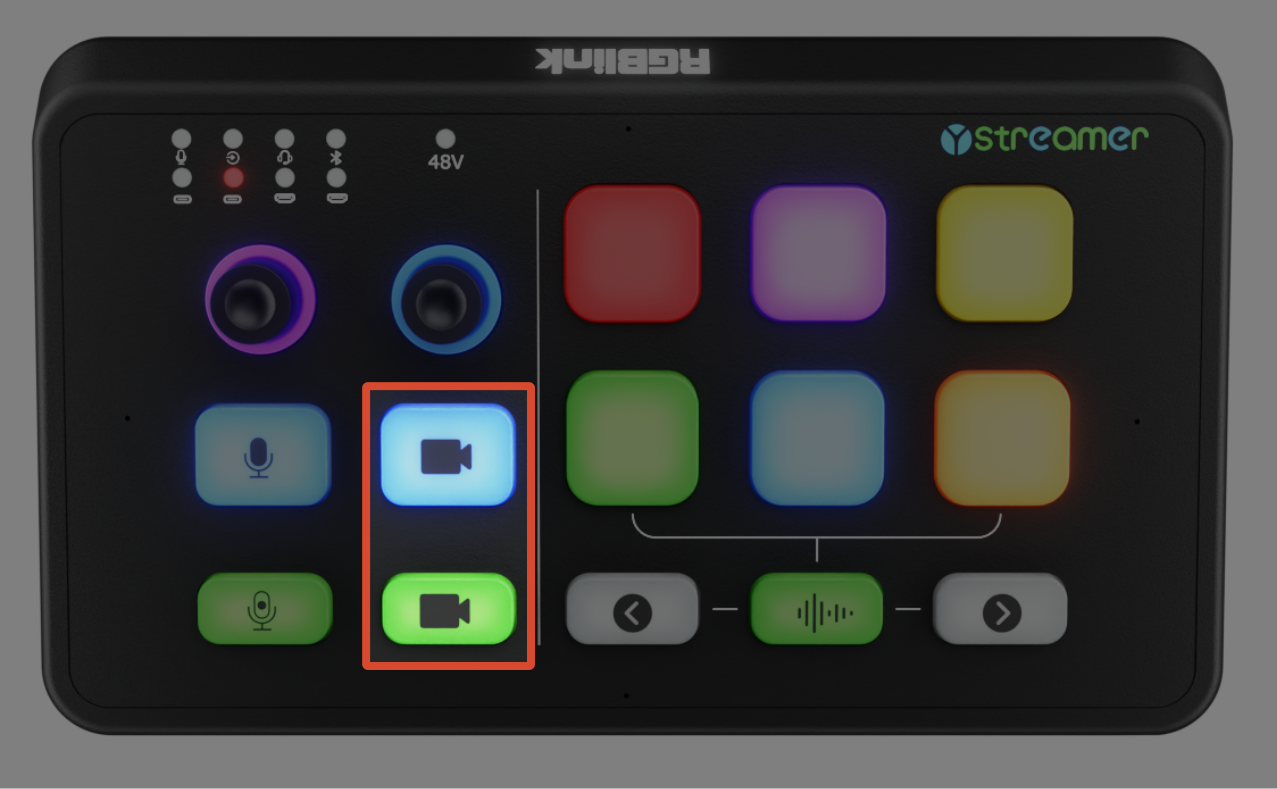
Press the HDMI 1 or HDMI 2 UVC Output Black Screen Control to switch the corresponding UVC output between live video and a black screen.
| Status | Description |
|---|---|
| Blue | Video output enabled |
| Red | Black screen output enabled |
📢  Notes

Volume settings and related parameters are saved automatically after approximately 5 seconds. The last saved settings are restored when the device restarts.
48V Phantom Power
🚨  Warning

Never enable 48V phantom power when using a dynamic microphone. Doing so may damage the microphone.
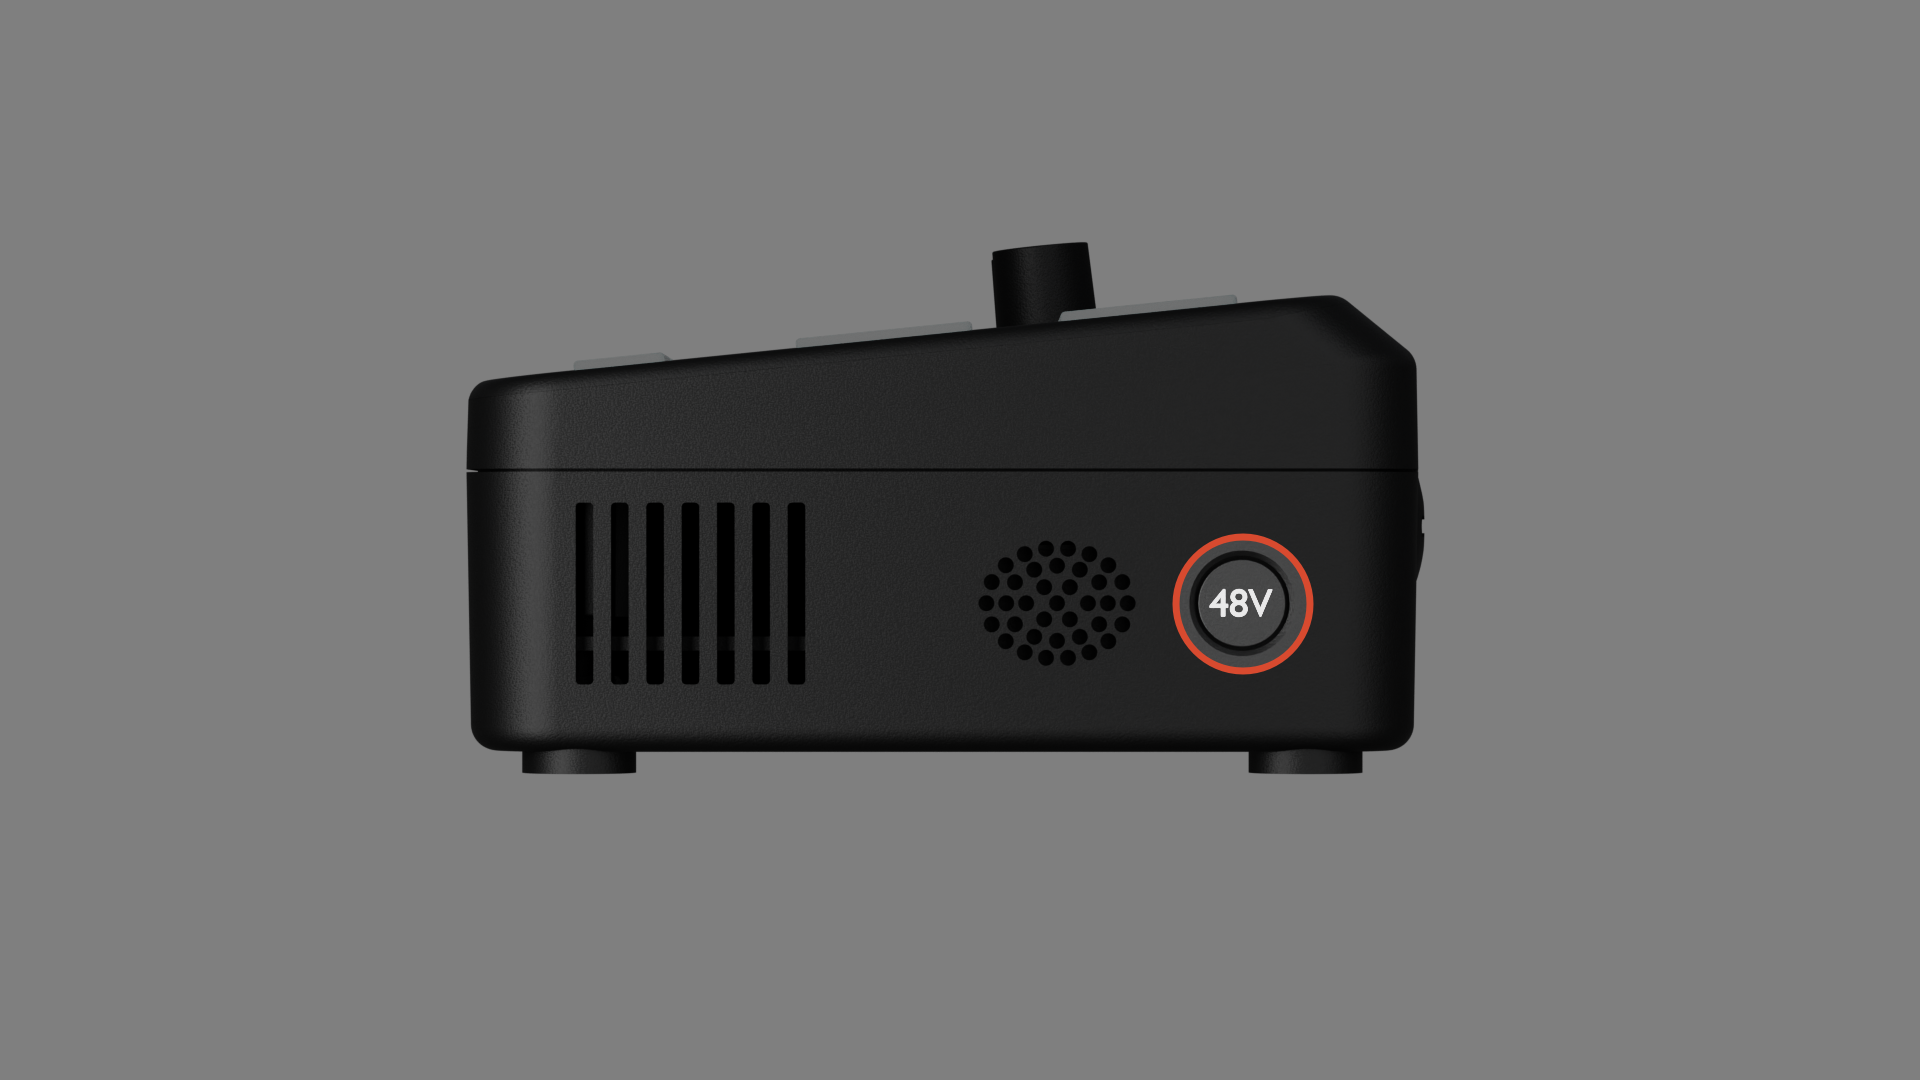
- Make sure 48V phantom power is turned off.
- Connect the XLR cable securely to the microphone and the device.
- Press and hold the 48 V phantom power button on the right panel for approximately** 3** seconds.
- Wait until the 48V Phantom Power Indicator turns red.
- To disable phantom power, press and hold the button again for 3 seconds until the indicator turns off.
- Wait approximately 5–10 seconds for any residual voltage to dissipate.
- Disconnect the XLR cable and remove the microphone.
Using the Built-in Microphone
Ystreamer features a built-in four-microphone array for audio capture without an external microphone. It is suitable for meetings, online classes, and similar applications.
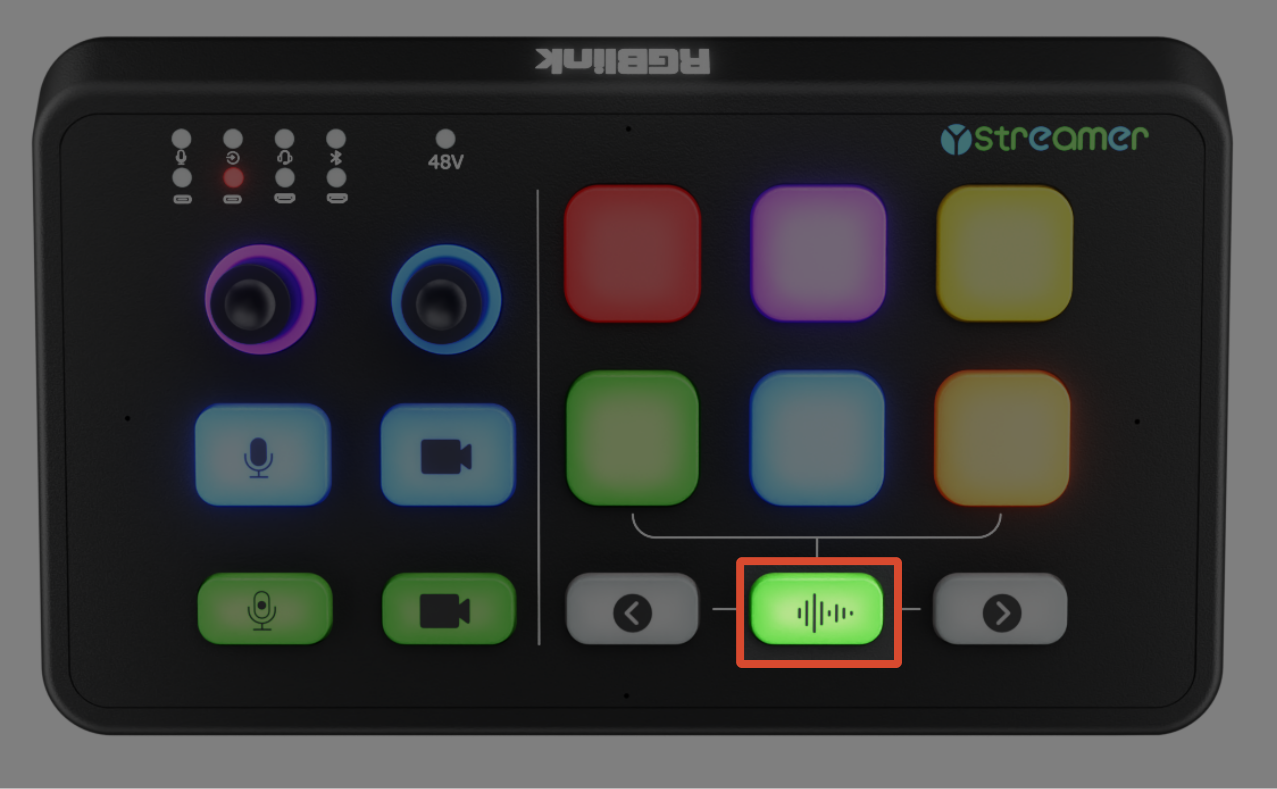
- Press the Built-in Microphone button to enable the built-in microphone.
- Press the button again to disable it.
📢  Notes

- Built-in microphone audio is available only through USB audio. It is not routed to Line-out or the monitoring outputs.
- For live streaming, podcasting, and other applications requiring higher audio quality, an external XLR microphone is recommended.
Audio Recording
Audio recording saves the current mixed audio output to an external USB storage device.
🚨 Before Recording

- Connect a supported USB storage device before recording.
- Make sure the computer has recognized Ystreamer before starting recording.
- If no USB storage device is connected, pressing the Record button causes the indicator to flash rapidly three times and remains blue.
- Connect USB-A storage devices using an OTG adapter.
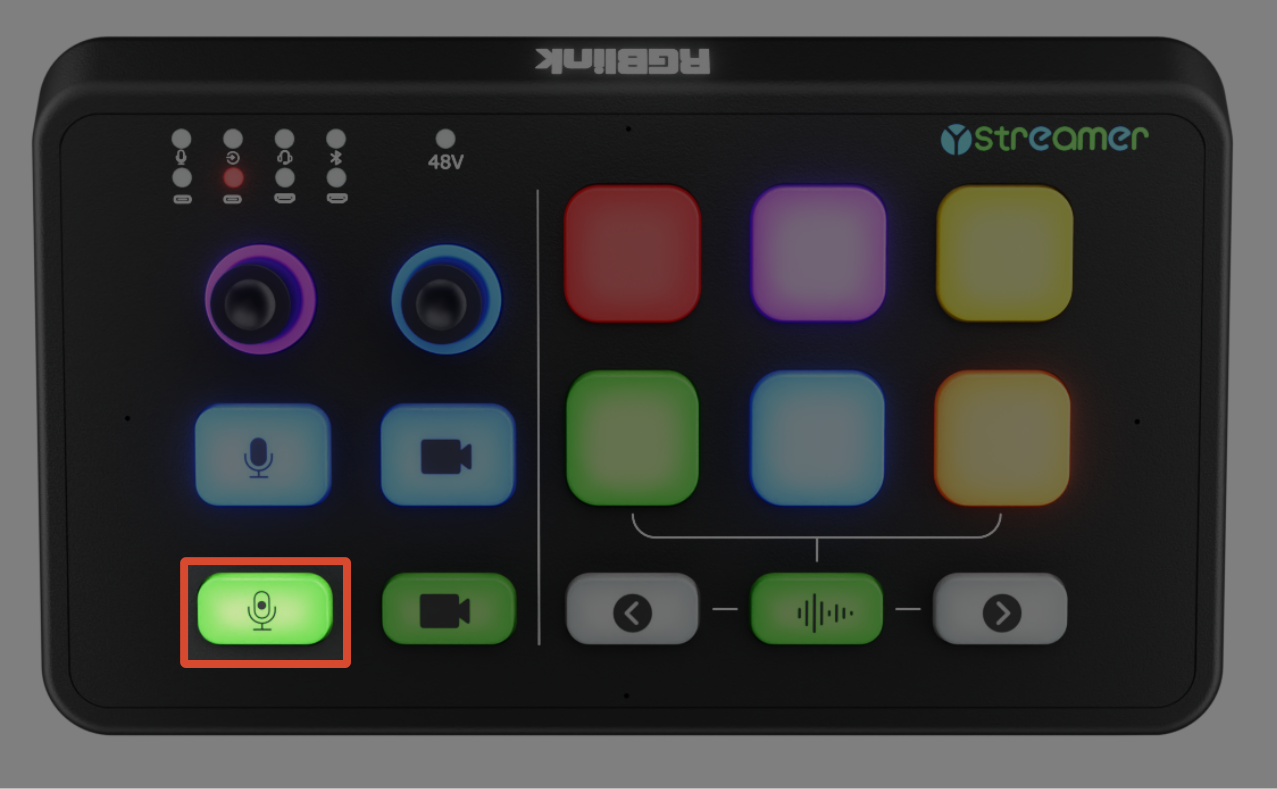
- Press the Record button. The indicator turns red and recording starts.
- Press the button again. The indicator turns blue and recording stops.
- If recording is started or stopped from the device, the recording status in the TAO APP may not update immediately. Refresh the page if needed.
- The recording is saved automatically.
- Audio files are saved in the
Audiofolder in the root directory of the storage device. A new subfolder is created automatically each day. - Audio is recorded at approximately 1.5 Mbps (about 663 MB per hour).
- Recording files are split automatically when they reach 3.7 GB. Recording stops automatically when the storage device is full.
📢  Notes

- Supports FAT32 and exFAT. NTFS is not supported.
- External hard drives require an independent power supply for stable recording.
- Wait a few moments after recording stops before disconnecting the storage device. Removing it too early may corrupt the recording.
- If the device is not synchronized with an NTP server, recorded timestamps may be inaccurate.
Customizable Buttons
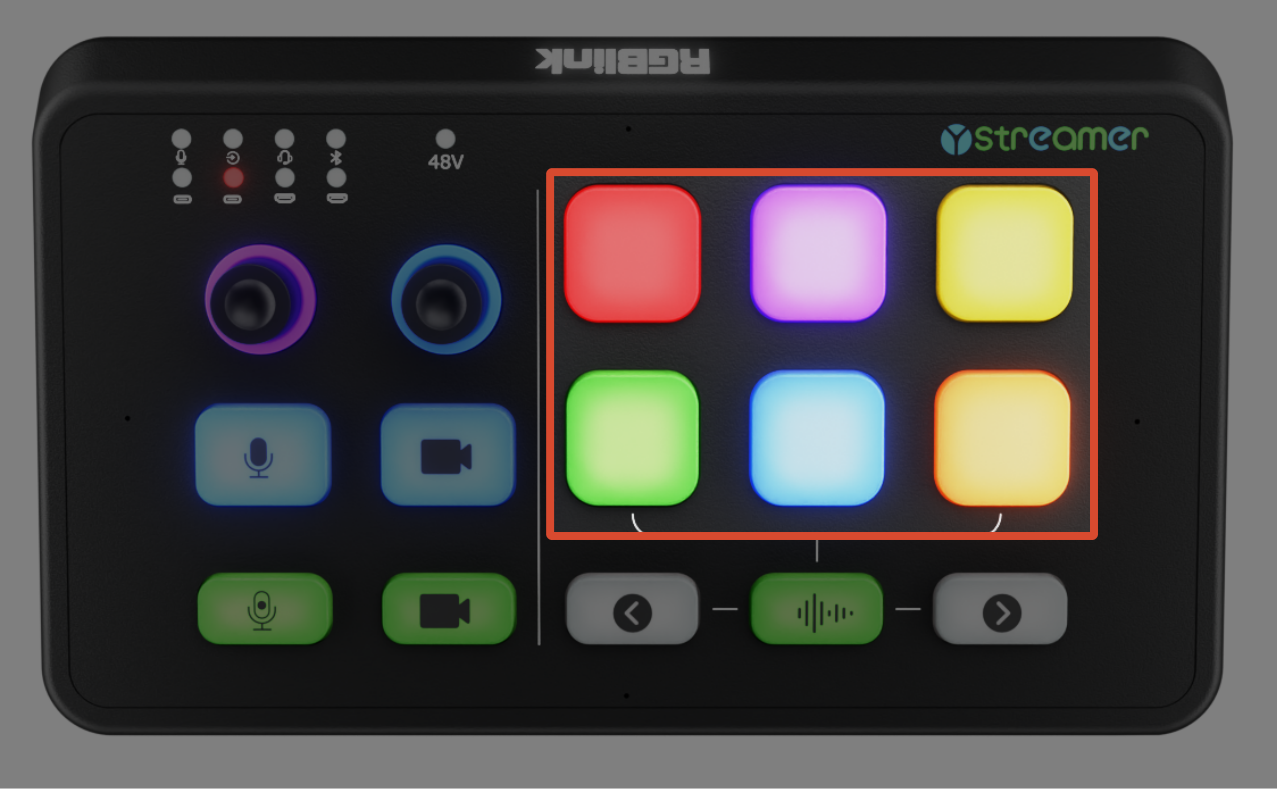
Six customizable shortcut buttons with built-in sound effects by default.
Customizable buttons (3 pages, up to 18 buttons) can be configured via the TAO APP. Please update your TAO APP (Android) to version 2.10.11 or later. The iOS version will be available in future updates.