Online Manual
mini-iso-manual

2 Install Your Product
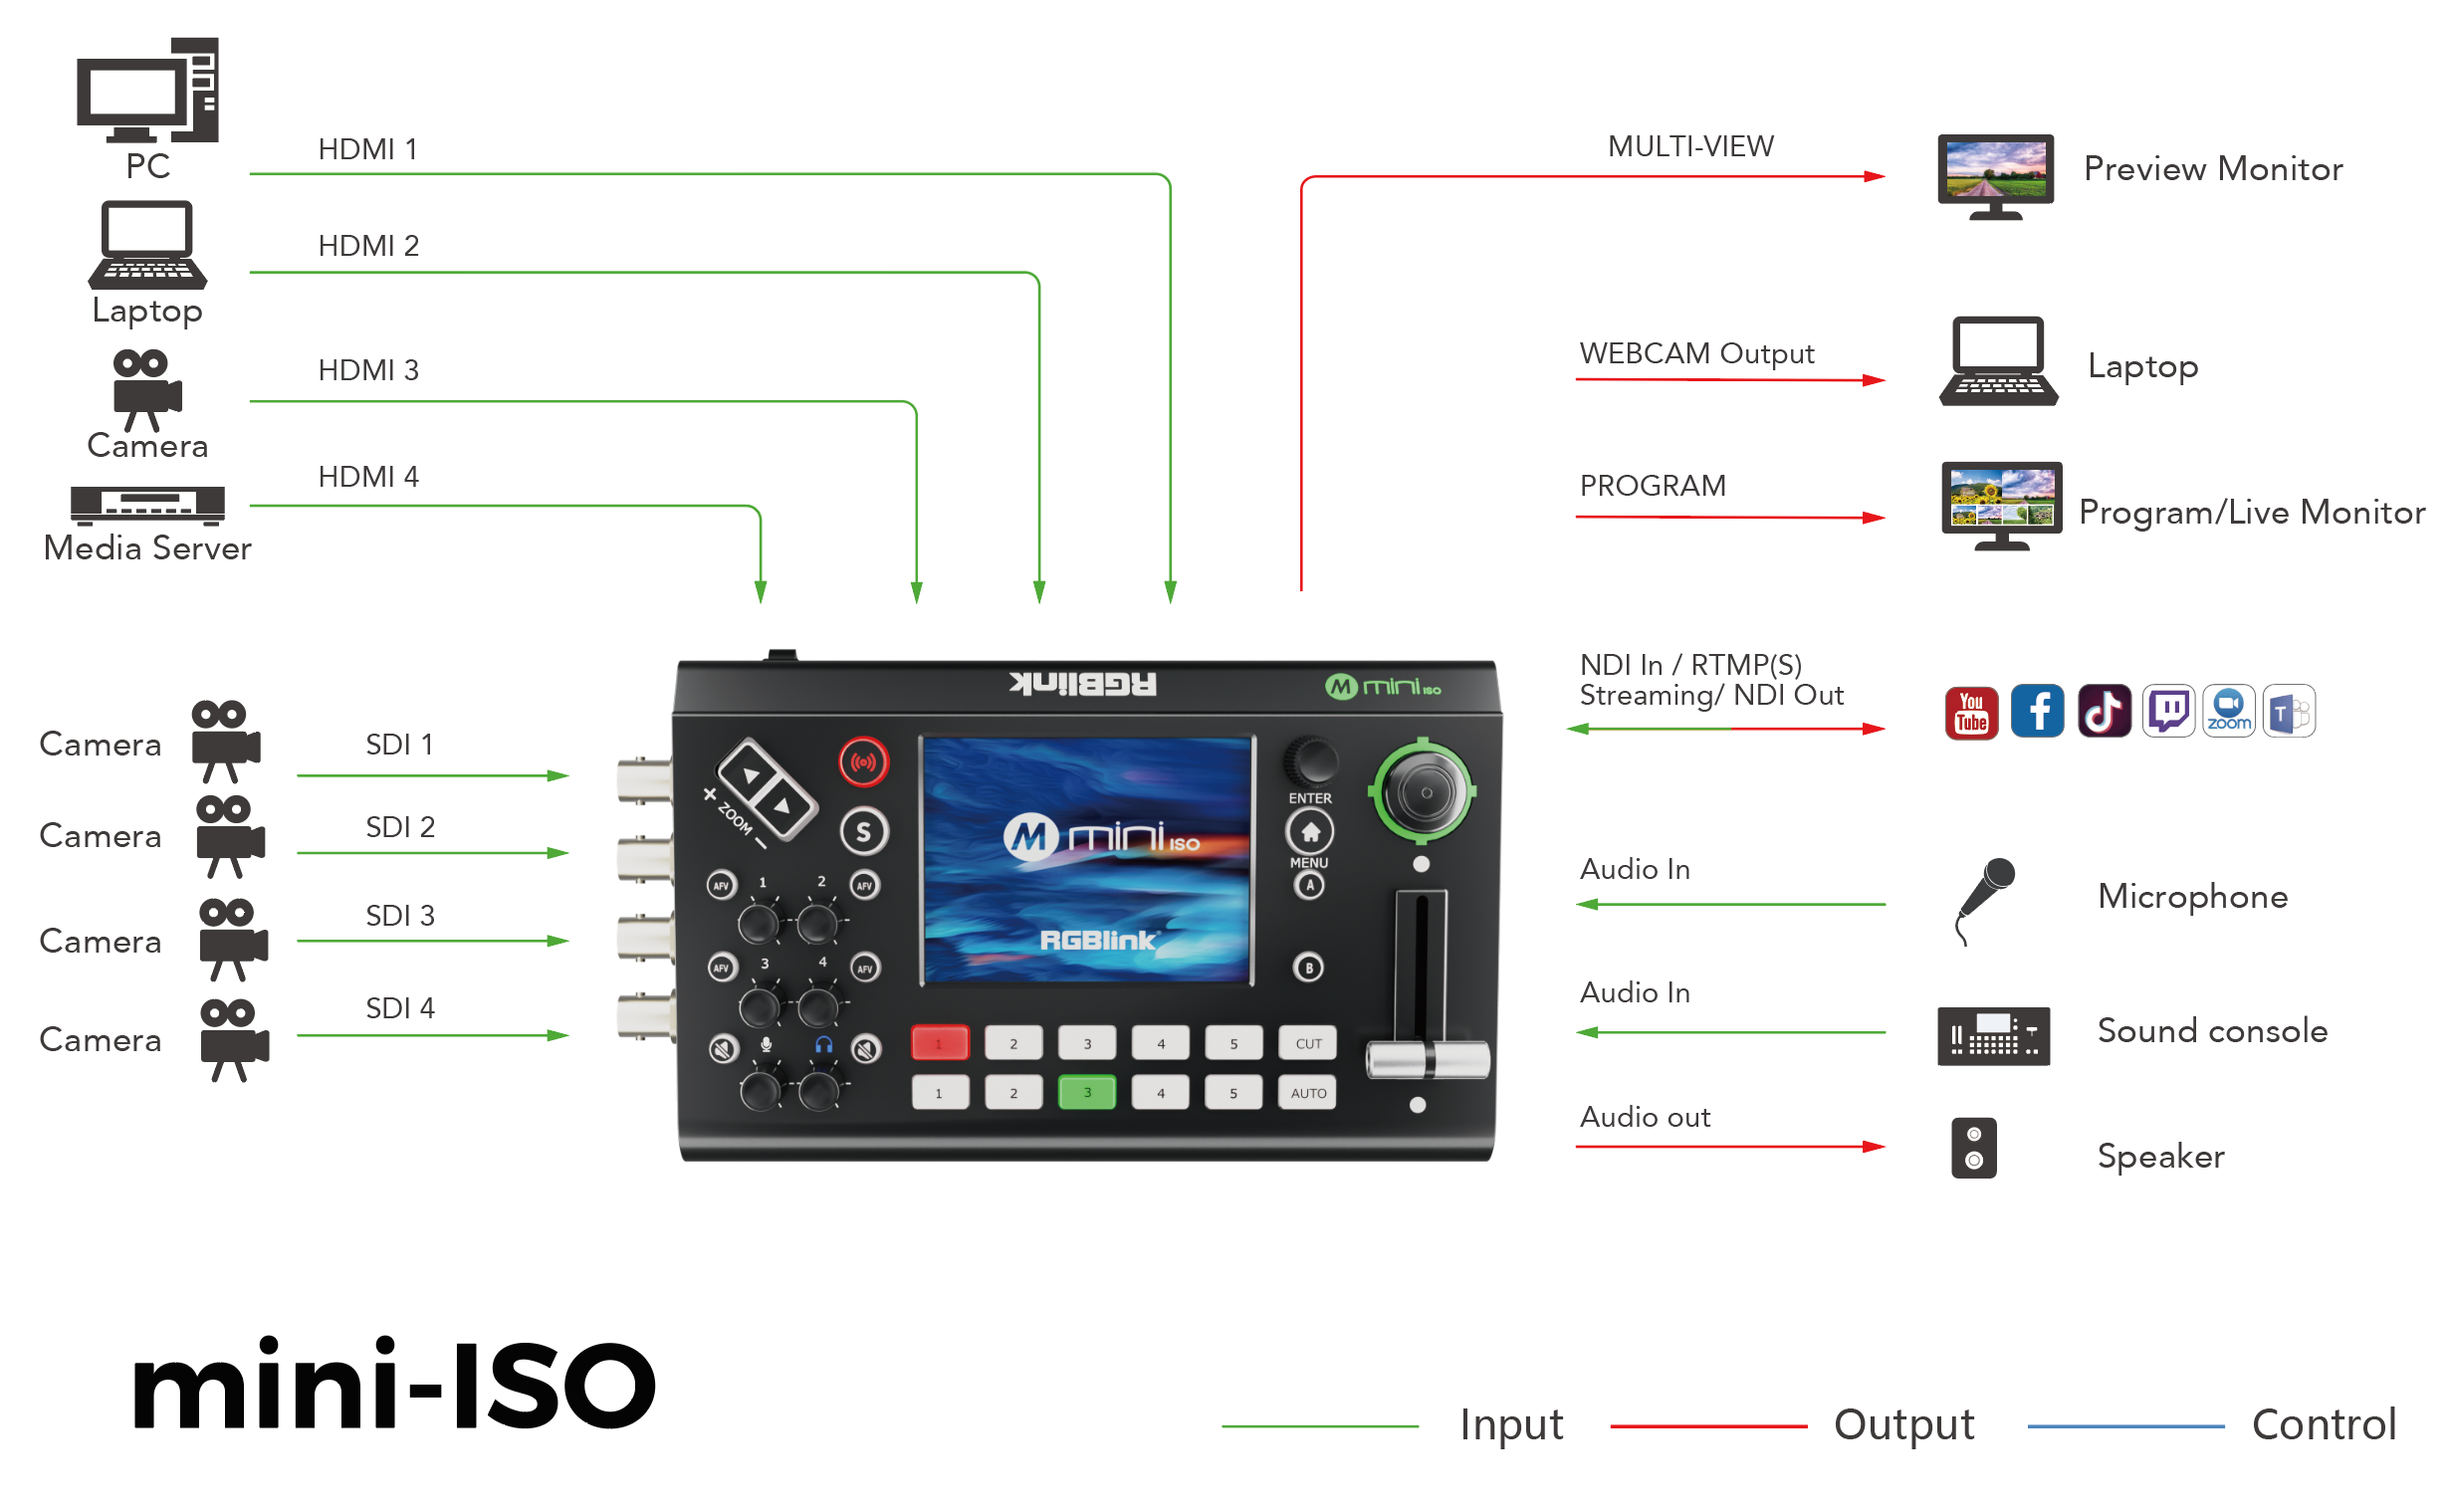
2.1 Connecting HDMI/SDI Signal Sources
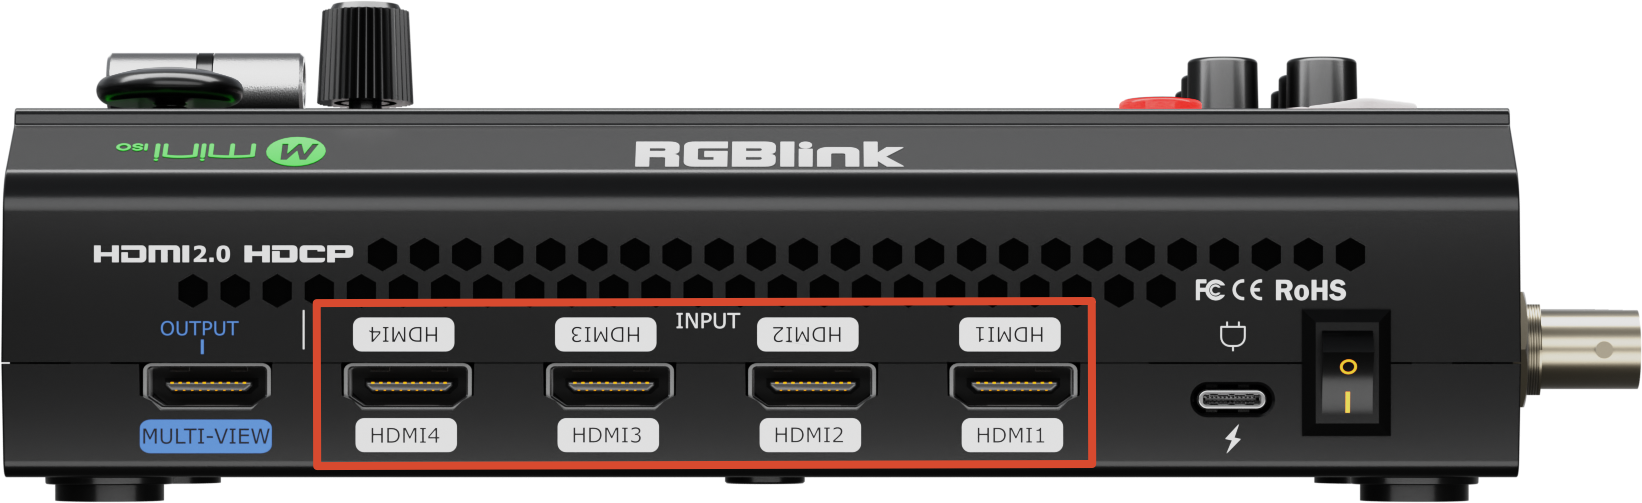
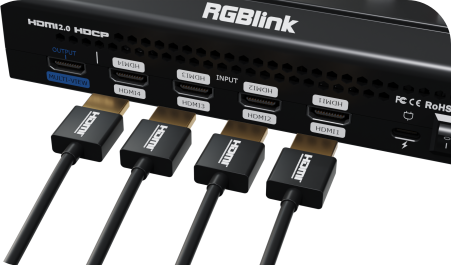
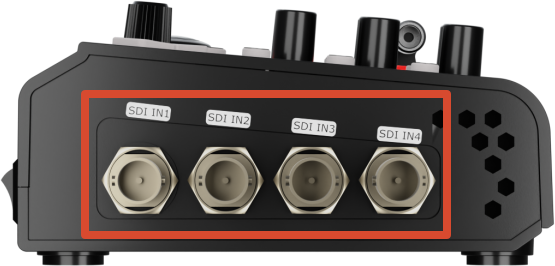
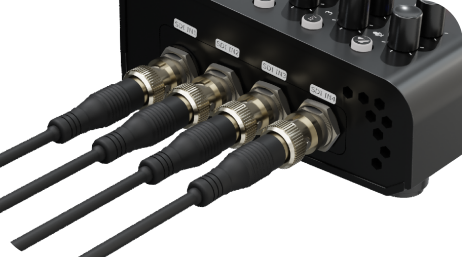
mini-ISO provides four HDMI inputs and four SDI inputs, supporting video input resolutions up to 1080p60 with automatic deinterlacing.
Cameras, computers, and other devices equipped with HDMI or SDI output interfaces can be connected to mini-ISO as video input sources.
 | 👉 |  |
|---|---|---|
 | 👉 |  |
📢  Notes

HDMI and SDI cables are not included and must be purchased separately.

Some cameras use Mini HDMI connectors. If required, purchase a Mini HDMI-to-HDMI cable separately.
2.2 Connecting Monitoring Devices
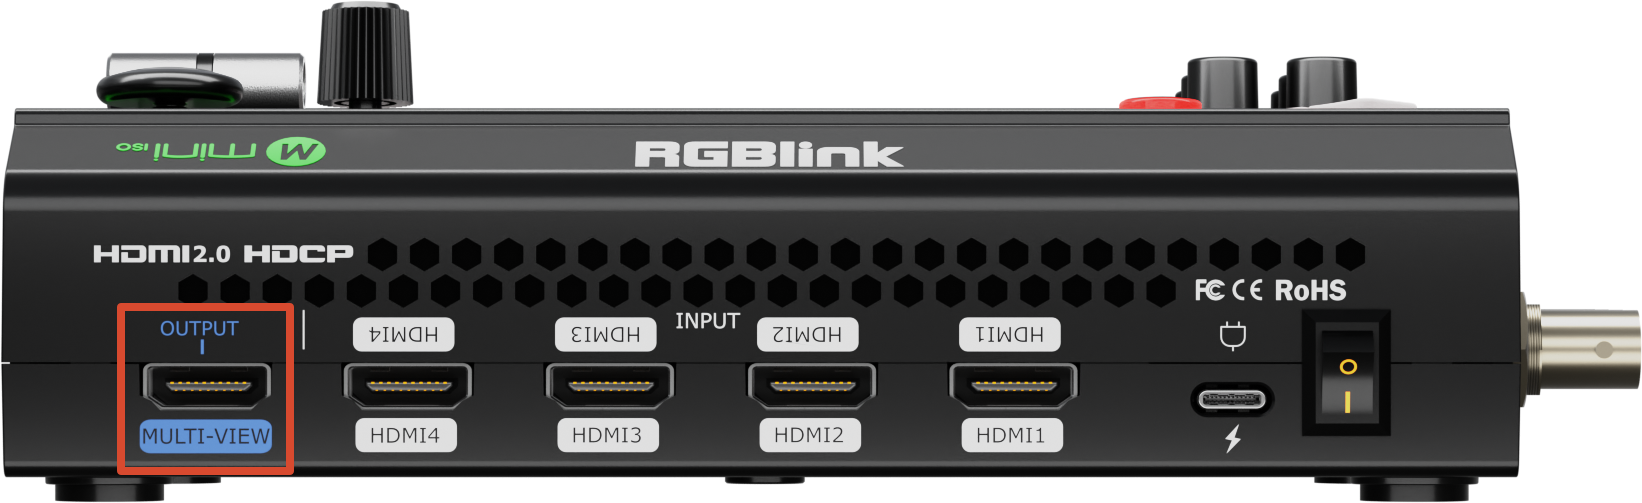
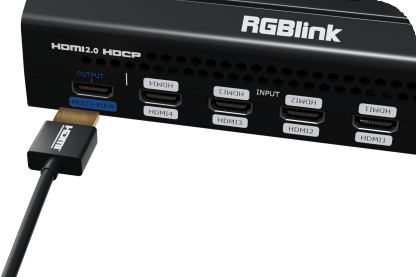
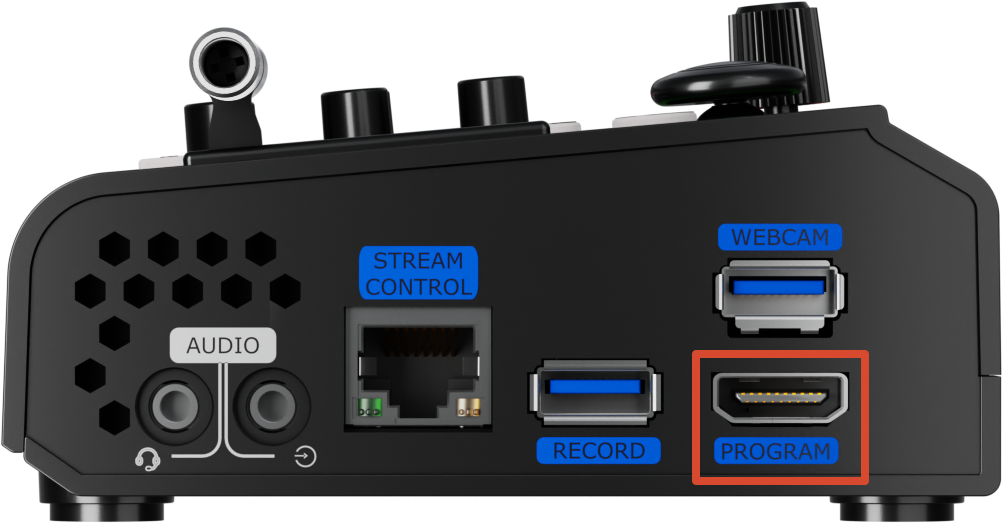
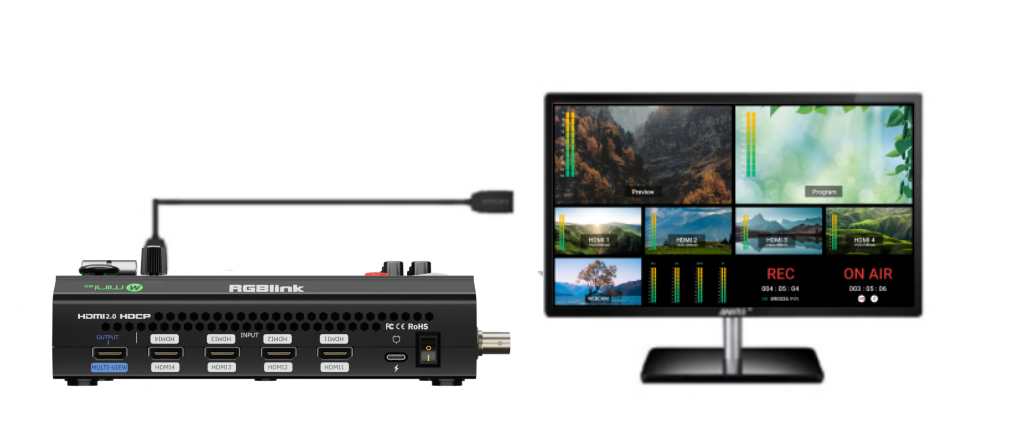
mini-ISO provides MULTI-VIEW and PROGRAM output ports, allowing simultaneous connection to monitors for production and monitoring.
 | 👉 |  |
|---|---|---|
 | 👉 | 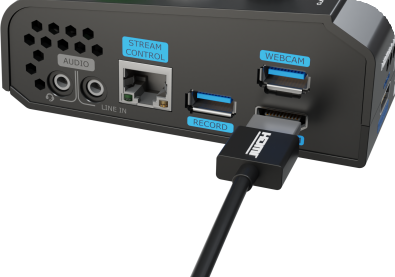 |
- MULTI-VIEW: Connects to a monitor. Outputs the multiview monitoring screen by default.
- PROGRAM: Connects to a projector, LED display, television, or other display device. Outputs the program feed by default.
Press MENU button to access the OUTPUT page in the main menu, where you can configure the output resolution for MULTI-VIEW and PROGRAM.
The HDMI output resolution supports up to 1080p60.
2.3 Connecting Microphones and External Monitoring Devices
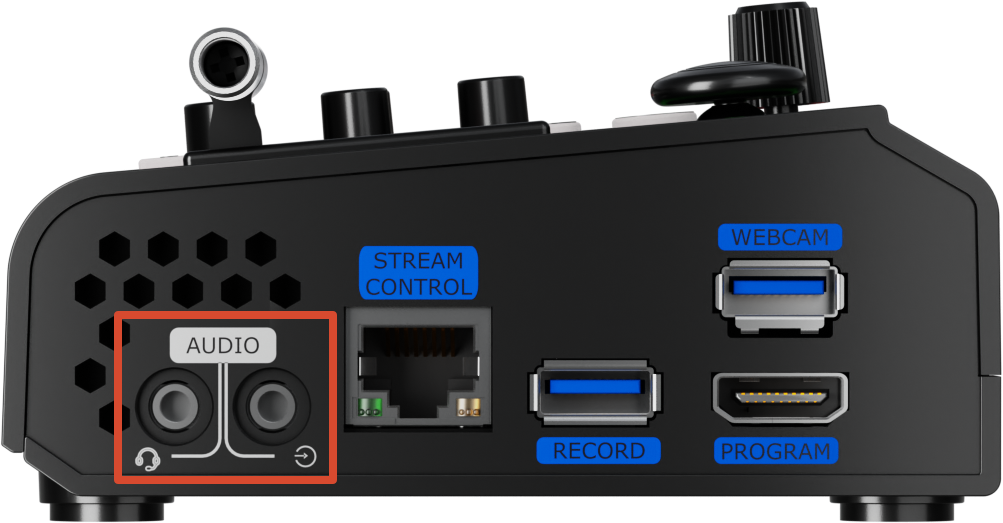
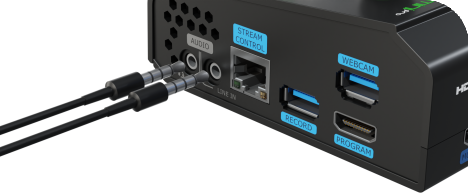
The right panel of mini-ISO features two standard 3.5 mm microphone inputs, supporting various applications such as live streaming, on-site production, and audio monitoring.
 | 👉 |  |
|---|
Users can manage audio through the front panel:
- Press the AFV (Audio Follow Video) button to enable embedded HDMI/SDI audio to follow video switching.
- Use the audio control knobs to adjust volume, monitor, and mix audio from different channels.
- Press the mute button to quickly mute microphone audio or output audio.
2.4 Connecting Router
It is recommended to connect mini-ISO to a network before use so that the device can be updated to the latest system version when available.
- Connect the Ethernet port of mini-ISO to a router using a CAT6 Ethernet cable.
- Select SETTINGS > IP Setting from the main menu, then disable DHCP and edit the IP address.
mini-ISO and the router must be on the same network segment (subnet) to communicate properly.
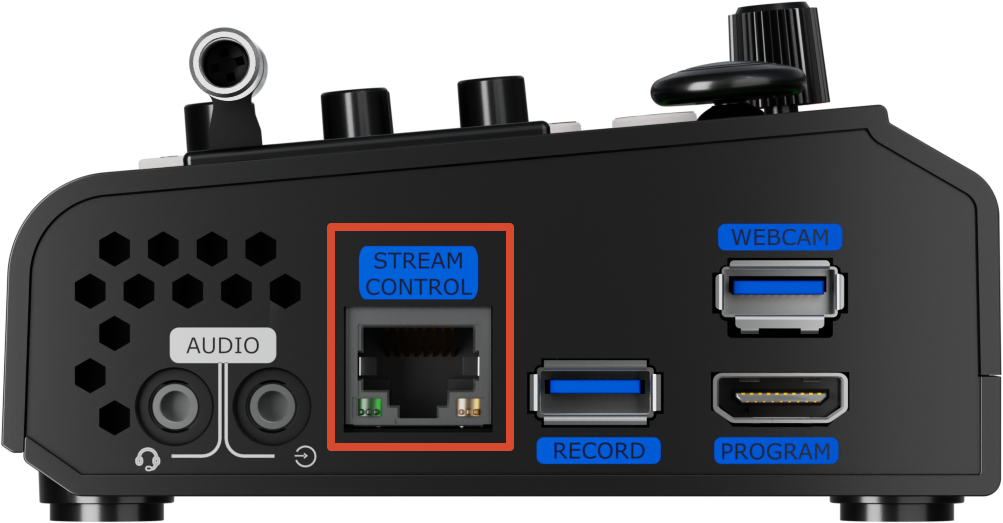 | 👉 | 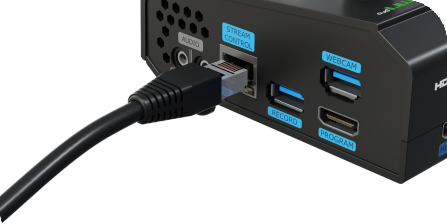 |
|---|
If DHCP is enabled on the router and the corresponding network segment is configured, and DHCP is also enabled on mini-ISO, no manual IP address configuration is required. The device will automatically obtain an IP address within the same network segment and communicate with other network devices normally.
2.5 UVC Capture Output/Input
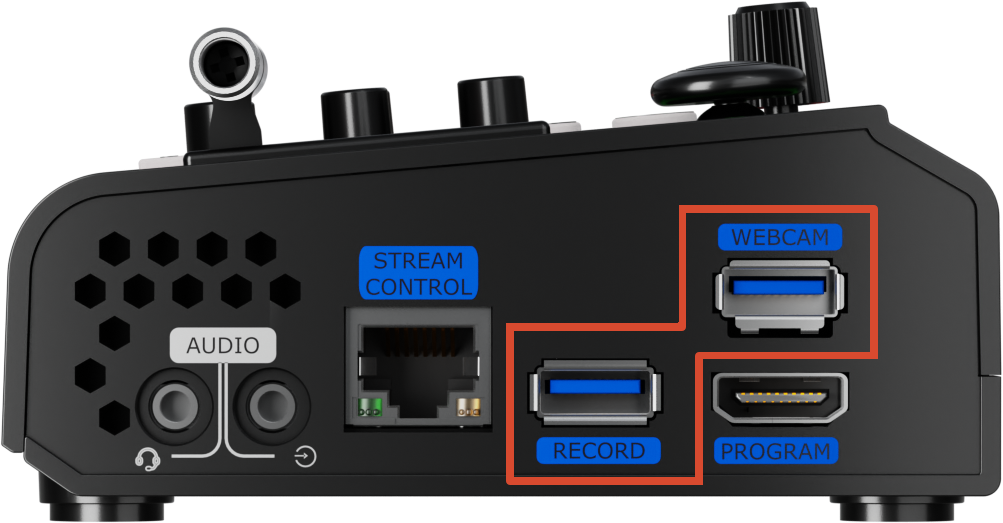
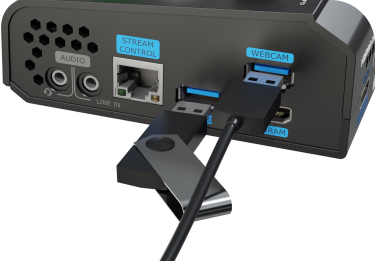
mini-ISO provides two USB 3.0 ports for streaming and local recording.
 | 👉 |  |
|---|
- WEBCAM
When connected to a computer via USB, mini-ISO is recognized as a standard USB webcam: RGBlink USB 3.0 Capture.
The device can then be selected as a video source in applications such as OBS Studio, Zoom and other compatible streaming platforms.
- RECORD
Users can connect USB flash drives or SSDs for recording. FAT32 and exFAT format are supported.
📢  Notes

- USB 3.0 flash drives are recommended for optimal recording performance.
- SSDs are recommended for external storage. Verify whether additional power is required before use.
- The OTG cable used for recording supports file transfer only and cannot be used for live streaming.
- Simultaneous multi-platform streaming, or using UVC output while recording, may increase CPU utilization and result in dropped frames or video stuttering.
- Internal USB-C data transmission operates over USB 3.1.
2.6 Connecting Power
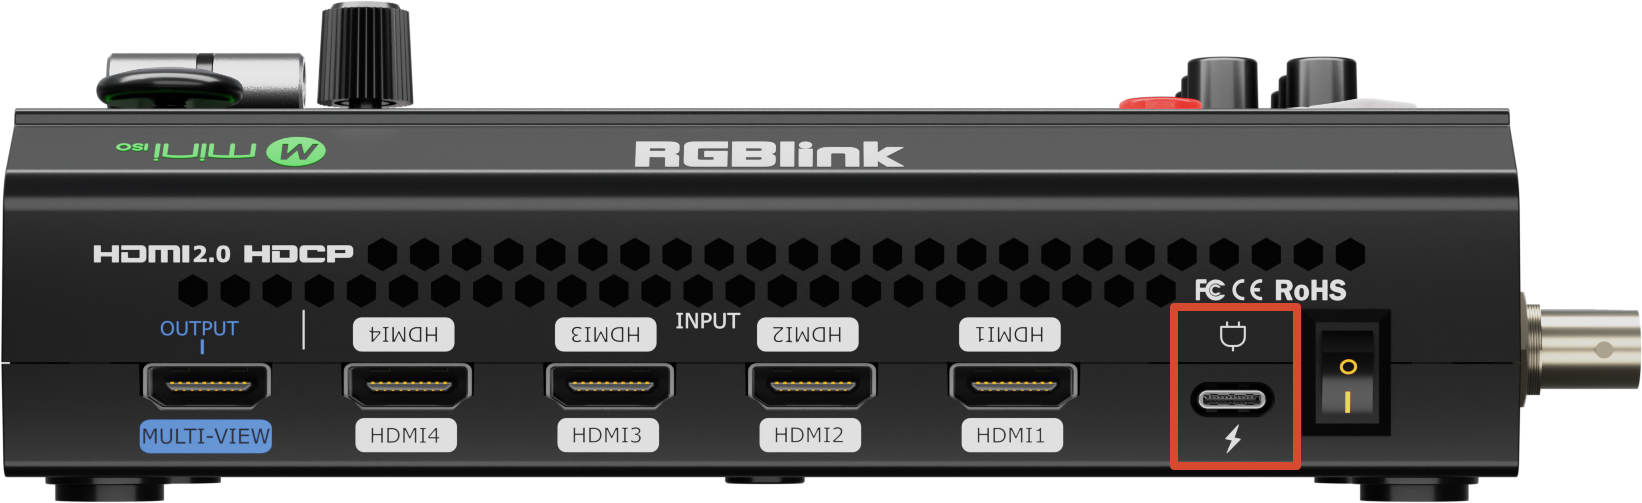
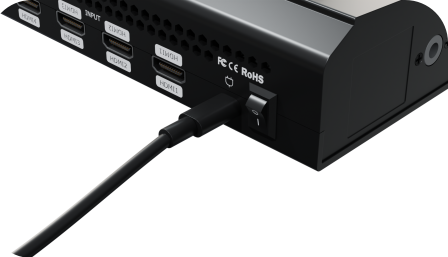
RGBlink mini-ISO package includes a PD power adapter and power cable.
Before connecting the power supply, make sure the power standard in your country or region is supported.
Firmly connect the power cable to ensure stable power delivery to the device.
 | 👉 |  |
|---|
📢  Important

It is recommended to use the power adapter included with the package.

If another adapter must be used, make sure it meets the following requirements:

- Supports the PD fast charging protocol
- Uses a USB-C power port with reversible plug orientation
- Provides a minimum output power of 35 W

If the power adapter has two ports, use only the USB-C port for powering mini!
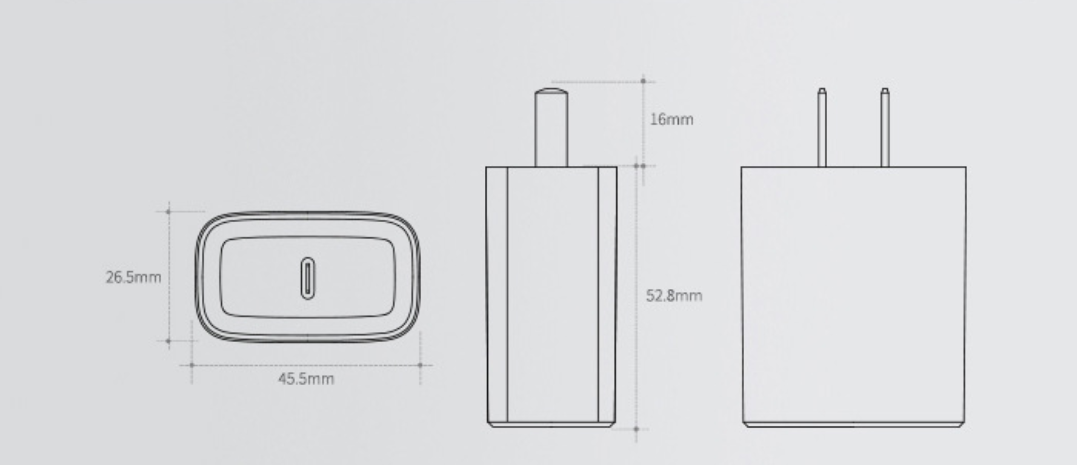
The following image shows the standard power adapter included with the mini ISO for reference:
2.7 Powering on mini-ISO
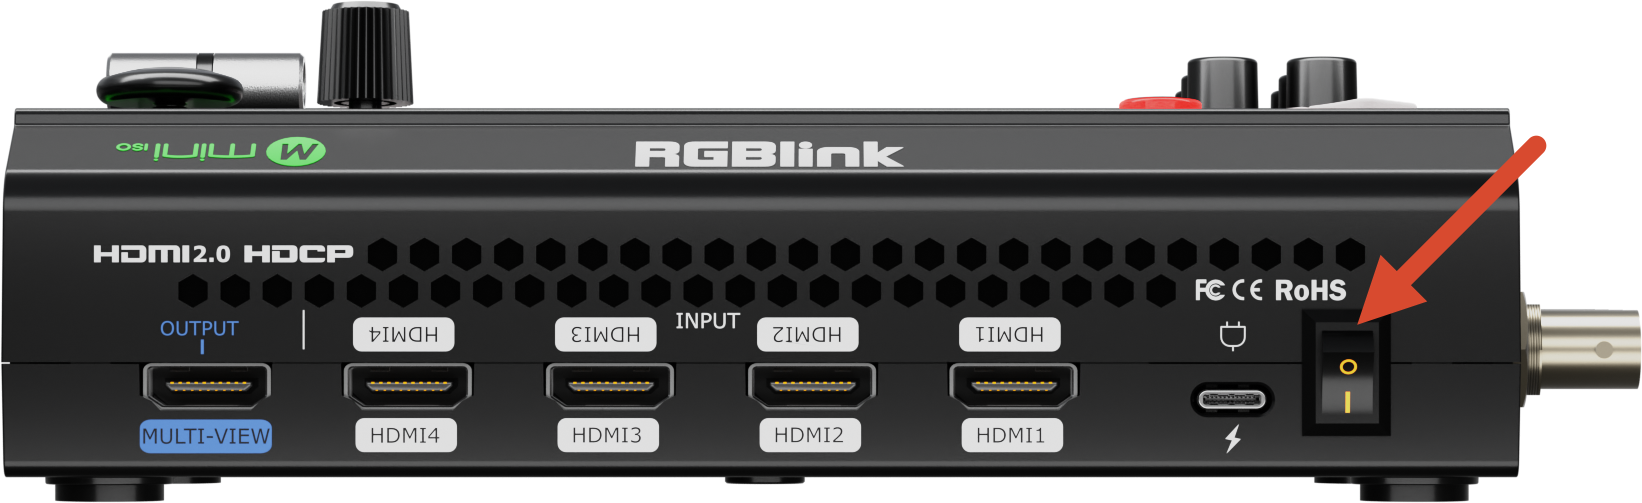
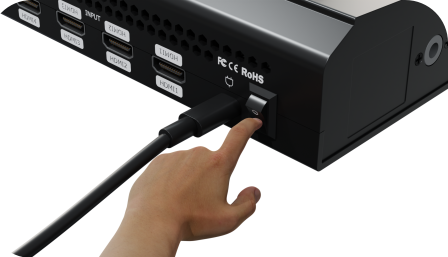
Press the rocker power switch downward to power on the rear panel.
 | 👉 |  |
|---|
After startup, the full-color display will show the mini-ISO logo before entering the main operating interface.