Online Manual
mini-iso-manual

3.11 Settings
Select SETTINGS from the main menu to enter the settings page.
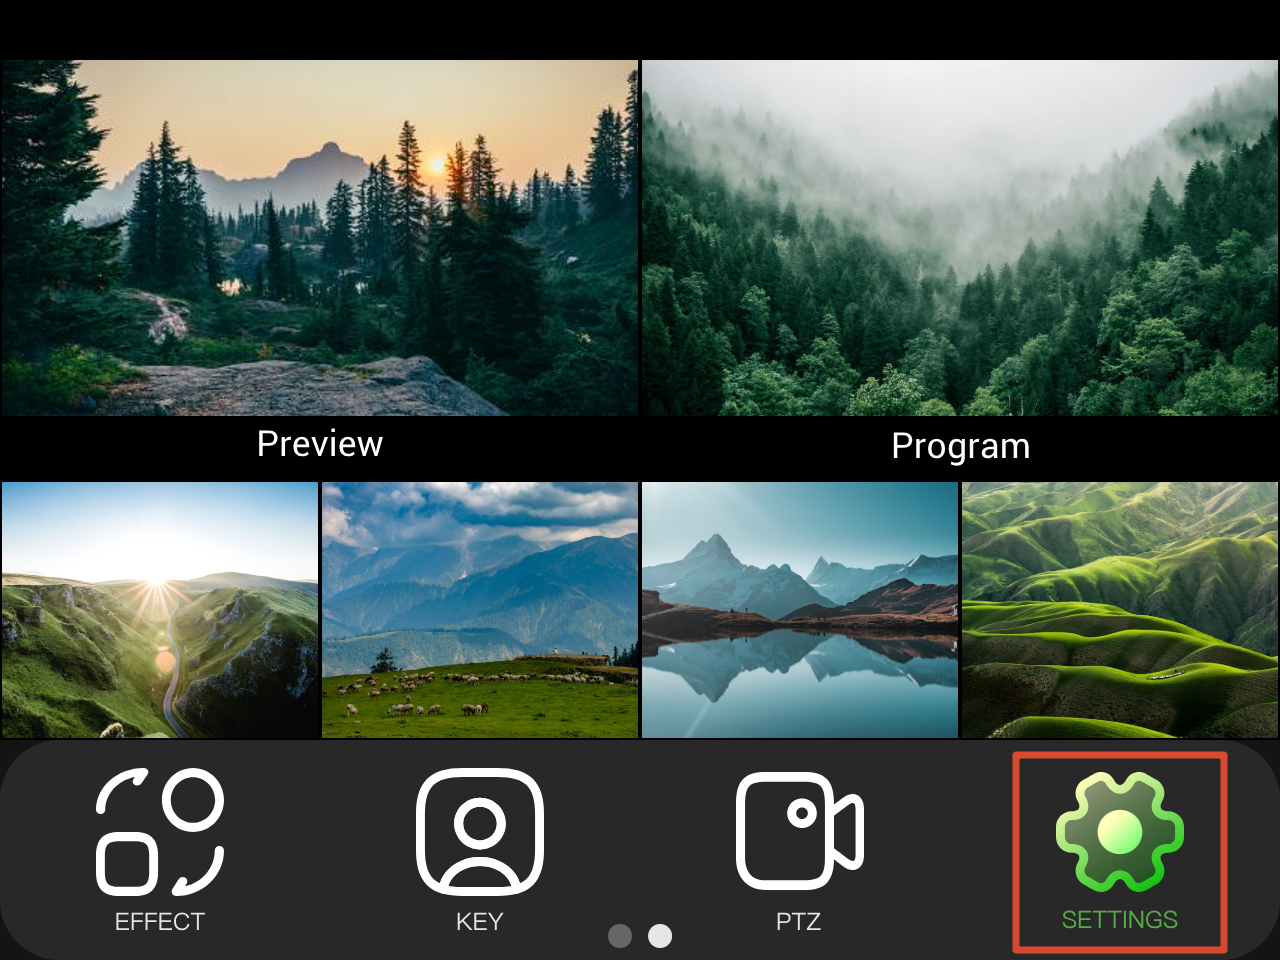 | 👉 |  |
|---|
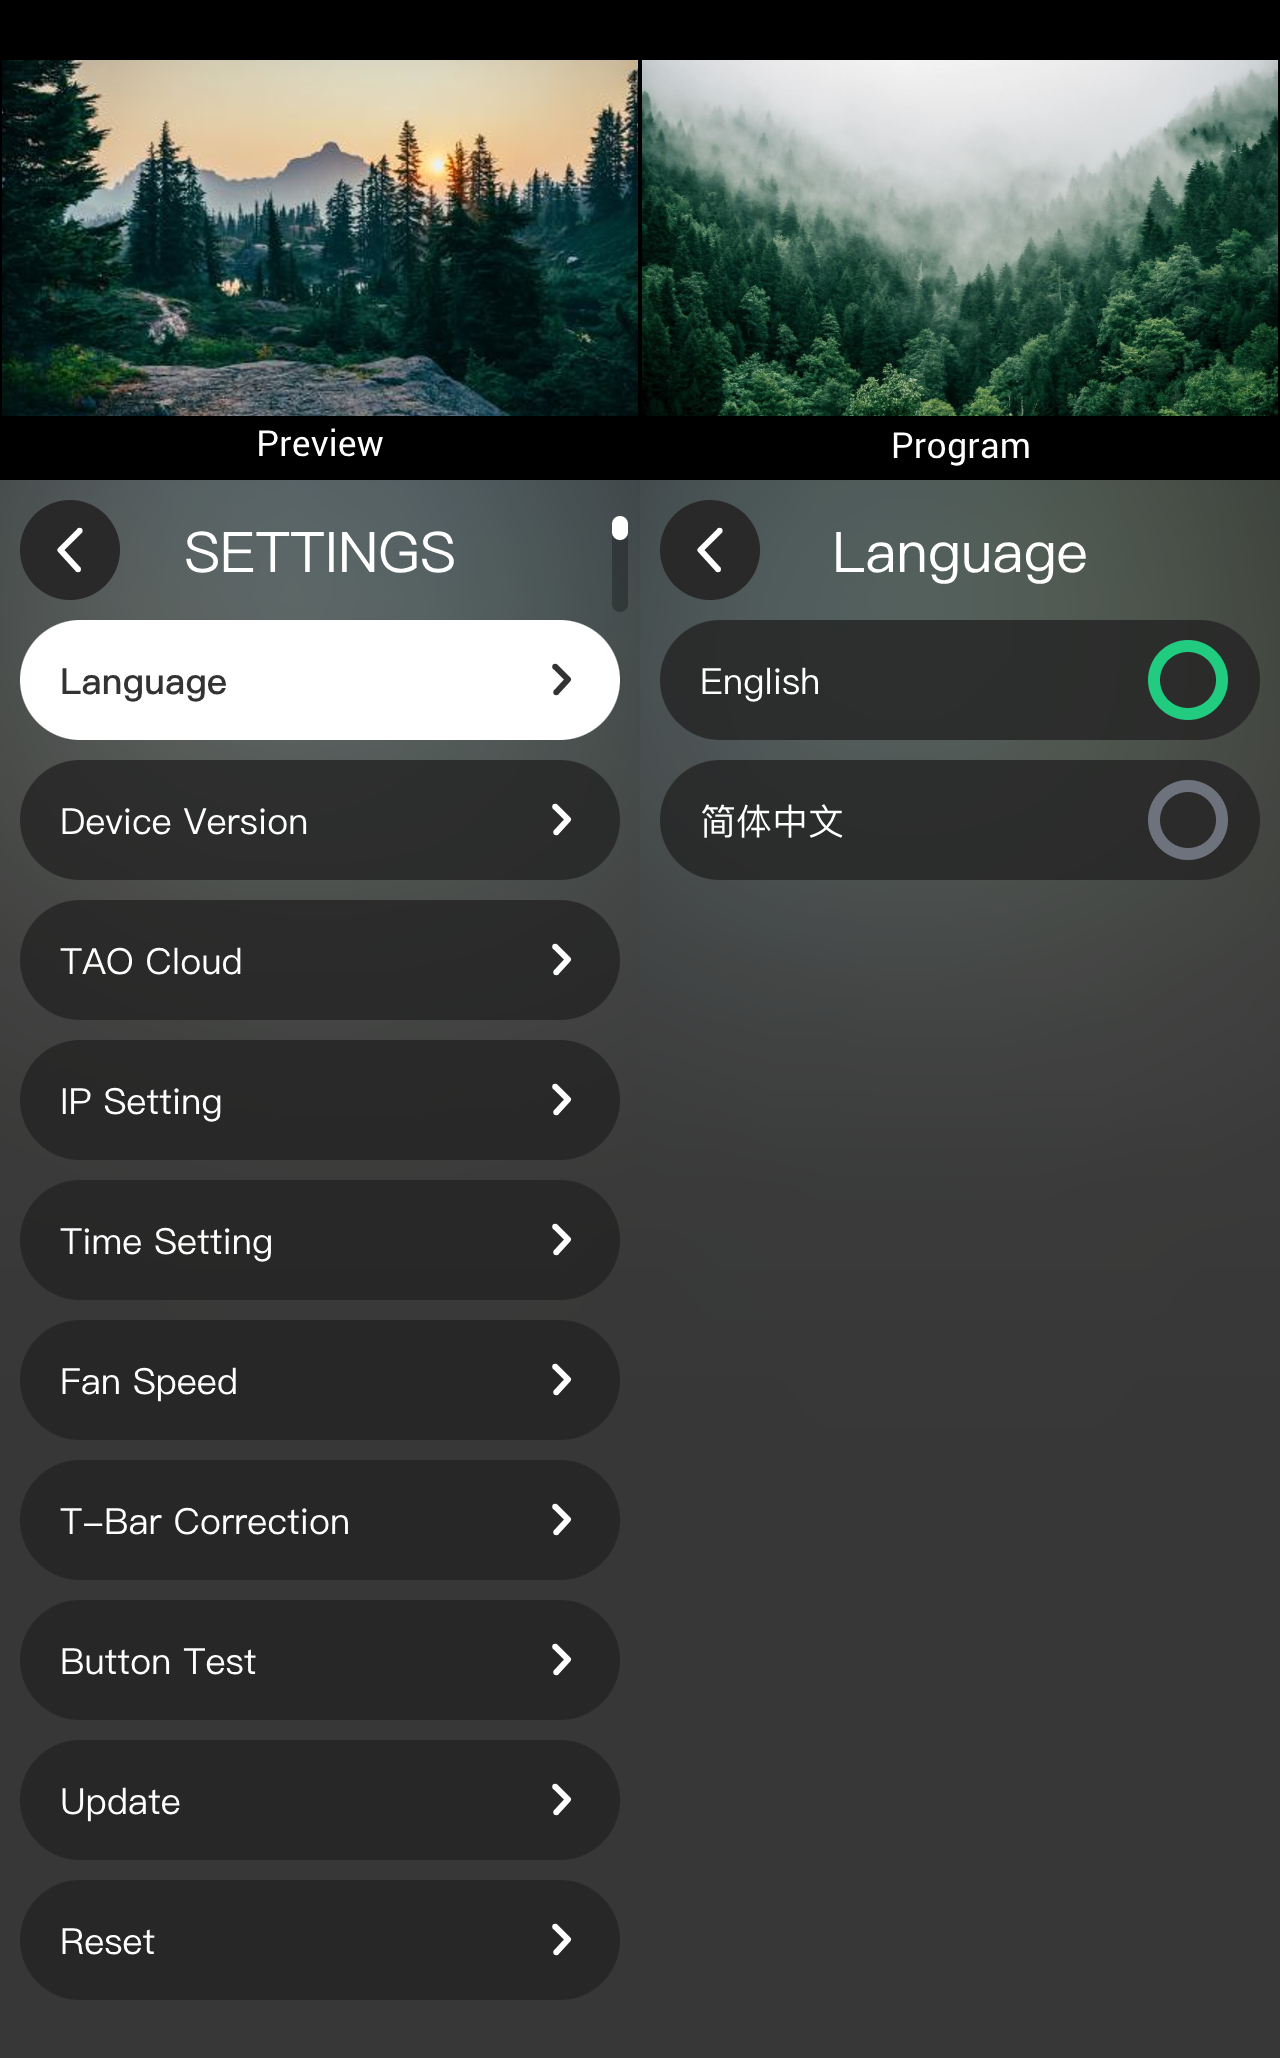
The Settings menu includes 10 sections: Language, Device Version, TAO Cloud, IP Setting, Time Setting, Fan, T-Bar Correction, Button Test, Update, and Reset.
:3.11.1 Language:
mini-ISO supports switching the system language between 简体中文 and English.
Tap [简体中文] or [English]. The interface automatically switches to the selected language.
3.11.2 Device Version
View device information including SN, MAC address, MCU version, and button version.
3.11.3 TAO Cloud
After connecting the device to the network, perform device binding or rebinding on the TAO Cloud page.
TAO Cloud is a live streaming platform developed by RGBlink. Binding the device to the platform enables additional functions. For details, see section 3.12 TAO Cloud.
3.11.4 IP Setting
- Connect the device to the network. Use a phone on the same network segment to scan the QR code on the page and access the Web App.
- Enable DHCP to obtain an IP address.
- Disable DHCP to manually configure the IP address, gateway, and subnet mask. Tap Save to apply the settings.
3.11.5 Time Setting
- When the device is connected to the network, enable automatic time setting to synchronize network time.
- When the device is offline, disable automatic time setting and manually configure the time zone, date, and time. The device automatically updates the time after saving.
3.11.6 Fan
mini-ISO supports automatic and manual fan control modes.
- Auto
Enable Auto. The system automatically adjusts the fan speed according to the device status.
- Manual
- Disable Auto.
- Tap + or - to adjust the fan speed.
- Adjustment range: 1–5
- Step: 1
3.11.7 T-Bar Correction
T-Bar Correction restores transition position accuracy. Run correction if transition positions are inaccurate or the T-Bar travel does not match the displayed transition progress.
- Push T-Bar to bottom.
- Enable the switch for Step 2.
- Push T-Bar to top.
- Enable the switch for Step 4.
- Complete the correction.
3.11.8 Button Test
ButtonTest verifies front-panel button operation.
- Press any button.
- Check whether the button displayed on screen matches the button pressed.
If the displayed result is correct, the button operates normally.
3.11.9 Update
Check whether a firmware upgrade is available.
For upgrade instructions, see section 4. Upgrade for details.
3.11.10 Reset
🚨 Warning

Reset permanently deletes all user settings, views, and custom parameters. Deleted data cannot be recovered.
Reset restores all settings to factory defaults.
- Go to SETTINGS > Reset.
- Click Yes in the confirmation dialog.
- Wait for the reset process to complete.
📢  Notes

Restart the device after completing a factory reset.