Online Manual
mini-pro v3 User Manual

3.14 Settings
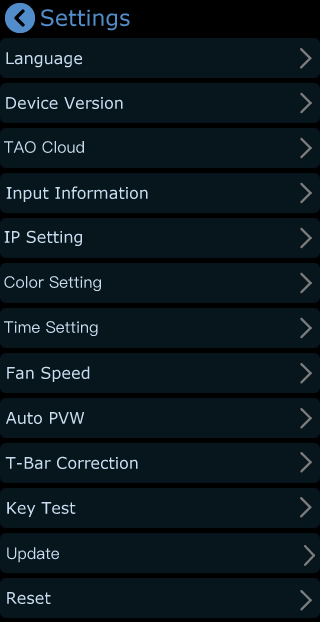
Tap Settings to open the system settings menu.
The settings menu includes:
Language, Device Version, Input Information, IP Setting, Color Setting, Time Setting, Fan Speed, Auto PVW, Reset, T-Bar Correction, Key Test, Update and Reset.
Language
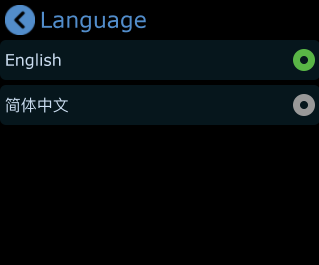
Go to Settings > Language to open the language settings page.
mini-pro supports:
- 简体中文
- English
Select the preferred interface language as needed.
Device Version
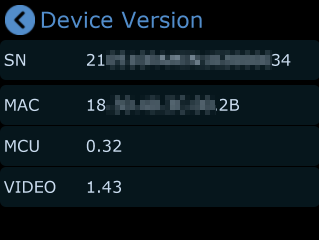
Go to Settings > Device Version to view device information.
Available information includes:
- SN: Device Serial Number
- MAC address
- MCU version
- Video version
TAO Cloud
After the network connection is established:
Tap Settings > TAO Cloud
The device binding verification code will be displayed on the screen.
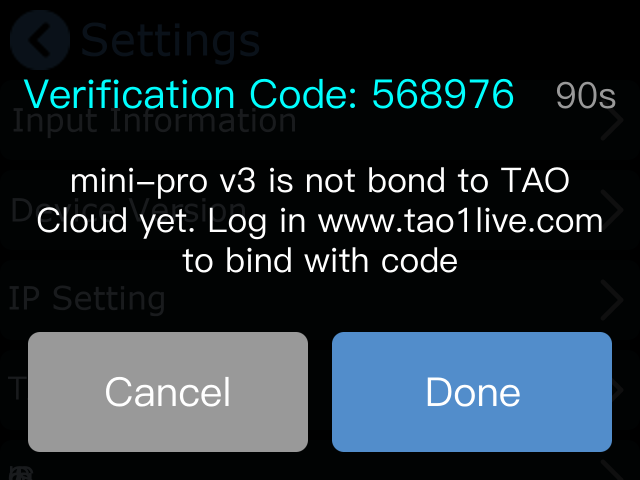
Log In to TAO Cloud
Open the official TAO Cloud website: TAO Cloud
Continue with Facebook account or sign up with e-mail.
Then tap Send for verification code.
After receiving the verification code, enter it and log in.

Bind the Device
After logging in to TAO Cloud, go to:
My Collection > Device > All Application >Binding Devices
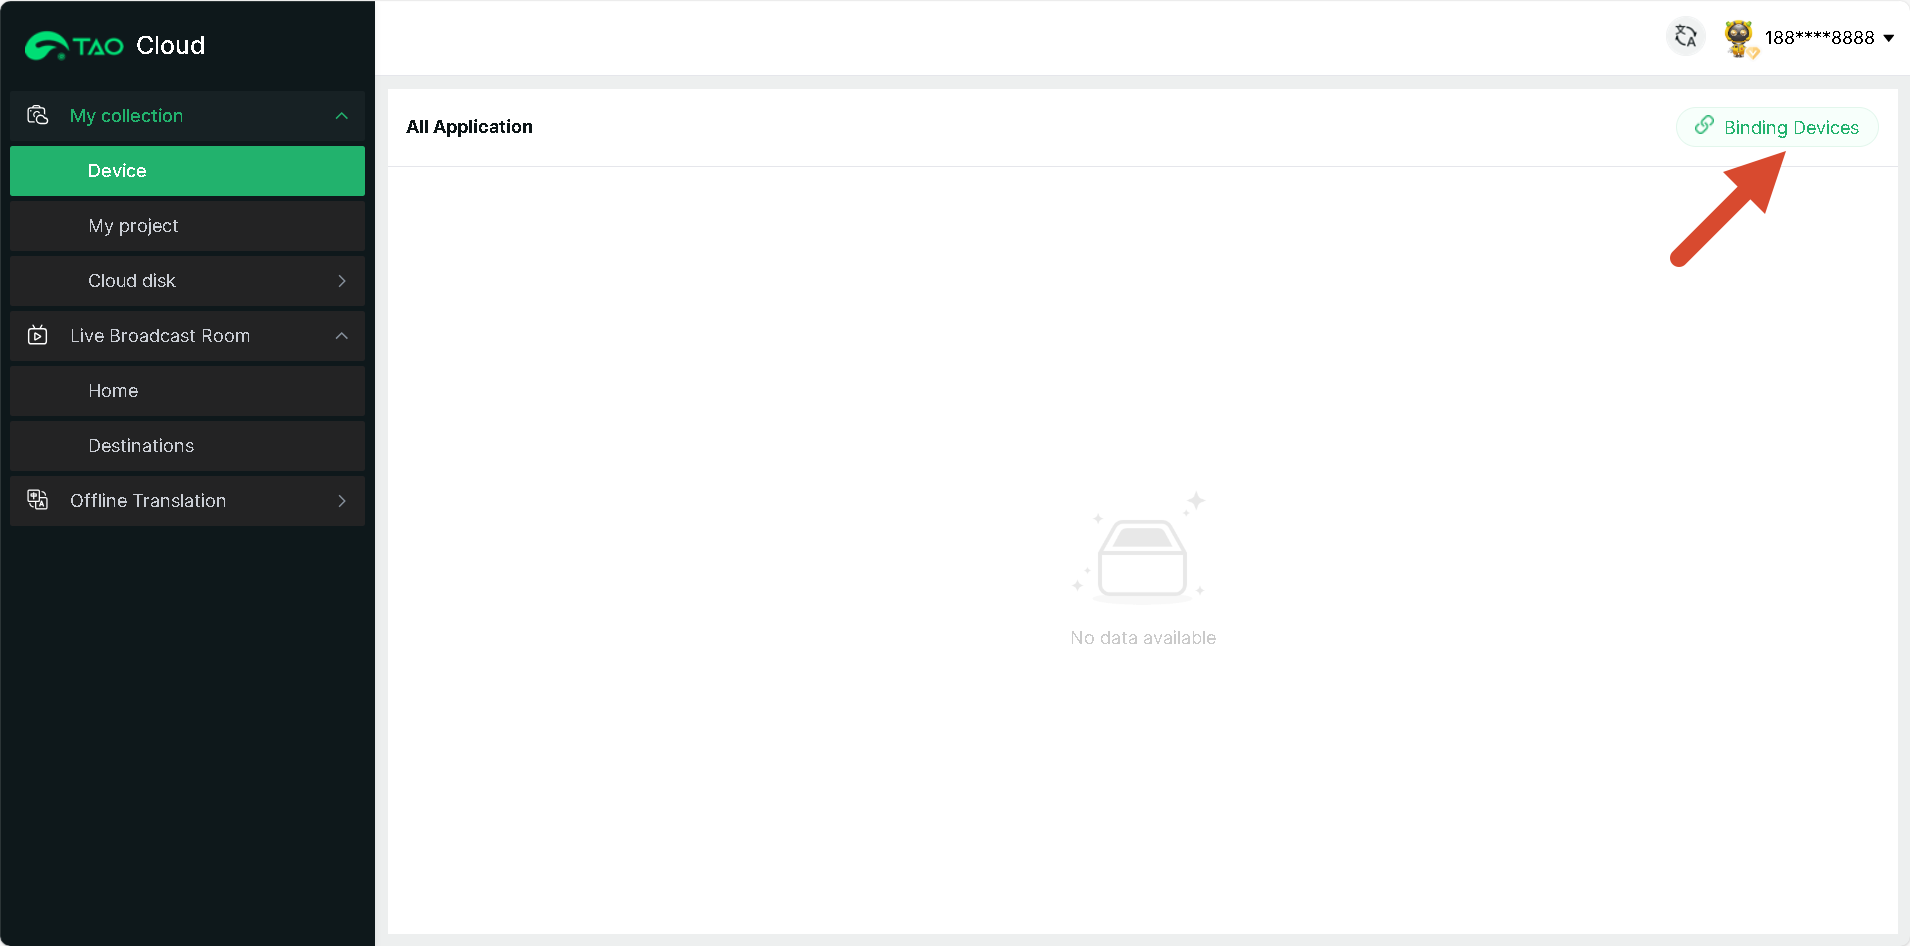
Enter:
- Device Name
- Verification Code
Then tap Bind to complete device binding.
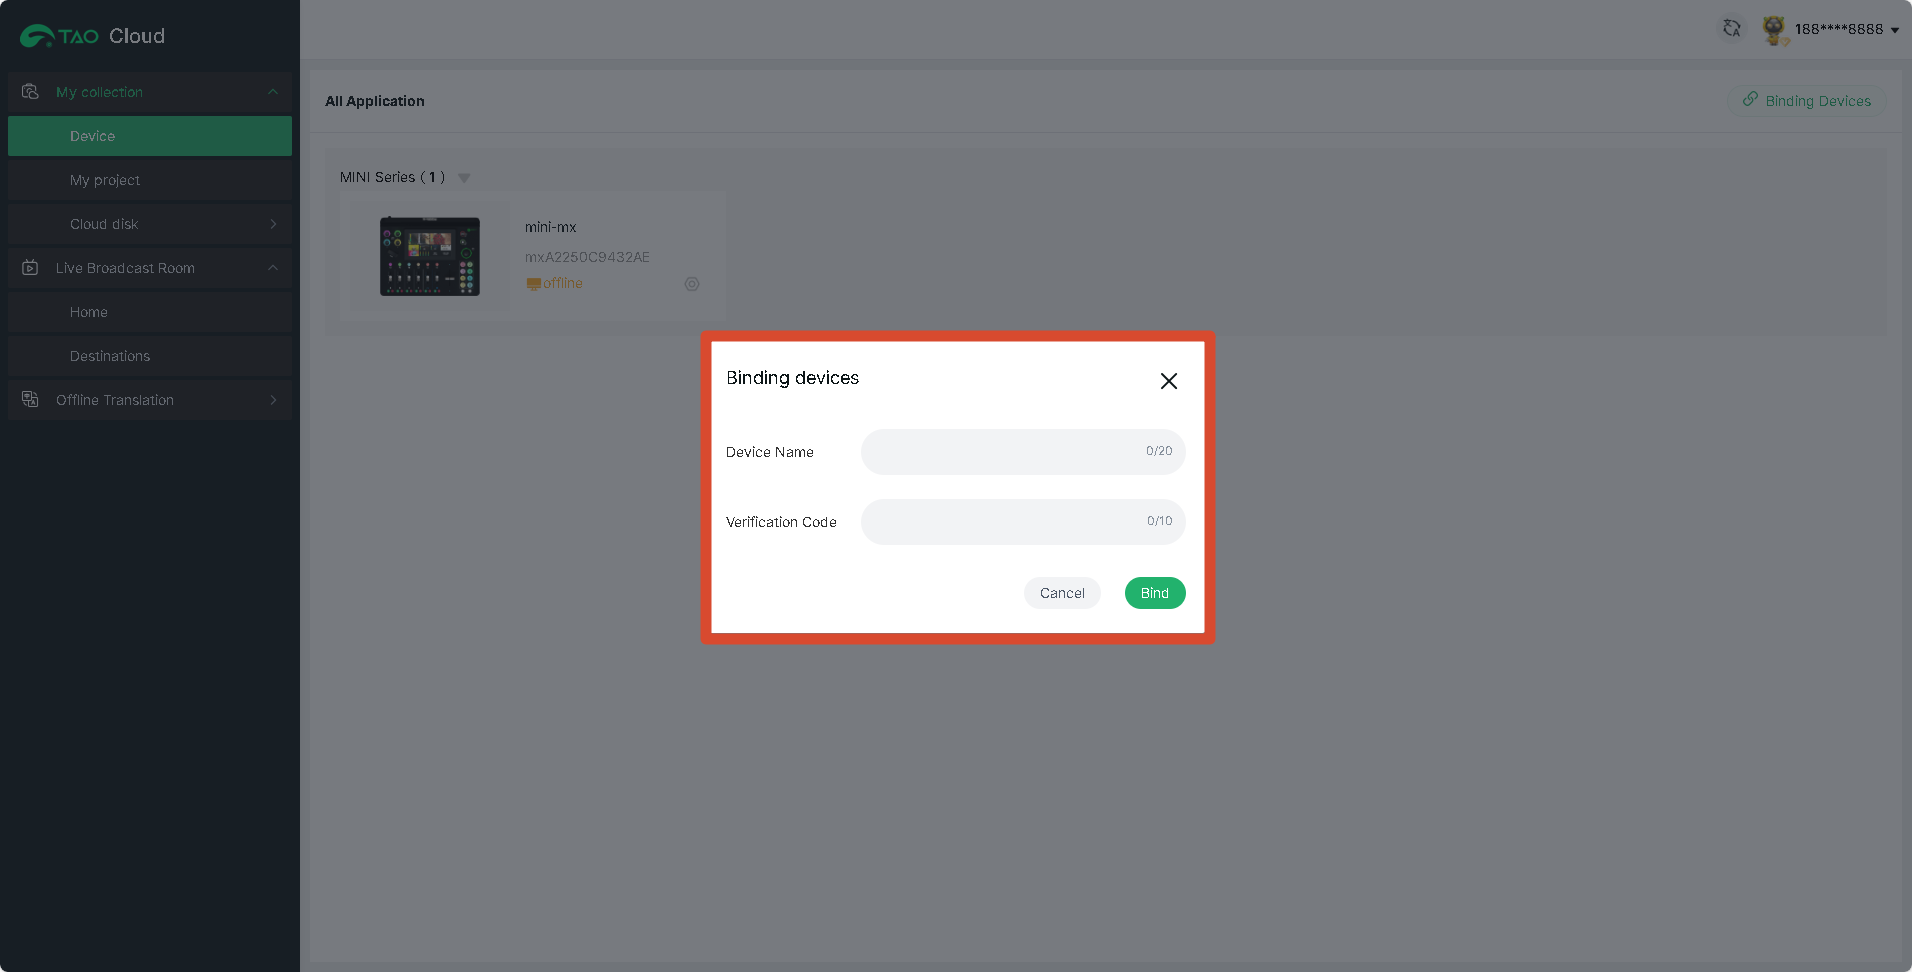
After binding, the device status can be viewed in All Application page.
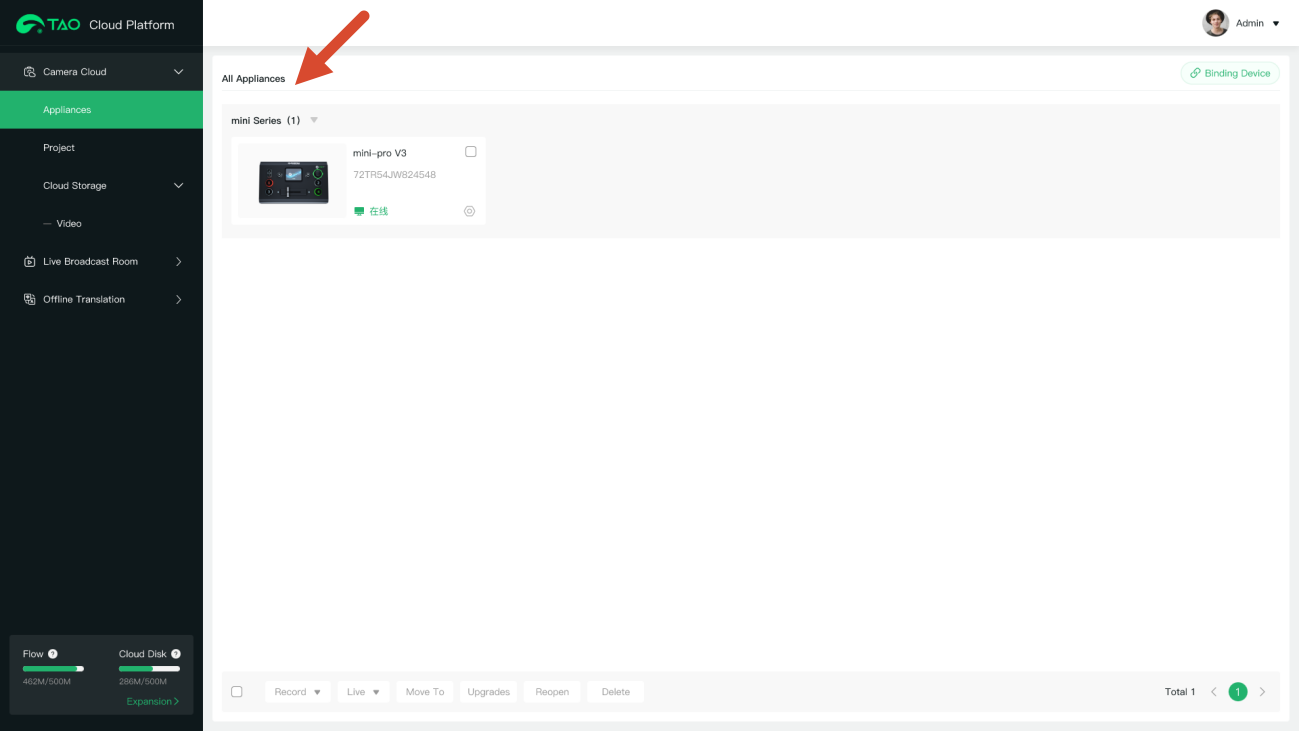
Unbind the Device
To unbind the device:
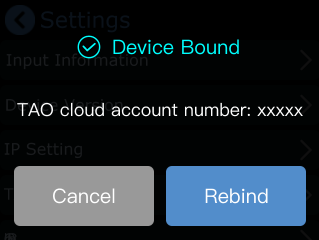
Open the TAO Cloud page on mini-pro again and select Rebind to remove the current binding.
Feature Licensing
Input Information
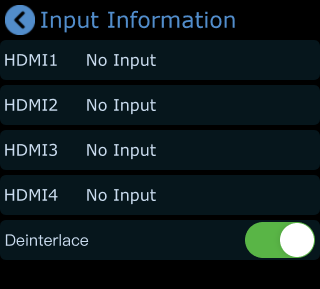
Go to Settings > Input Information to view HDMI input status.
In this page:
- If no HDMI input is detected, the screen displays No Input
- If an HDMI source is connected, the input resolution will be displayed
- If the input signal is interlaced, Deinterlace can also be enabled.
Color Setting
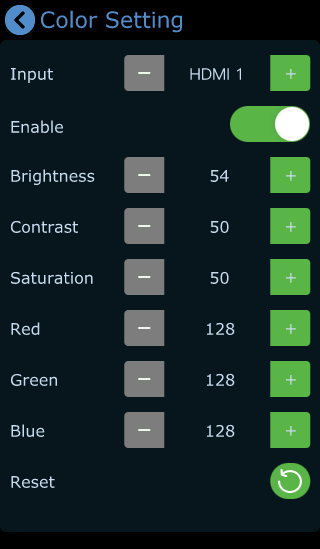
Go to Settings > Color Management to open the image adjustment page, you can independently adjust HDMI 1–4 input sources.
After enabling Color Management, you can use the following controls:
- Tap - or + to switch HDMI input sources, or use the front-panel X knob to select inputs
- Tap - or + to adjust image parameters, or use the front-panel Y knob for adjustment
- Brightness
- Contrast
- Saturation
- Other image parameters
This helps achieve more consistent and balanced output across different sources.
If incorrect settings are applied, tap Reset icon to restore default parameters.
Fan Speed
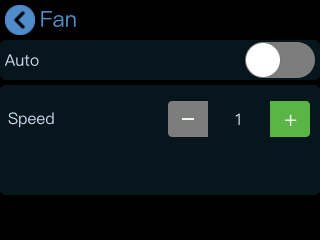
Go to Settings > Fan to configure fan settings.
● When Auto mode is enabled, mini-pro adjusts fan speed automatically
● When Auto mode is disabled, fan speed can be adjusted manually
Four fan speed levels are available.
Auto PVW
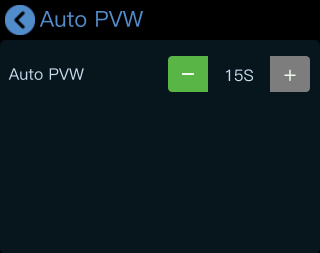
Go to Settings > Auto PVW to configure automatic preview return timing.
The system can automatically return to the default PVW after a period of inactivity.
- Default value: 15 seconds
- Adjustment step: 15 seconds
T-Bar Correction
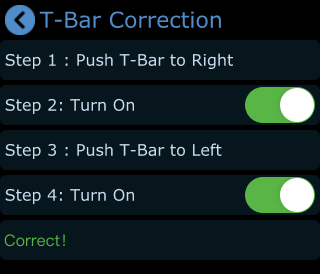
Go to Settings > T-Bar Correction to open the calibration page.
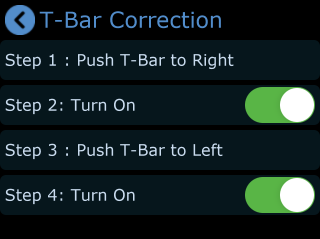
Follow these steps to complete:
- Move the T-Bar fully to the right
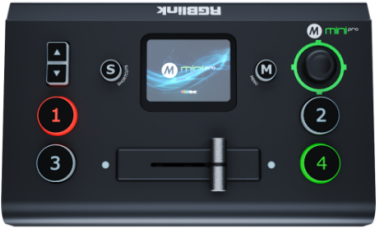
- Enable the switch
- Move the T-Bar fully to the left
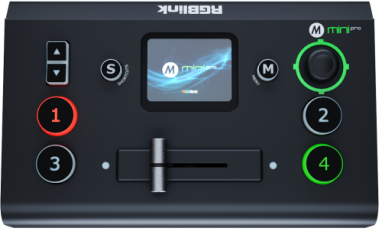
- Enable the switch again
- When calibration is complete, the screen will display "Correct!"
Key Test
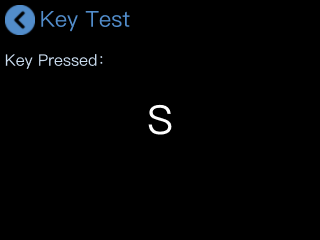
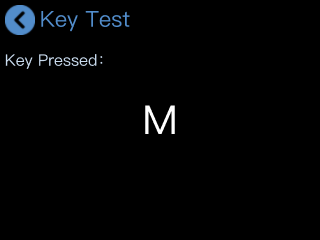
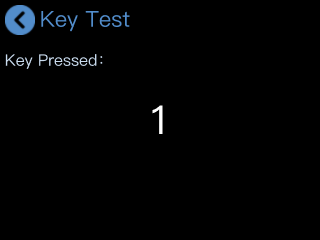
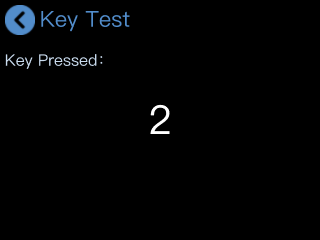
Tap Key Test to enter the test interface.
Press the M button or other buttons and verify that the displayed information matches the button being pressed to confirm proper operation.
 |  |  |  |
|---|
Update
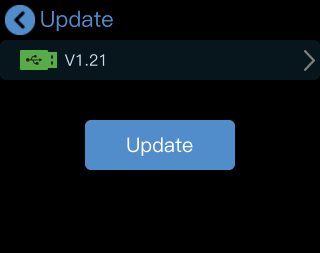
Tap Upgrade to enter the system upgrade interface.
Tap Upgrade to start upgrading mini-pro.
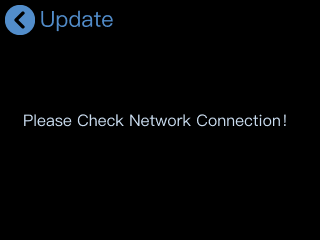
📢  Important

Make sure the network connection is stable before and during the upgrade process.
Reset
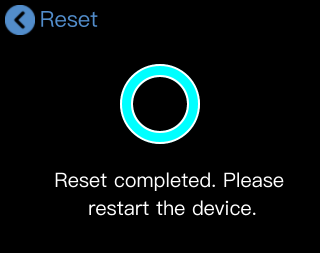
Tap Reset to enter the factory reset interface.
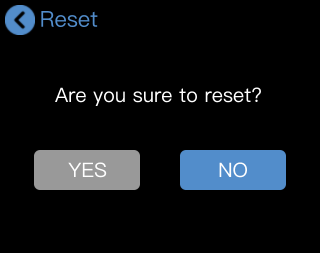
Tap YES to restore the device to its default settings.
After the reset is complete, reboot the device.