Online Manual
mini User Manual

1.2.9 Settings
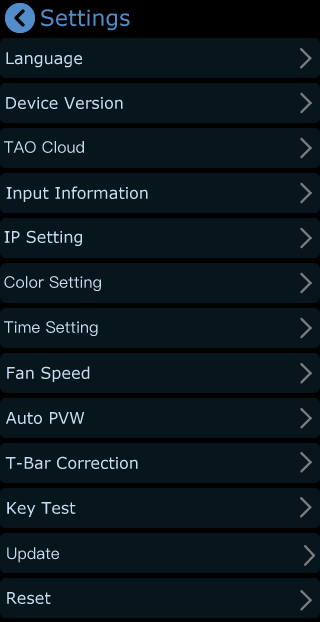
Tap [Settings] to open the system settings menu.
The settings menu includes:
Language, Device Version, Input Information, IP Setting, Color Setting, Time Setting, Fan Speed, Auto PVW, Reset, T-Bar Correction, Key Test, Update and Reset.
Language
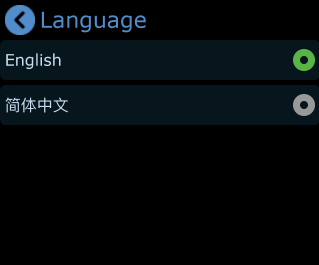
Go to [Settings] > [Language] to open the language settings page.
mini supports:
● 简体中文
● English
Select the preferred interface language as needed.
Device Version
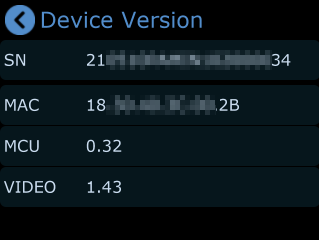
Go to [Settings] > [Device Version] to view device information.
Available information includes:
- SN: Device Serial Number
- MAC address
- MCU version
- Video version
Input Information
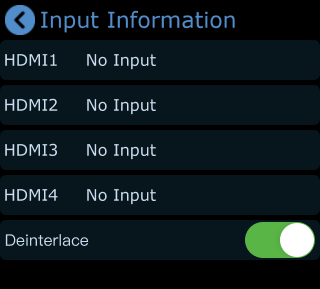
Go to [Settings] > [Input Information] to view HDMI input status.
In this page:
- If no HDMI input is detected, the screen displays [No Input]
- If an HDMI source is connected, the input resolution will be displayed
- If the input signal is interlaced, [Deinterlace] can also be enabled.
Color Setting
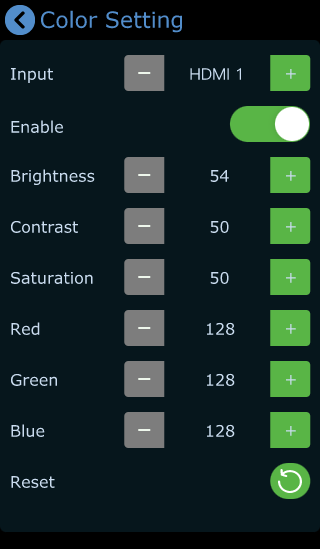
Go to [Settings] > [Color Management] to open the image adjustment page, you can independently adjust HDMI 1–4 input sources.
After enabling Color Management, you can use the following controls:
- Tap [-] or [+] to switch HDMI input sources, or use the front-panel X knob to select inputs
- Tap [-] or [+] to adjust image parameters, or use the front-panel Y knob for adjustment
- Brightness
- Contrast
- Saturation
- Other image parameters
This helps achieve more consistent and balanced output across different sources.
If incorrect settings are applied, tap [Reset] icon to restore default parameters.
Fan Speed
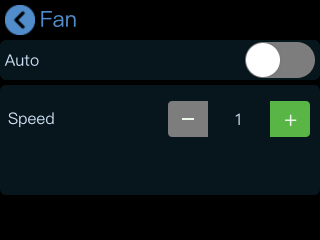
Go to [Settings] > [Fan] to configure fan settings.
● When Auto mode is enabled, mini adjusts fan speed automatically
● When Auto mode is disabled, fan speed can be adjusted manually
Four fan speed levels are available.
Auto PVW
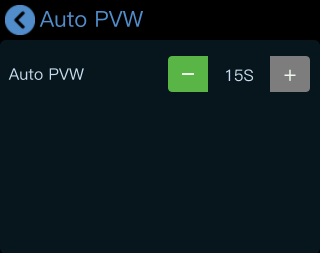
Go to [Settings] > [Auto PVW] to configure automatic preview return timing.
The system can automatically return to the default PVW after a period of inactivity.
- Default value: 15 seconds
- Adjustment step: 15 seconds
T-Bar Correction
Go to [Settings] > [T-Bar Correction] to open the calibration page.
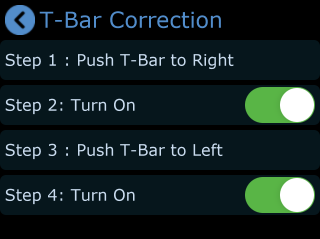
Follow these steps to complete:
- Move the T-Bar fully to the right
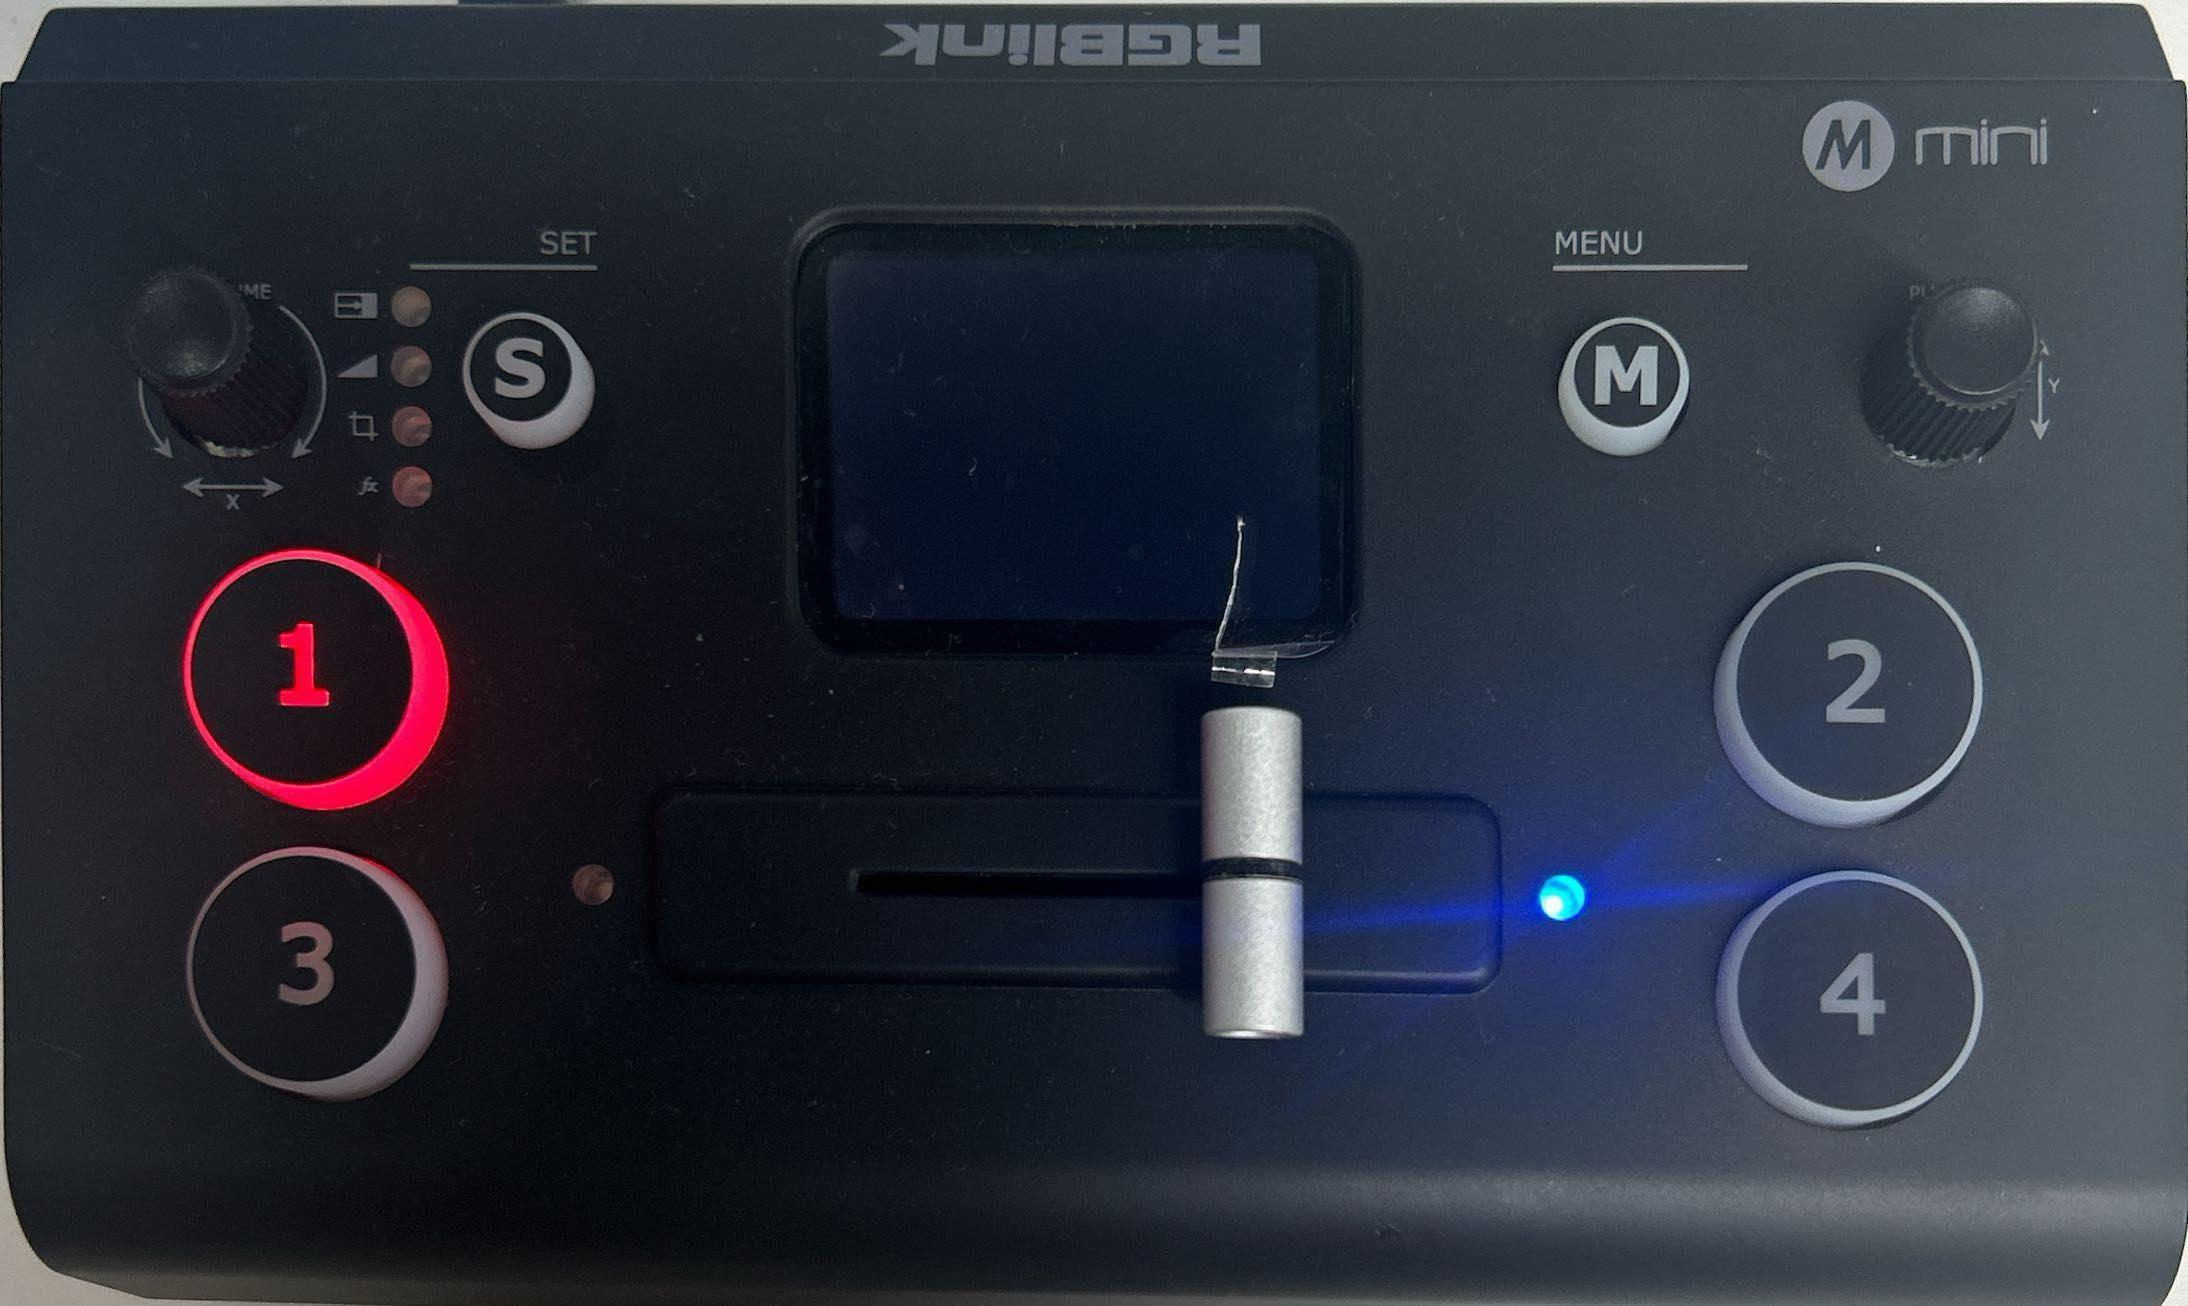
- Enable the switch
- Move the T-Bar fully to the left
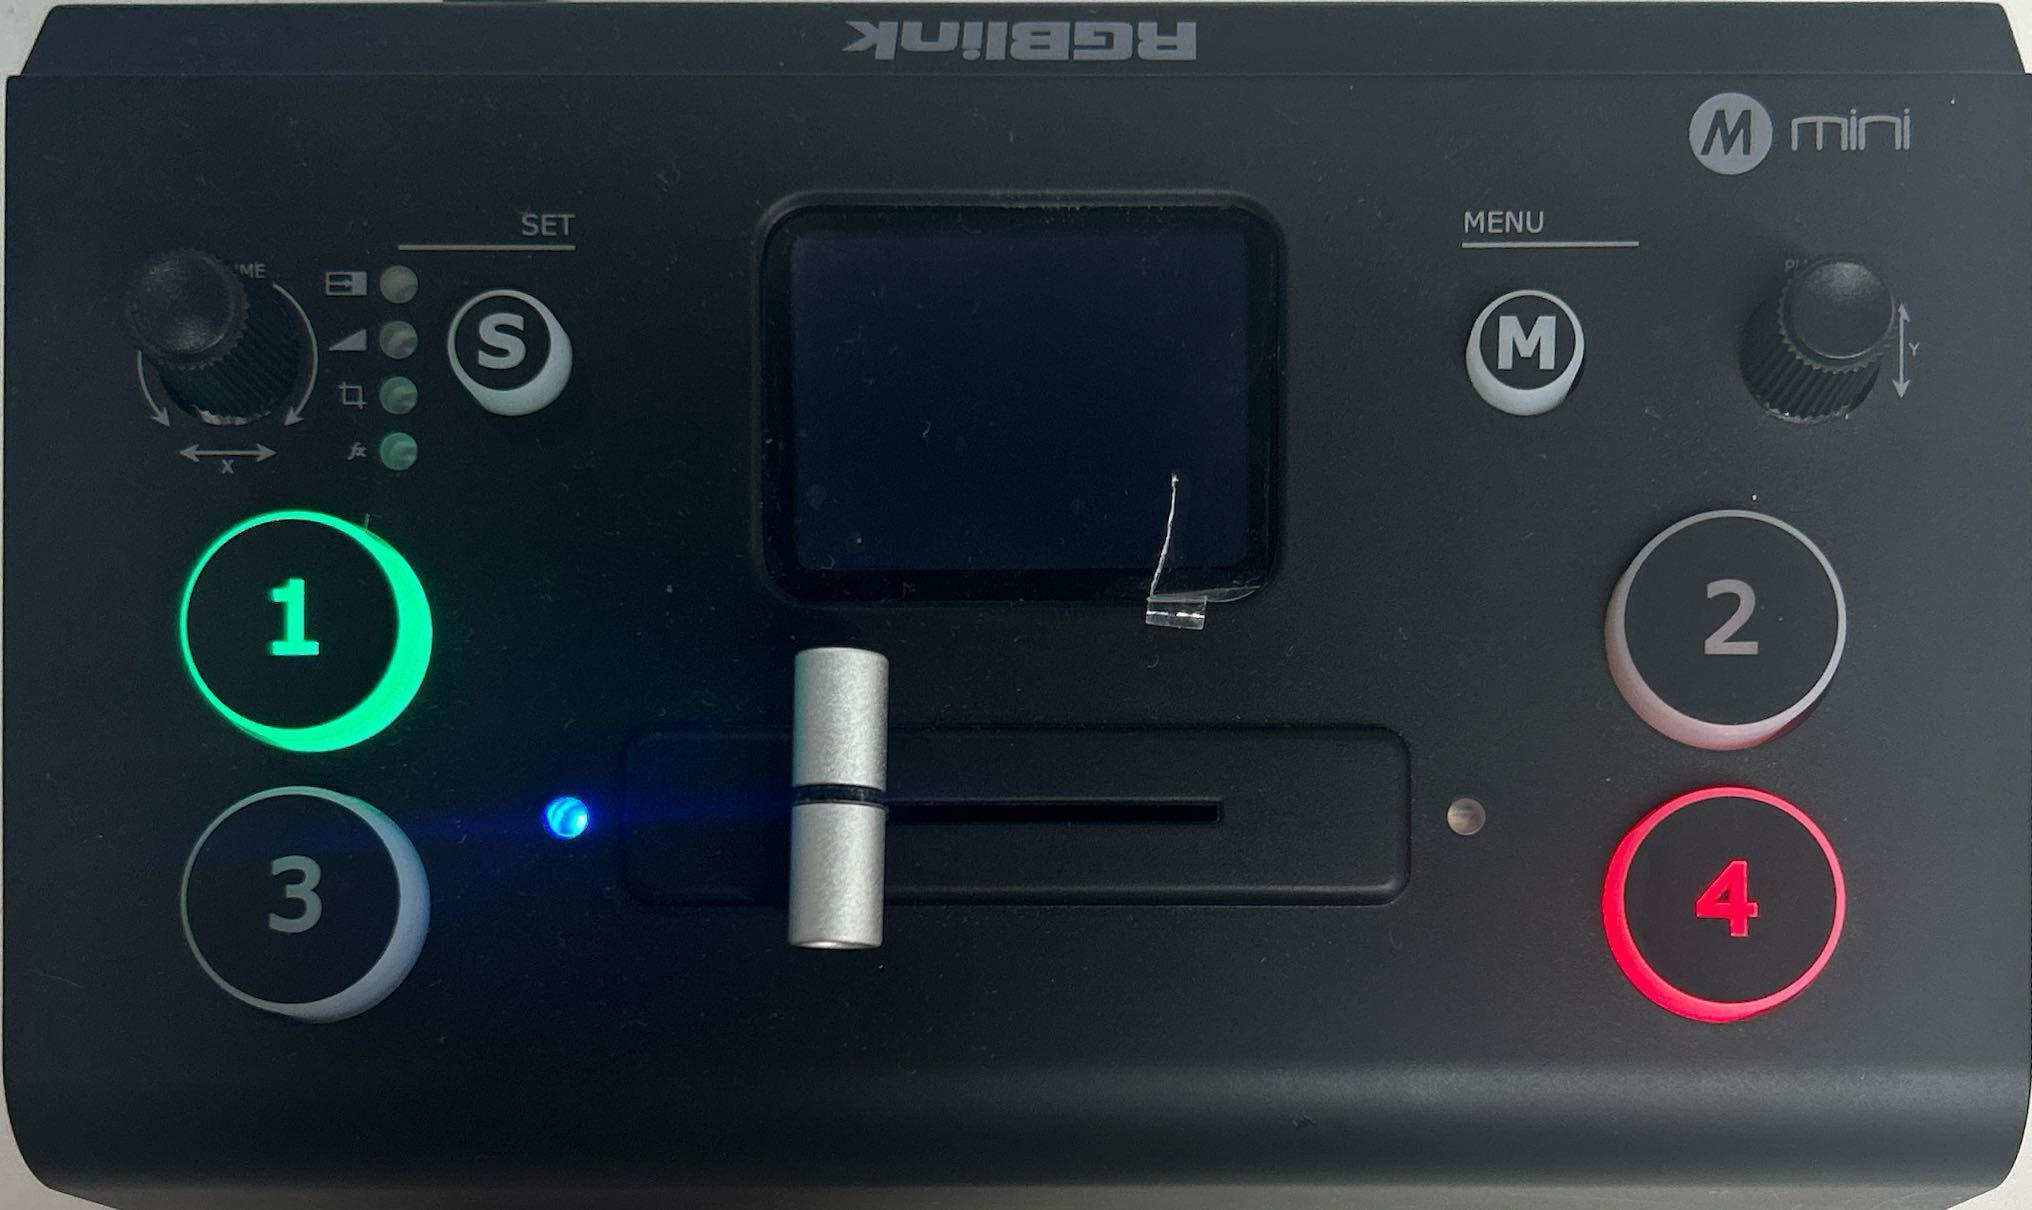
- Enable the switch again
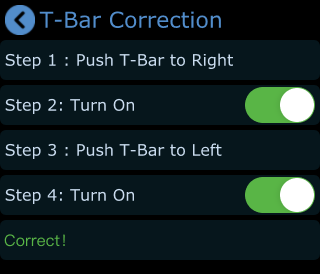
- When calibration is complete, the screen will display "Correct!"
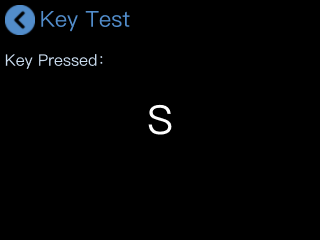
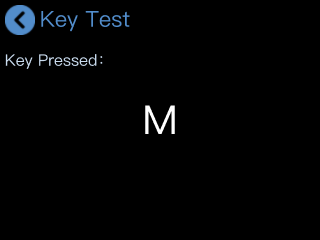
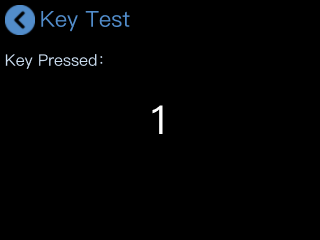
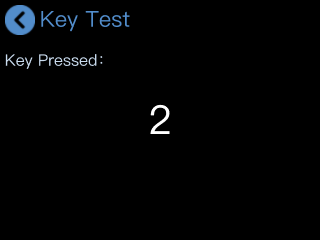
Key Test
Tap [Key Test] to enter the test interface.
Press the [M] button or other buttons and verify that the displayed information matches the button being pressed to confirm proper operation.
 |  |  |  |
|---|
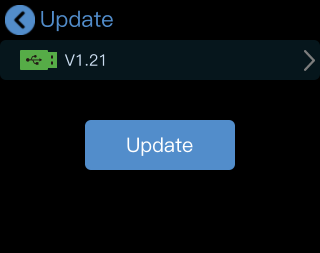
Update
Tap [Upgrade] to enter the system upgrade interface.
Tap [Upgrade] to start upgrading mini.
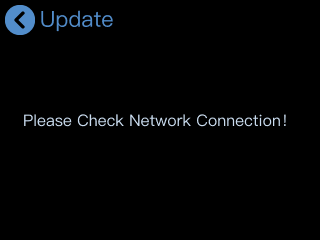
📢 ** Important**
Make sure the network connection is stable before and during the upgrade process.
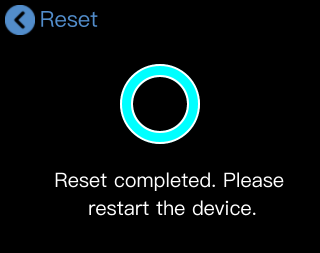
Reset
Tap [Reset] to enter the factory reset interface.
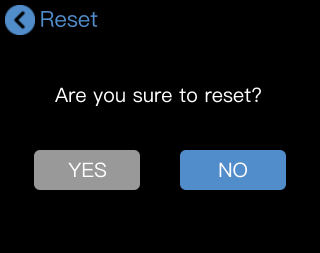
Tap [YES] to restore the device to its default settings.
After the reset is complete, reboot the device.