Online Manual
mini-edge SDI User Manual

3.6 Controlling PTZ Camera
mini-edge SDI supports PTZ camera control via IP VISCA and NDI protocols, enabling:
- Pan, tilt, and camera positioning control
- Lens zoom control
- Manual and automatic focus control
- PTZ preset recall
The system can also save camera positions and zoom settings for quick recall.
PTZ Control
Accessing the PTZ Control Page
- Press MENU to enter the menu screen.
- Select PTZ and press ENTER.
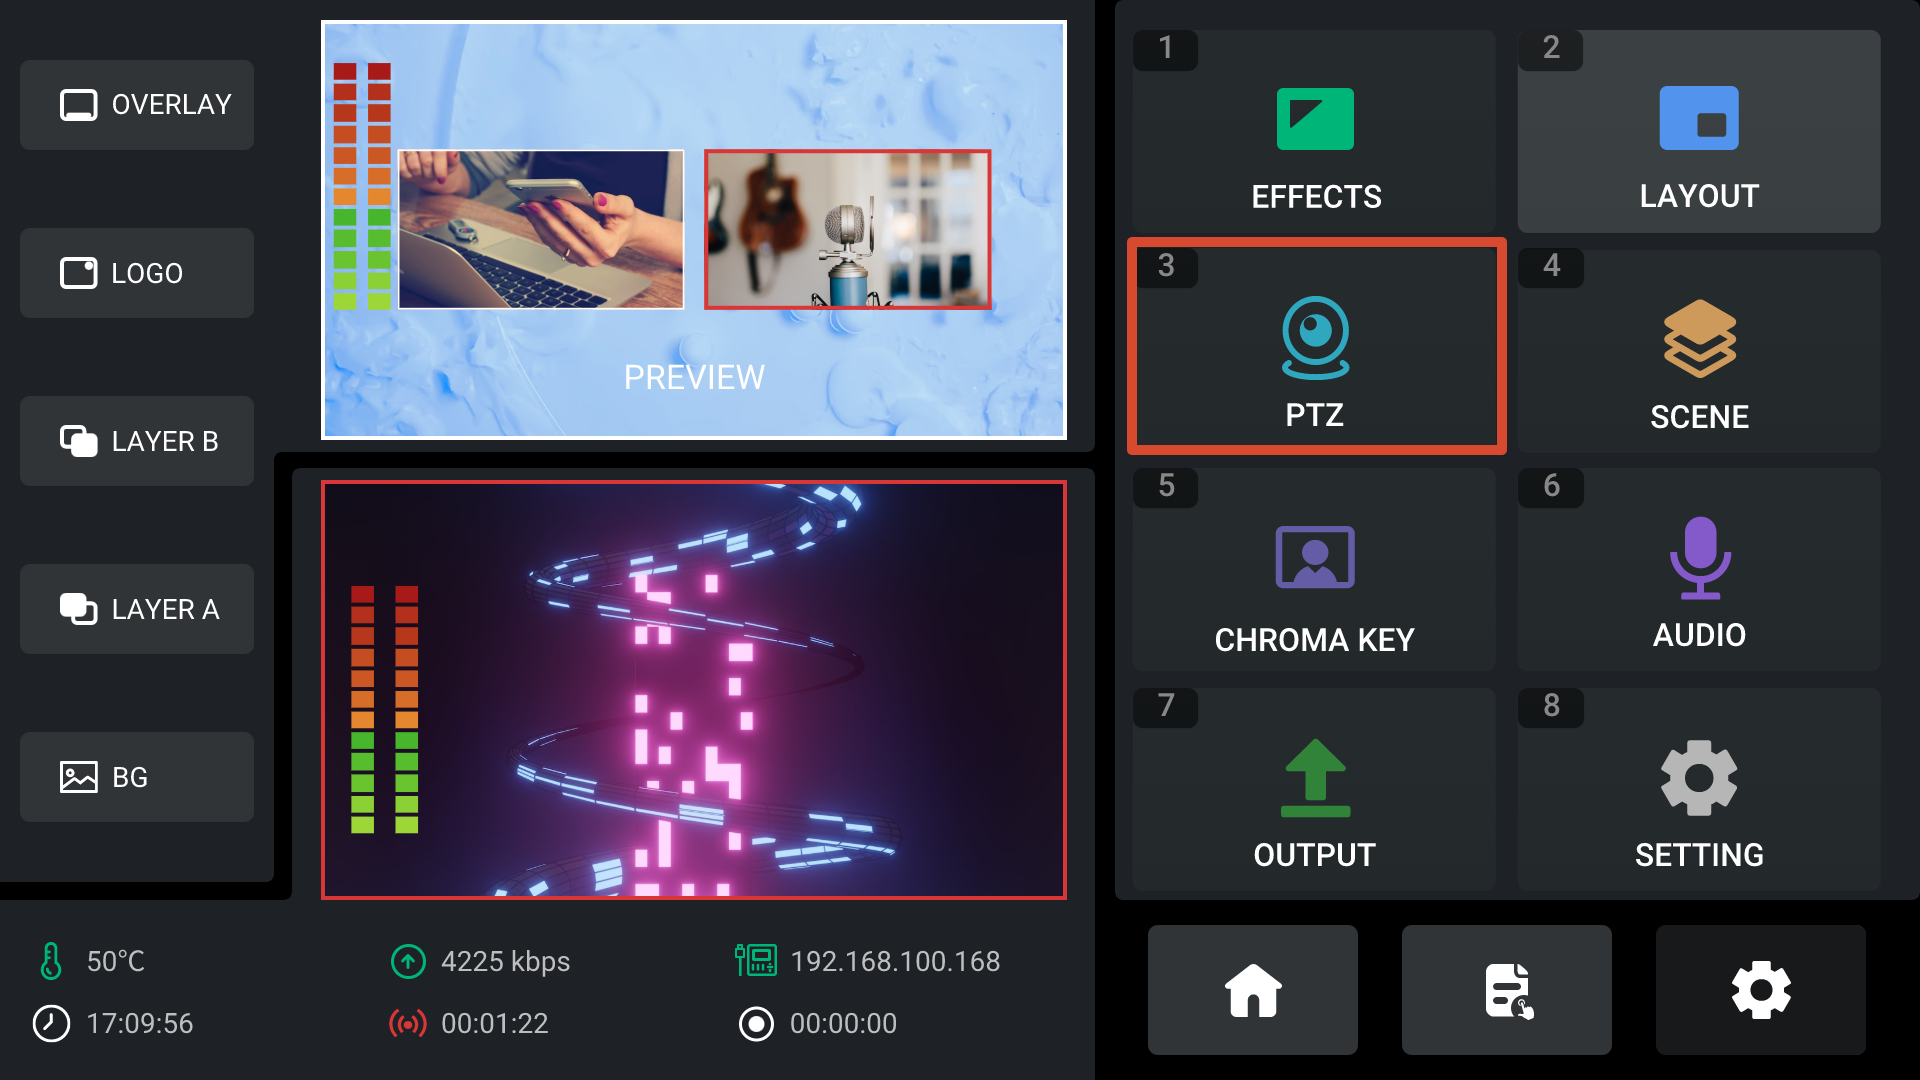
- Rotate ENTER to select an input source:
- HDMI 1–4
- SDI 1–4
- NDI
- Press ENTER to open the corresponding camera control page.
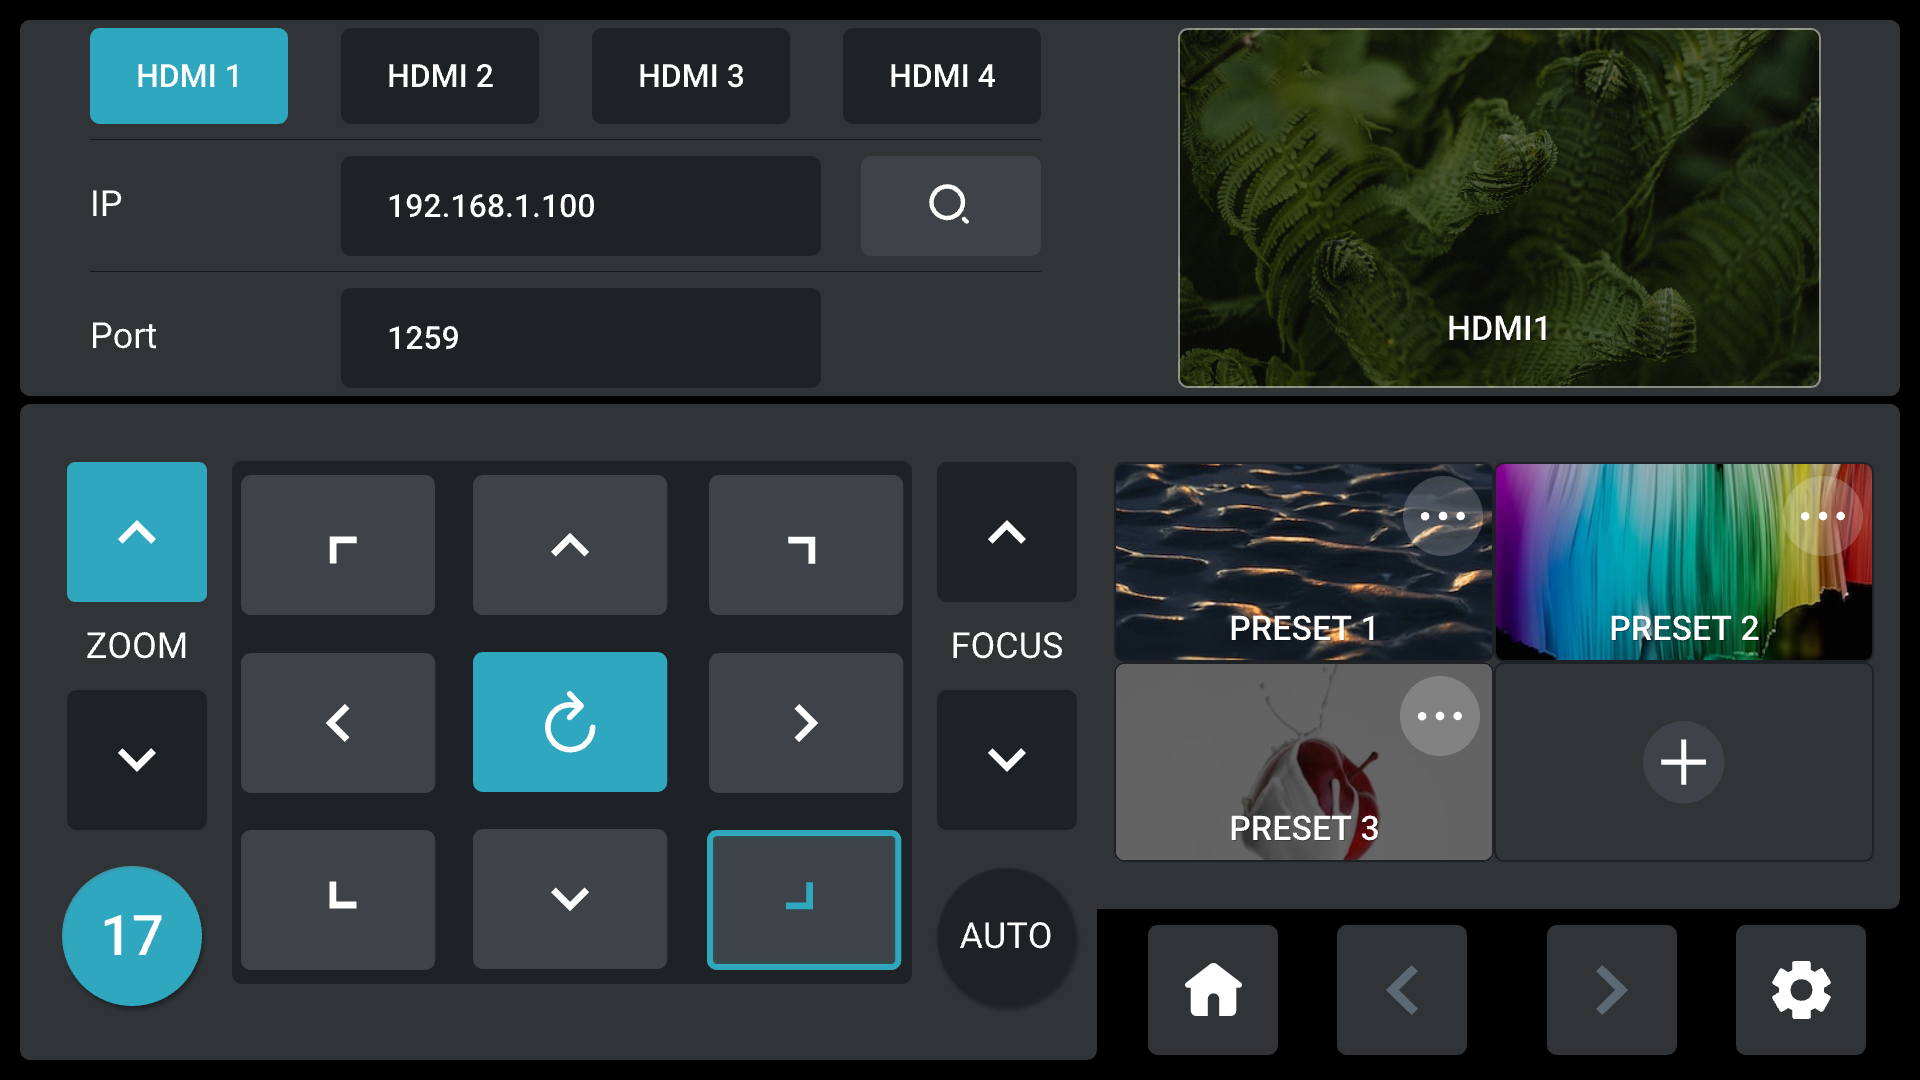
Camera Control
mini-edge SDI supports simultaneous control of:
- Up to four PTZ cameras
- NDI PTZ cameras
Before use, verify that the camera VISCA port number is set to 1259.
If a different port is used, refer to the camera documentation and enter the correct port number on the PTZ page.
For optimal compatibility, RGBlink recommends using the vue series broadcast PTZ cameras.
Controlling a Single Camera
- Connect the Camera
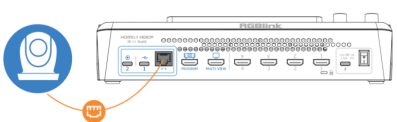
- Configure IP Addresses
The mini-edge SDI and PTZ camera must be on the same subnet.
The first three segments of the IP address should match.
a. Viewing or Modifying the Camera IP Address
- Automatic Detection
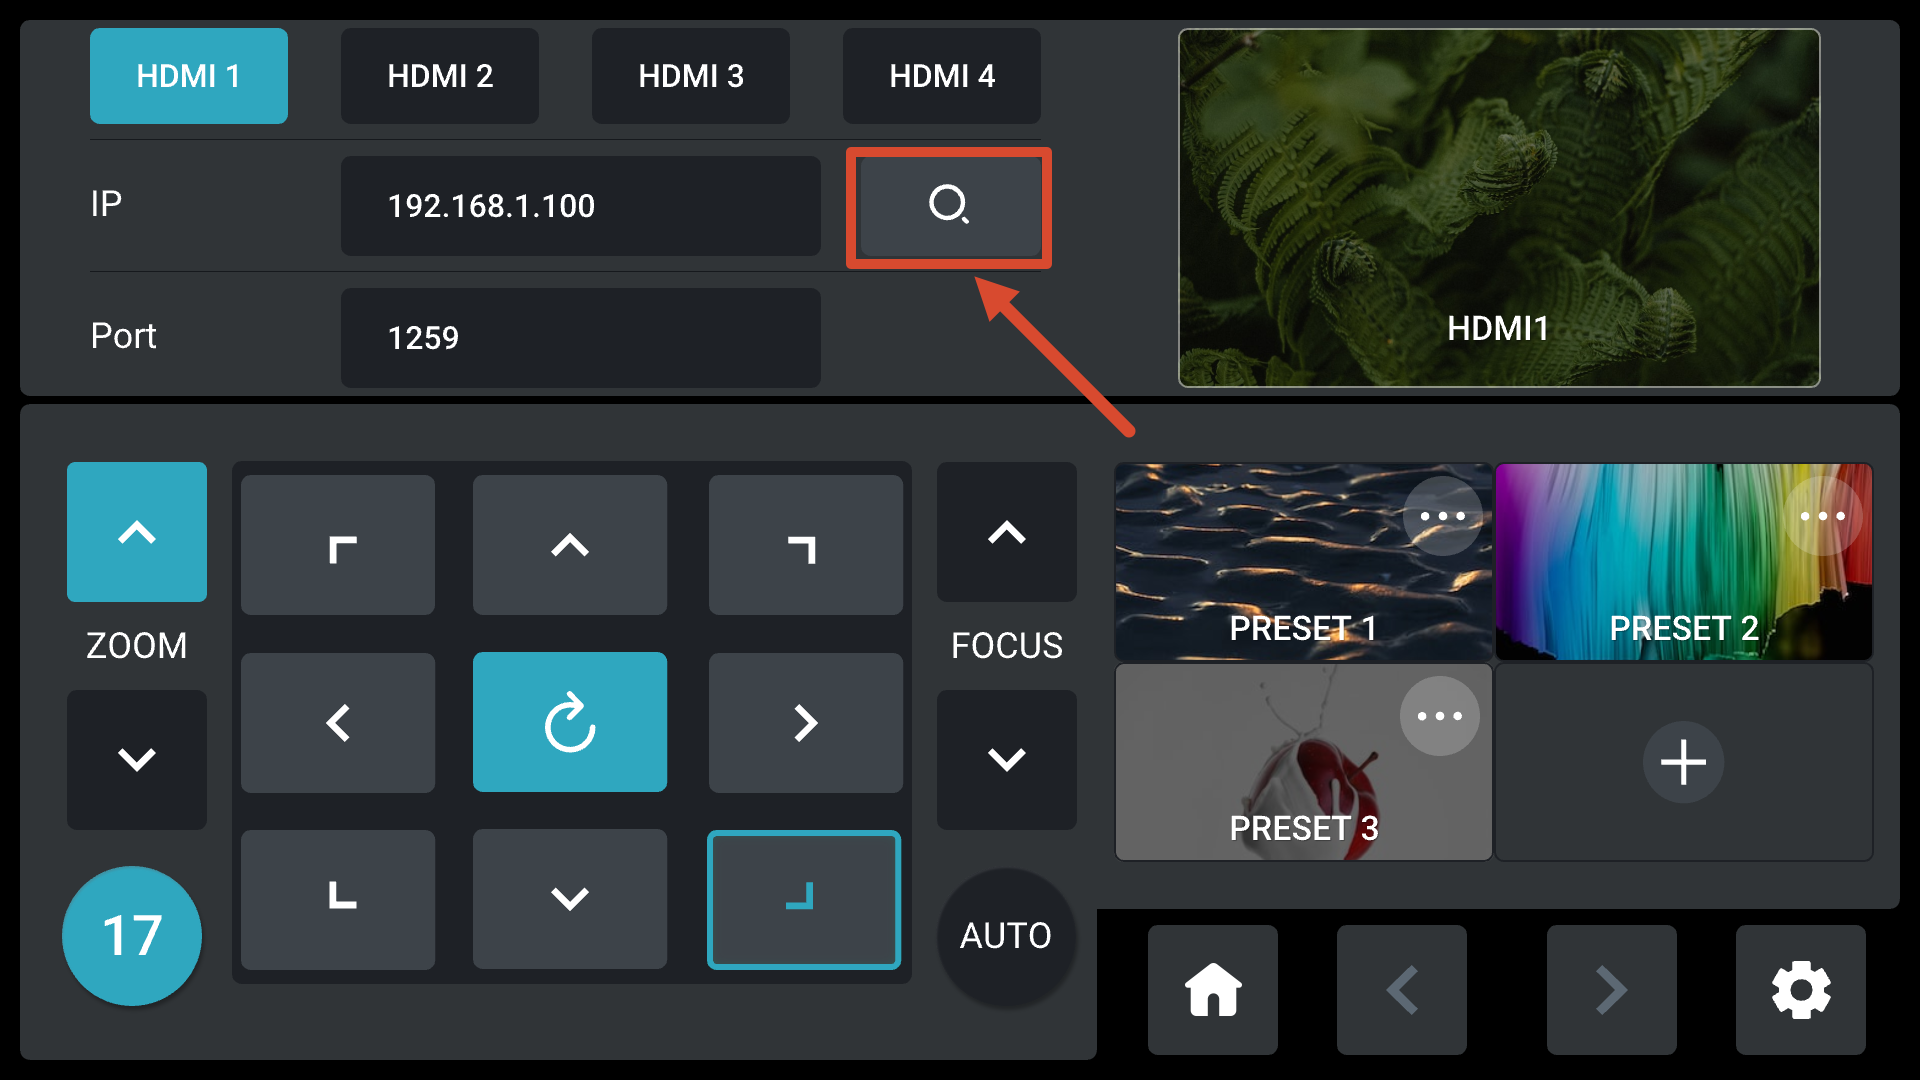
- When mini-edge SDI is directly connected to a camera, the system can automatically detect the camera IP address.
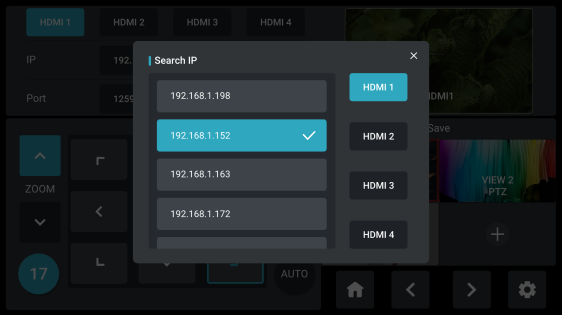
- When connected to a LAN, rotate ENTER to the
 and press ENTER to scan available PTZ cameras on the network. Select the desired IP address to establish control.
- Manual Configuration
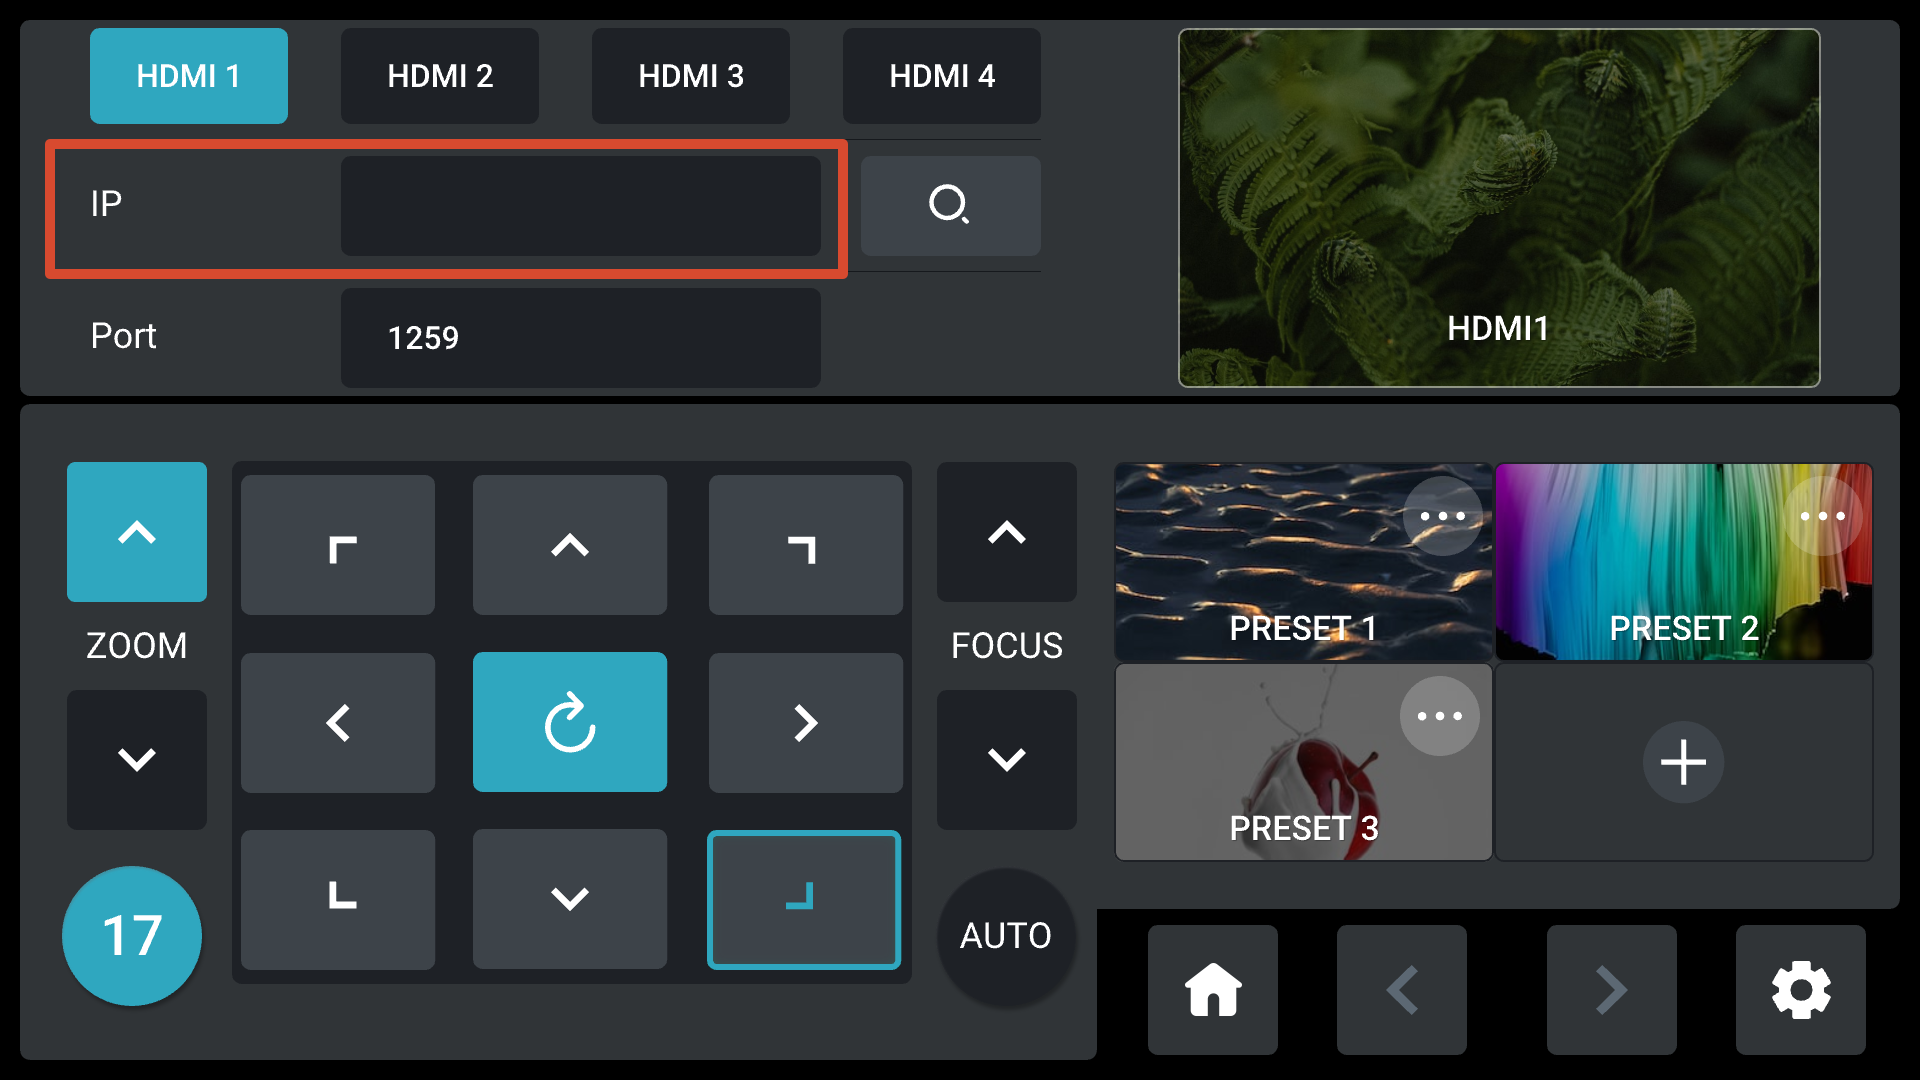
- Select the IP address field.
- Press ENTER to enter edit mode.
- The SHORTCUT area switches to numeric input mode.
- Enter the new IP address.
- Press MENU to exit editing.
b. Viewing or Modifying the Device IP Address
- Automatic IP Assignment
- Navigate to SETIING> Network.
- Enable DHCP.
- The device automatically obtains an IP address.
- Manual IP Configuration
- Disable DHCP.
- Use the numeric buttons in the SHORTCUT section to enter the desired IP address.
Controlling Multiple Cameras
mini-edge SDI can control multiple PTZ cameras simultaneously through a network switch.
- Verify Network Connectivity
Before configuration, use the ping command to verify network communication and confirm that target IP addresses are not already in use.
- Press Windows + R.
- Enter cmd and click OK.
- In Command Prompt, enter a command such as
ping 192.168.5.66
If the message Destination Host Unreachable is displayed, the address is not currently in use.
Assign the available IP address to the PTZ camera and run the ping command again.
If a reply is received, communication between mini-edge SDI and the PTZ camera has been established successfully.
- Configure Camera IP Addresses
Ensure that:
- Each camera uses a unique IP address.
- All devices are on the same subnet as mini-edge SDI.
- Connect the Network Switch
a. Connect the computer to the network switch.
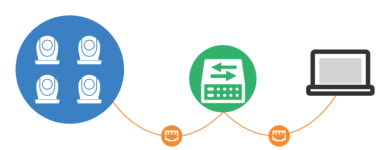 b. Connect mini-edge SDI and all PTZ cameras to the same switch using Ethernet cables.
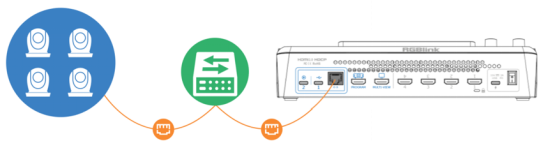
RGBlink CAT6 Ethernet cables are recommended. Product code: 940-0001-00-11-0
- After configuration is complete, mini-edge SDI can control multiple PTZ cameras simultaneously.
📢 Notes

1. Ensure that the computer, mini-edge SDI, and all PTZ cameras are on the same subnet.
2.  Verify each camera IP address individually using the **ping** command.
3.  mini-edge SDI supports:
-  IP VISCA
-  NDI Control

The following protocols are not currently supported:
-  CGI
-  HTTP
-  Pelco-D
-  Pelco-P
PTZ Presets
Zoom Control
Use the front-panel toggle control to adjust the camera focal length.
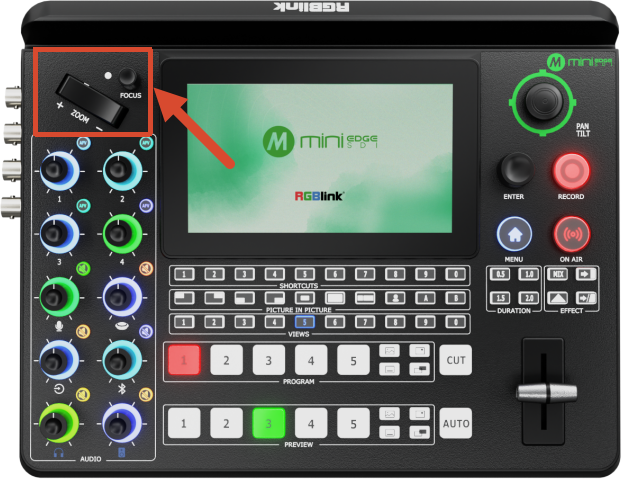
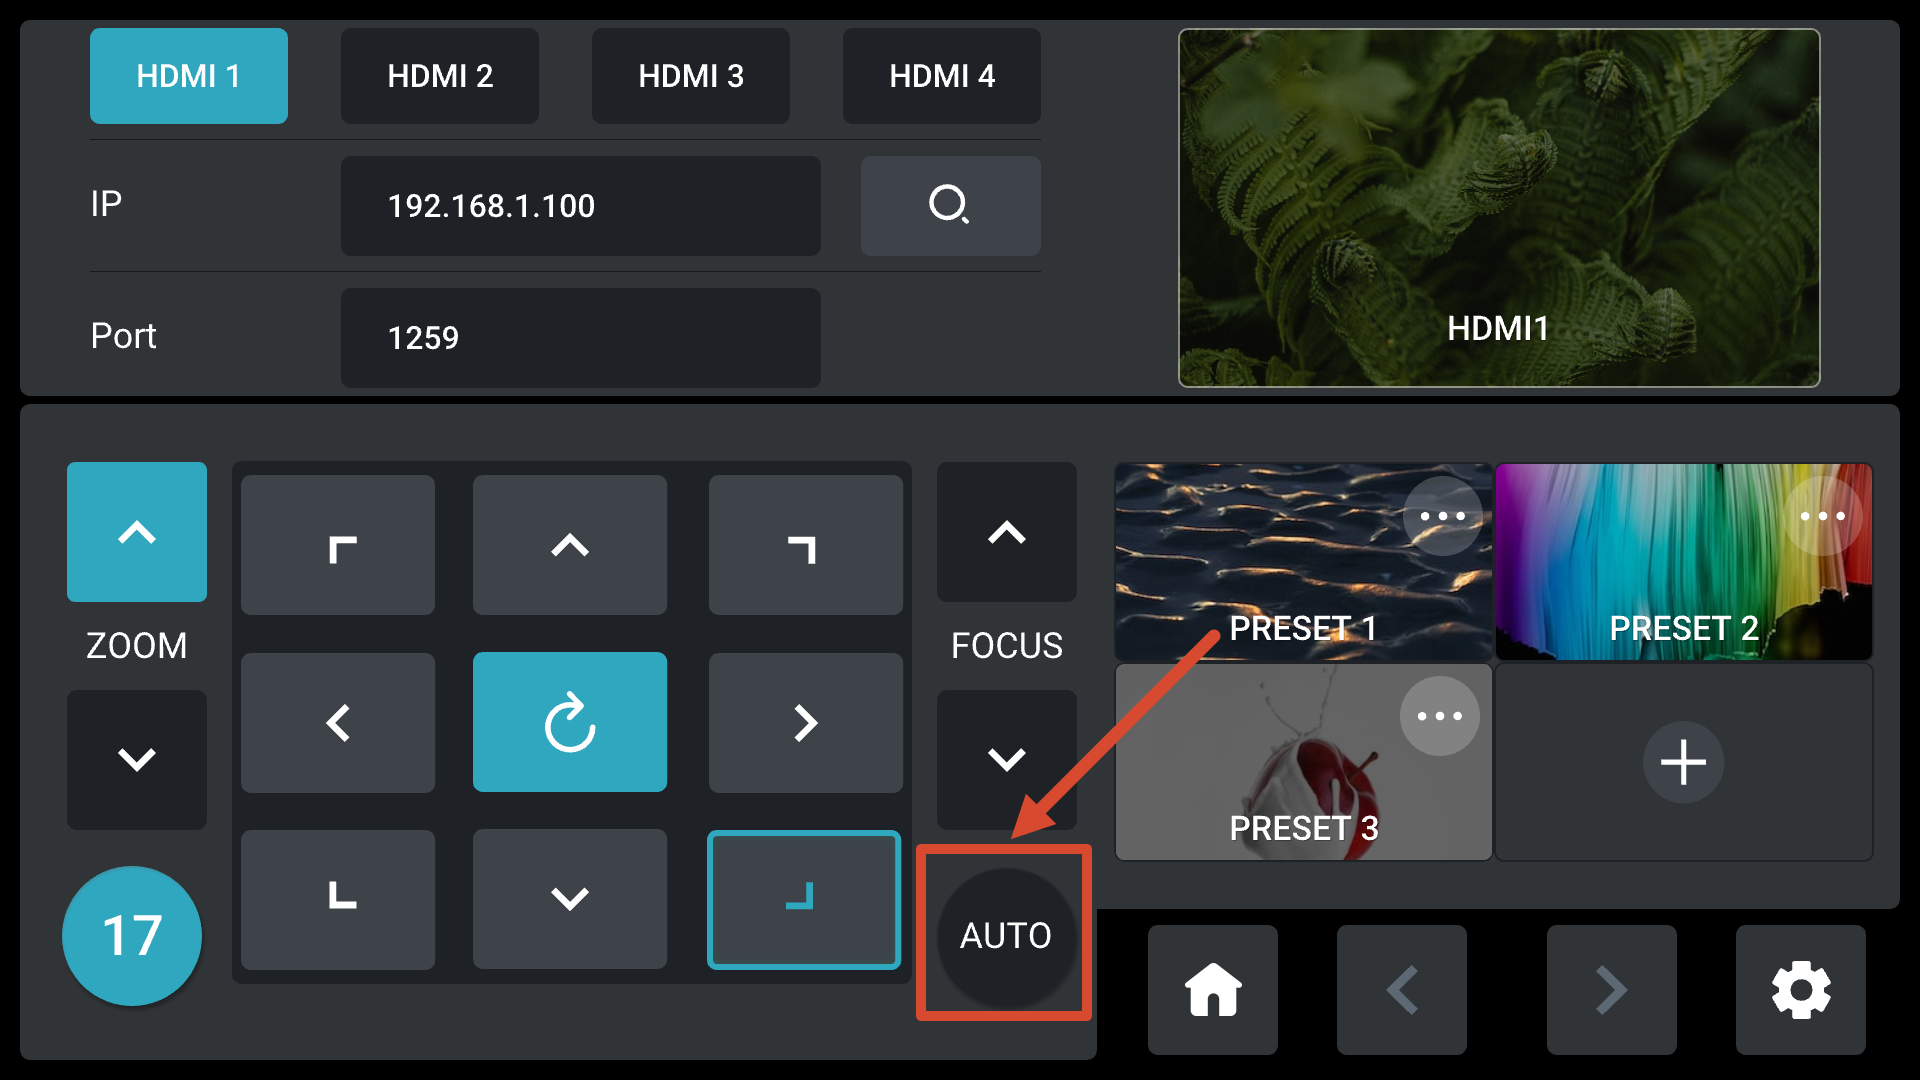
Focus Control
- Press the focus knob to enable or disable autofocus.
- Rotate the focus knob for manual focus adjustment.
- Autofocus can also be enabled or disabled by selecting AUTO on the PTZ page.
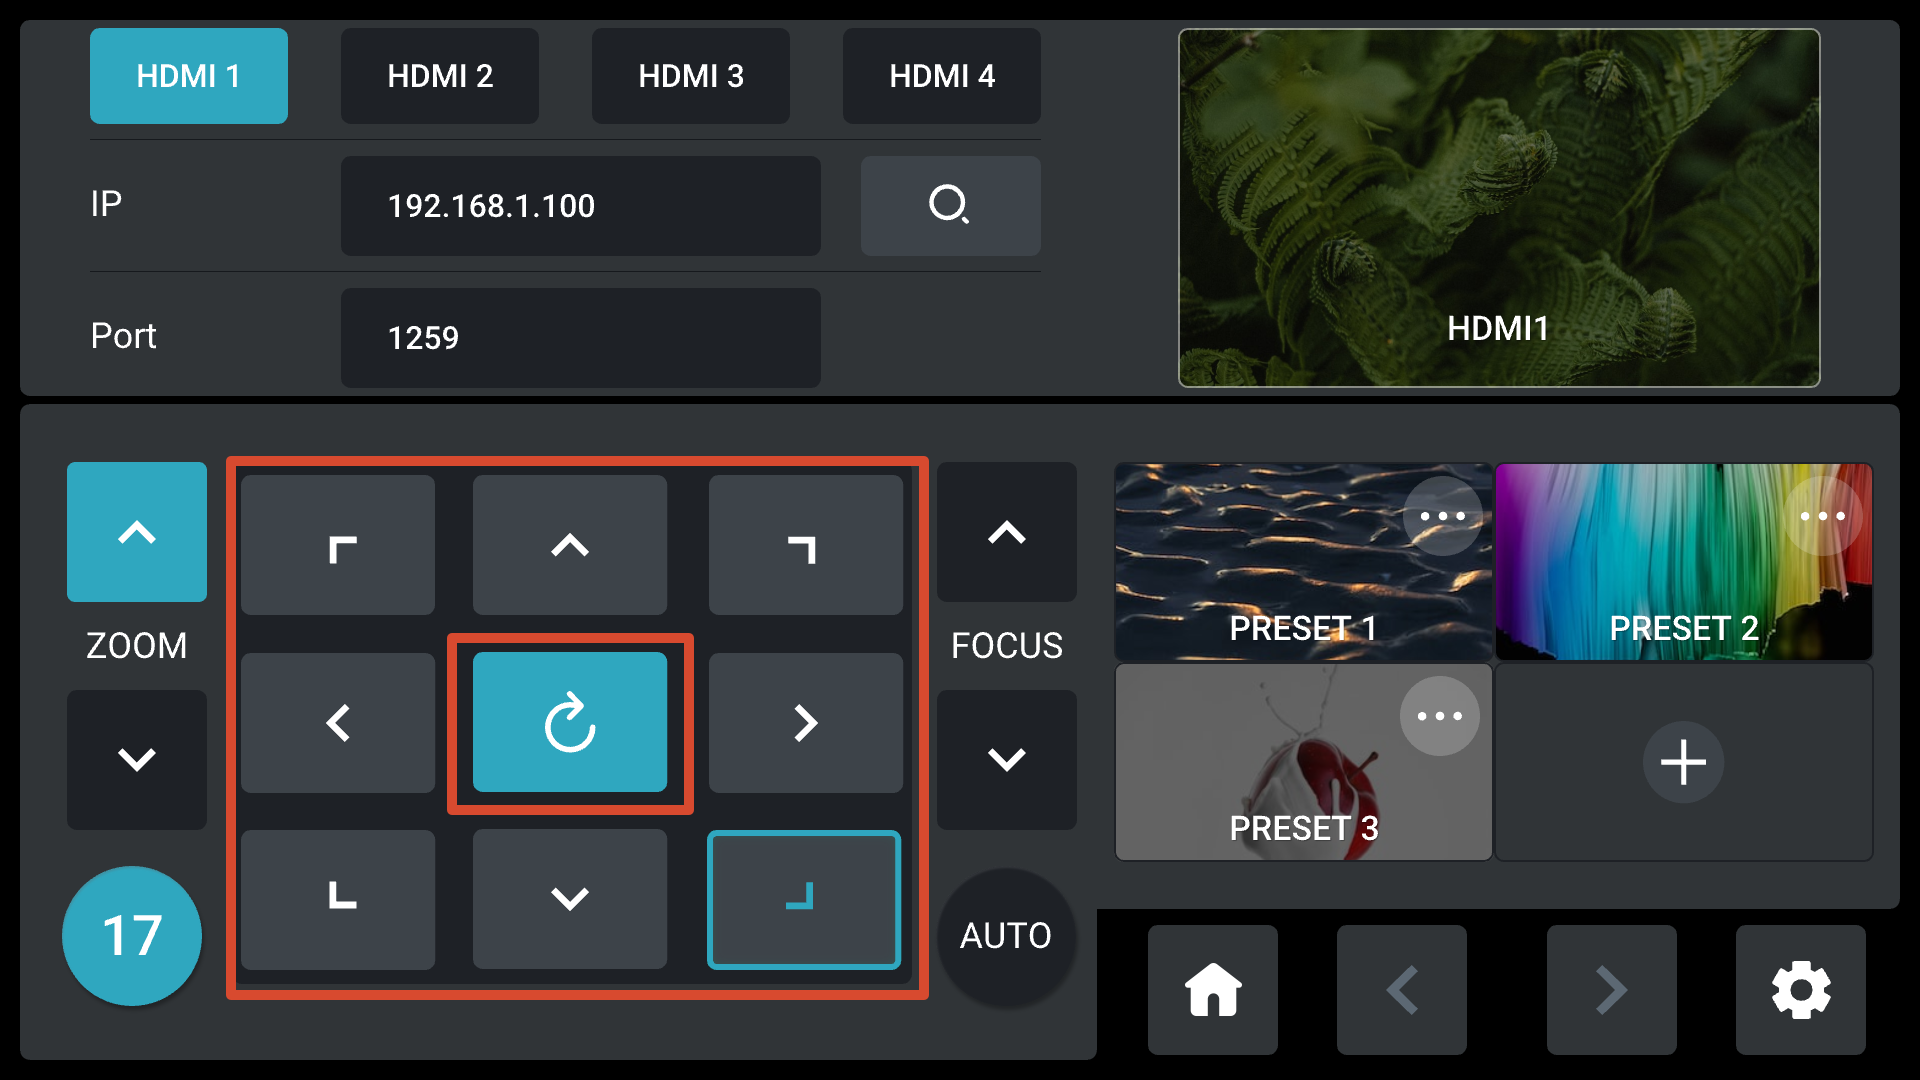
Pan/Tilt Control
Use the front-panel 5-Direction joystick to control camera movement.
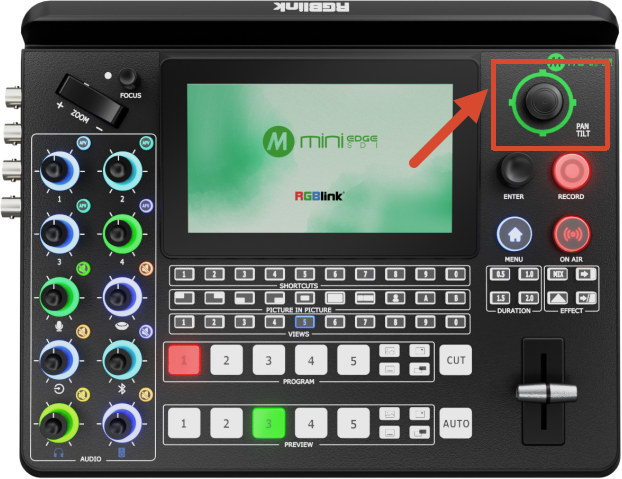
During operation, the corresponding direction indicator is highlighted.
Speed Adjustment
Available speed levels: 17/14/11/8/5/2
Default speed: 17
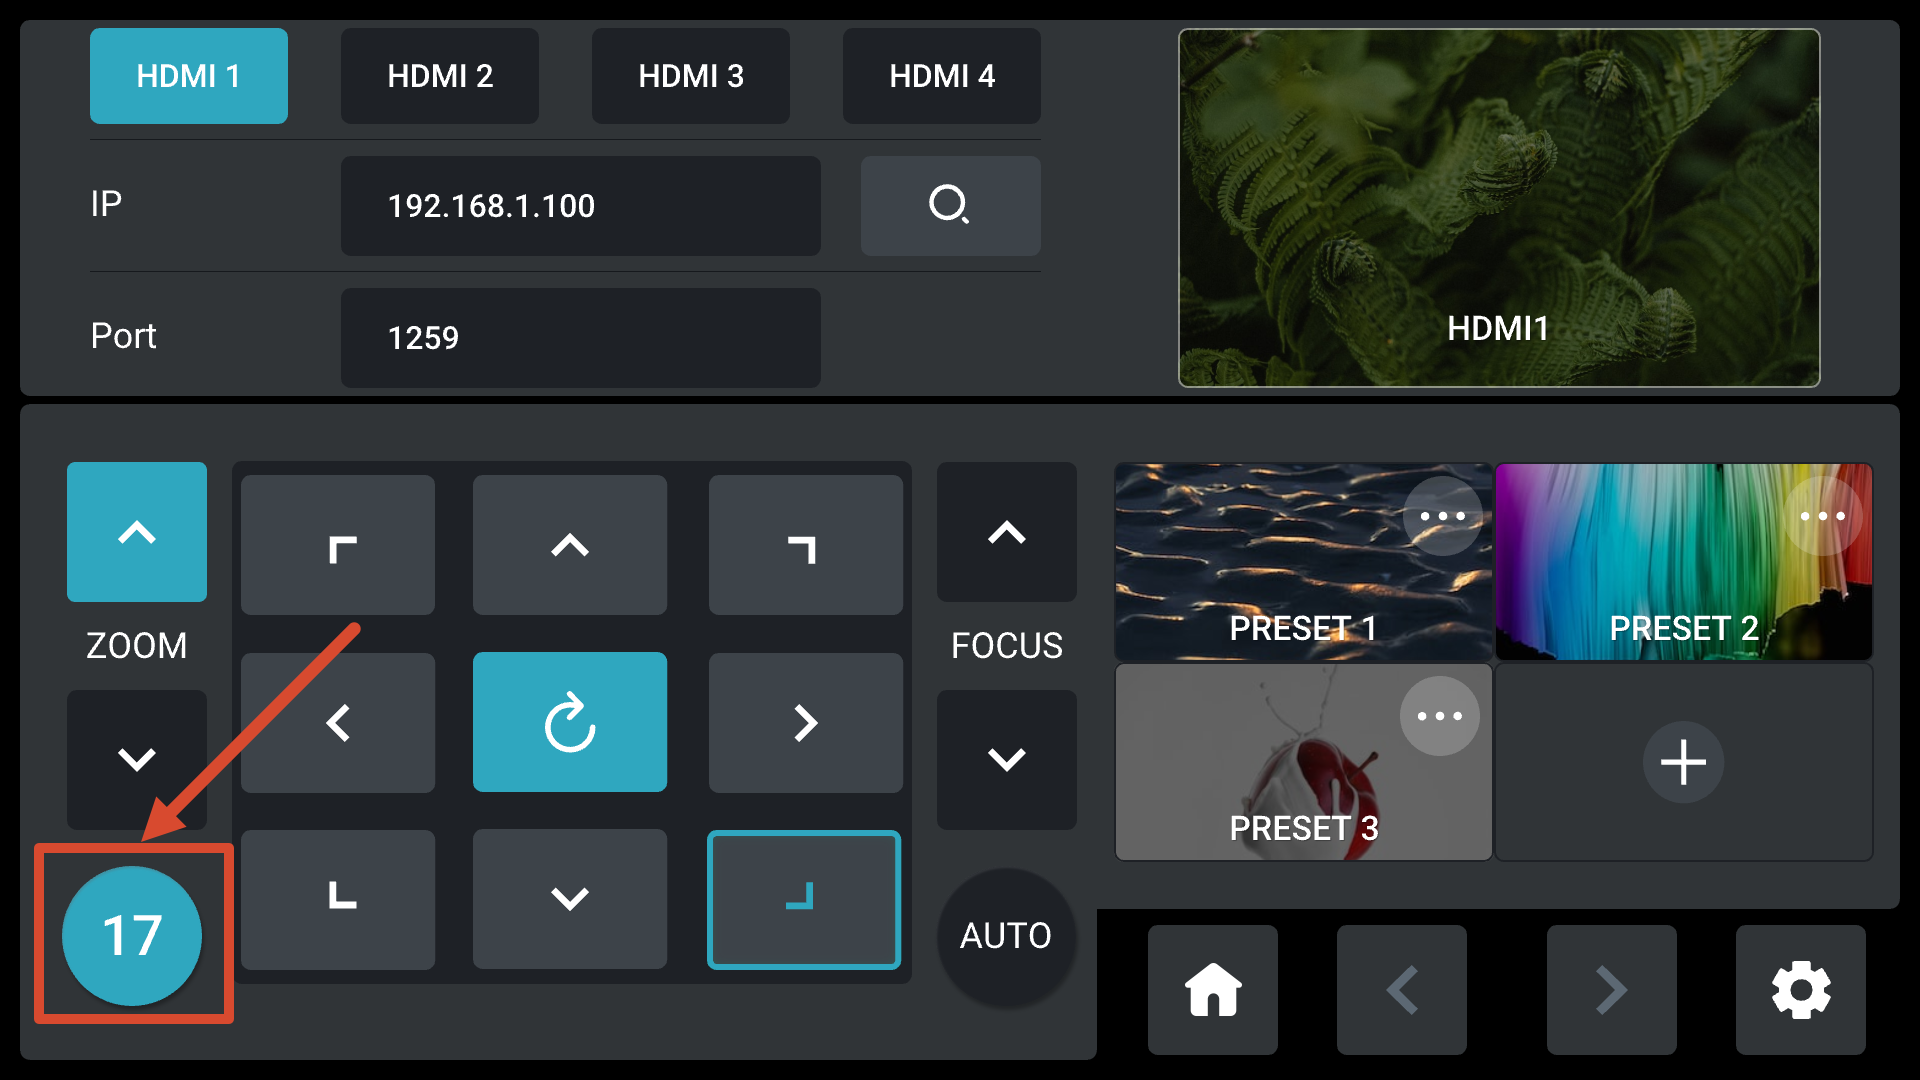
To adjust the speed:
- Select the speed parameter.
- Press ENTER to enter edit mode.
- Rotate ENTER to select the desired speed.
PTZ Reset
If incorrect settings are applied, restore the default PTZ state by:
- Selecting the Reset icon

- Pressing the 5-Direction joystick.
PTZ Scene Management
Creating a PTZ Scene
- Adjust the camera position and zoom level.
- Configure the desired preset position.
- Select the + icon.
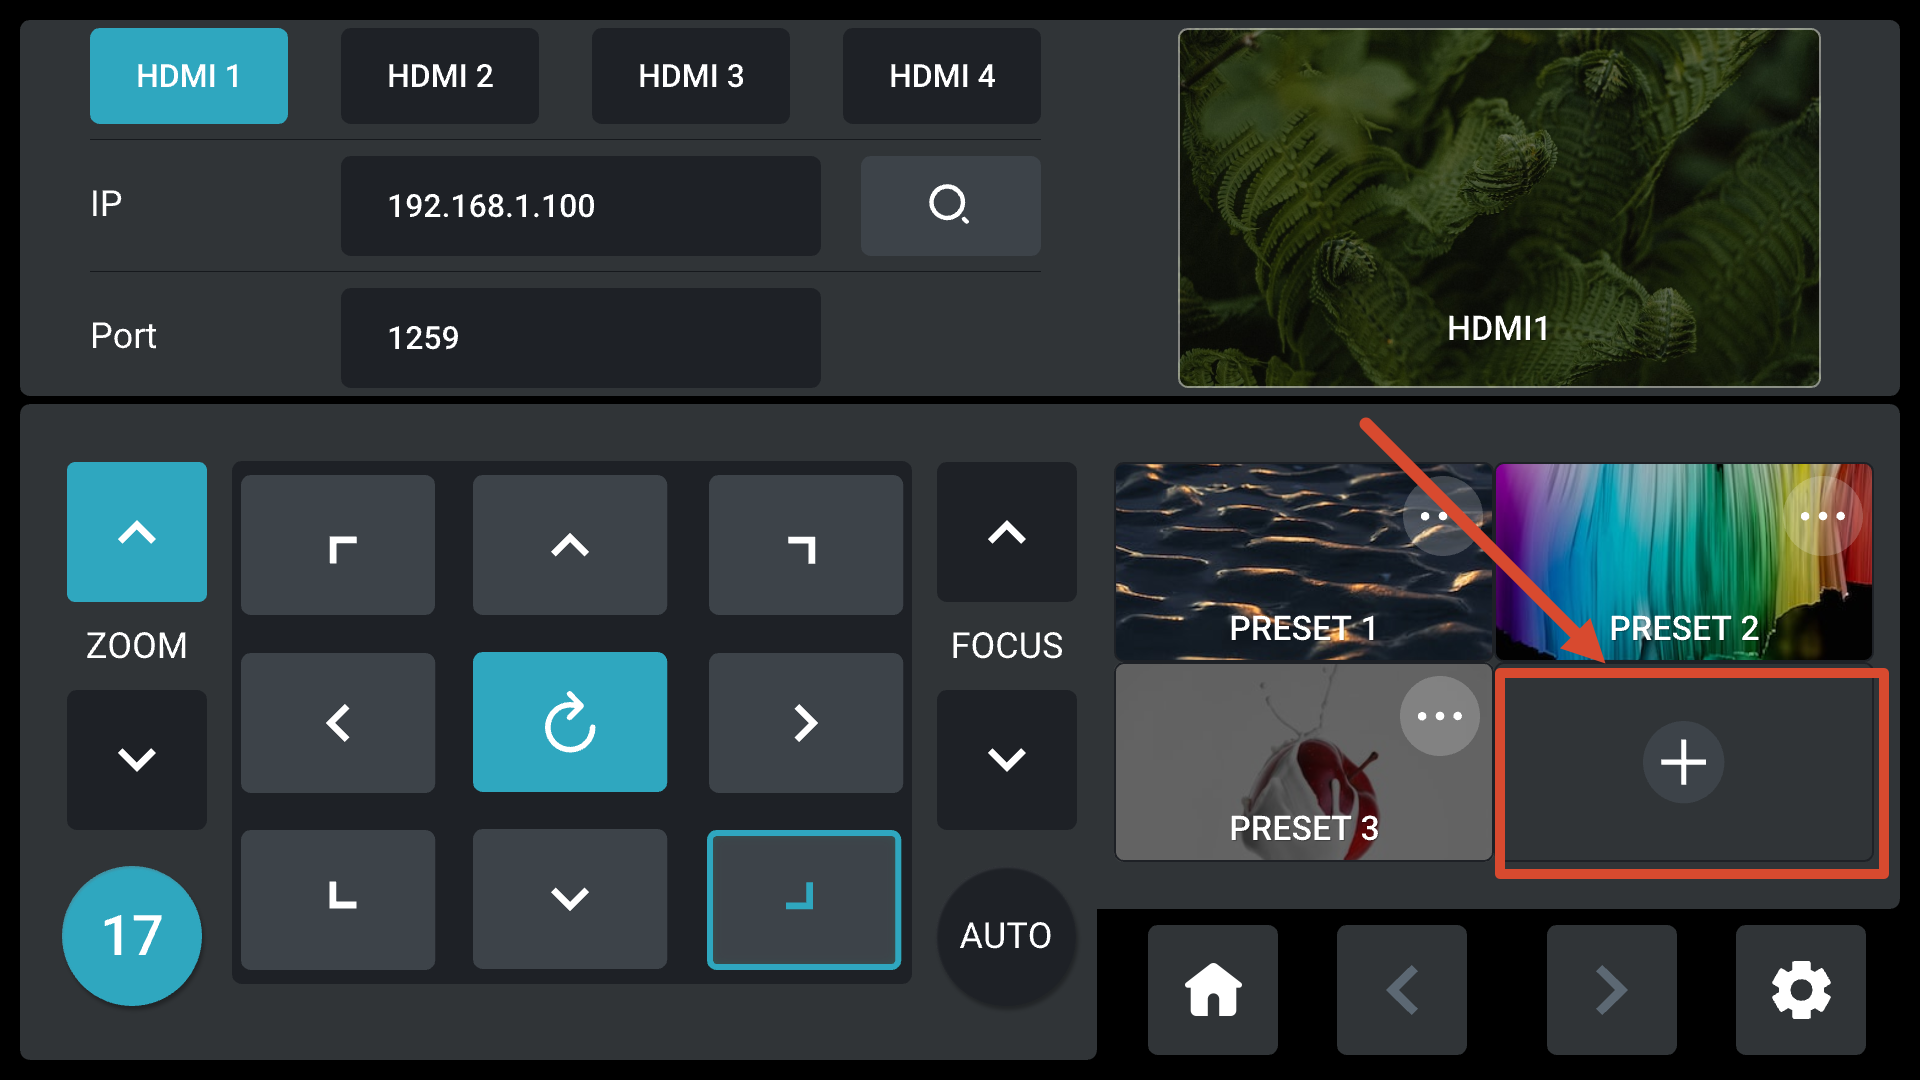
- Press ENTER.
- Select Confirm. The system captures the current image and saves it as a PTZ scene.
Recalling, Replacing, and Deleting Scenes
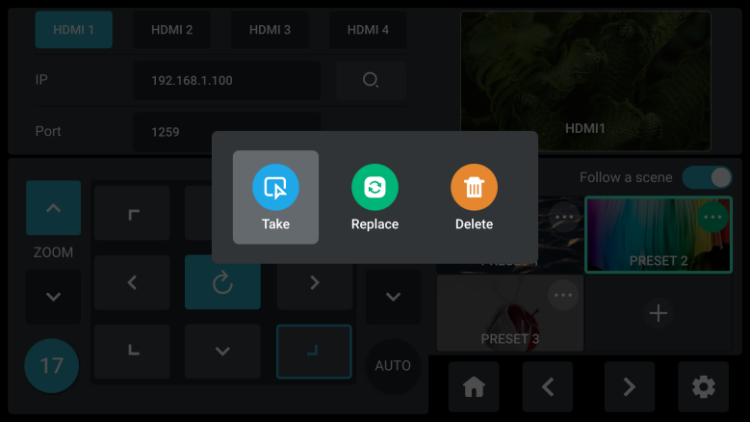
Saved presets are identified by corresponding preset indicators
Select the desired preset to take (recall), replace and delete the scene.