Online Manual
mini-edge SDI User Manual

3.14 Settings
Press MENU to open the menu screen. Rotate the ENTER knob to select SETTING, then press ENTER to enter the Settings menu.
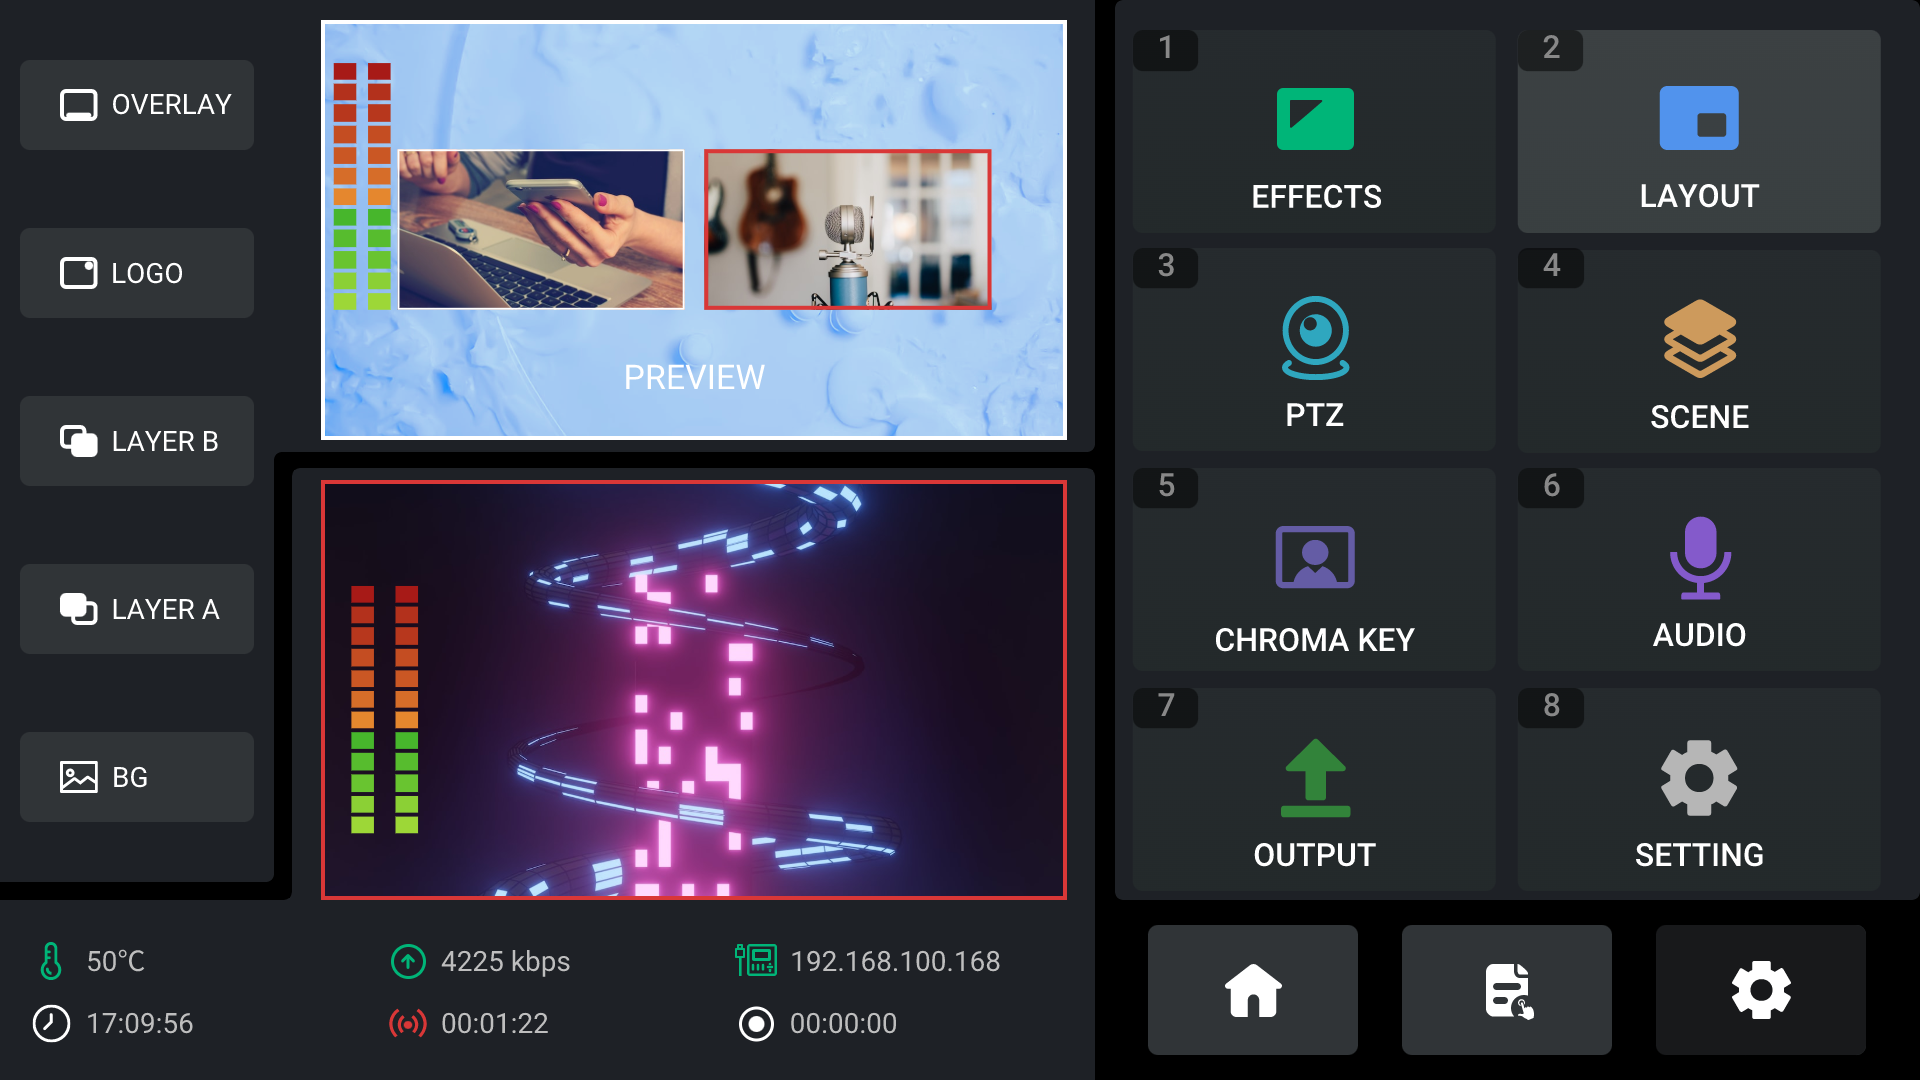
The Settings menu contains the following options:
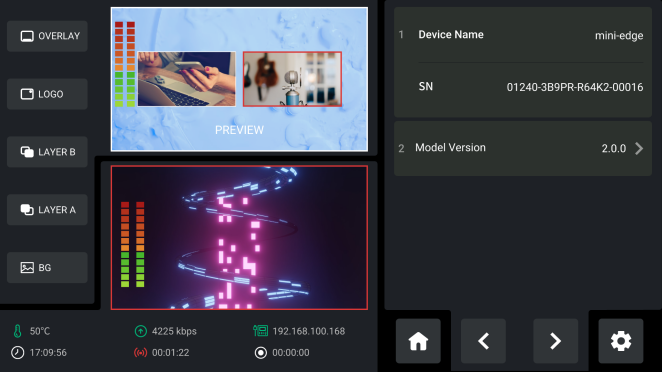
About
Displays device information, including:
- Device Name
- SN: Serial Number
- Model Version
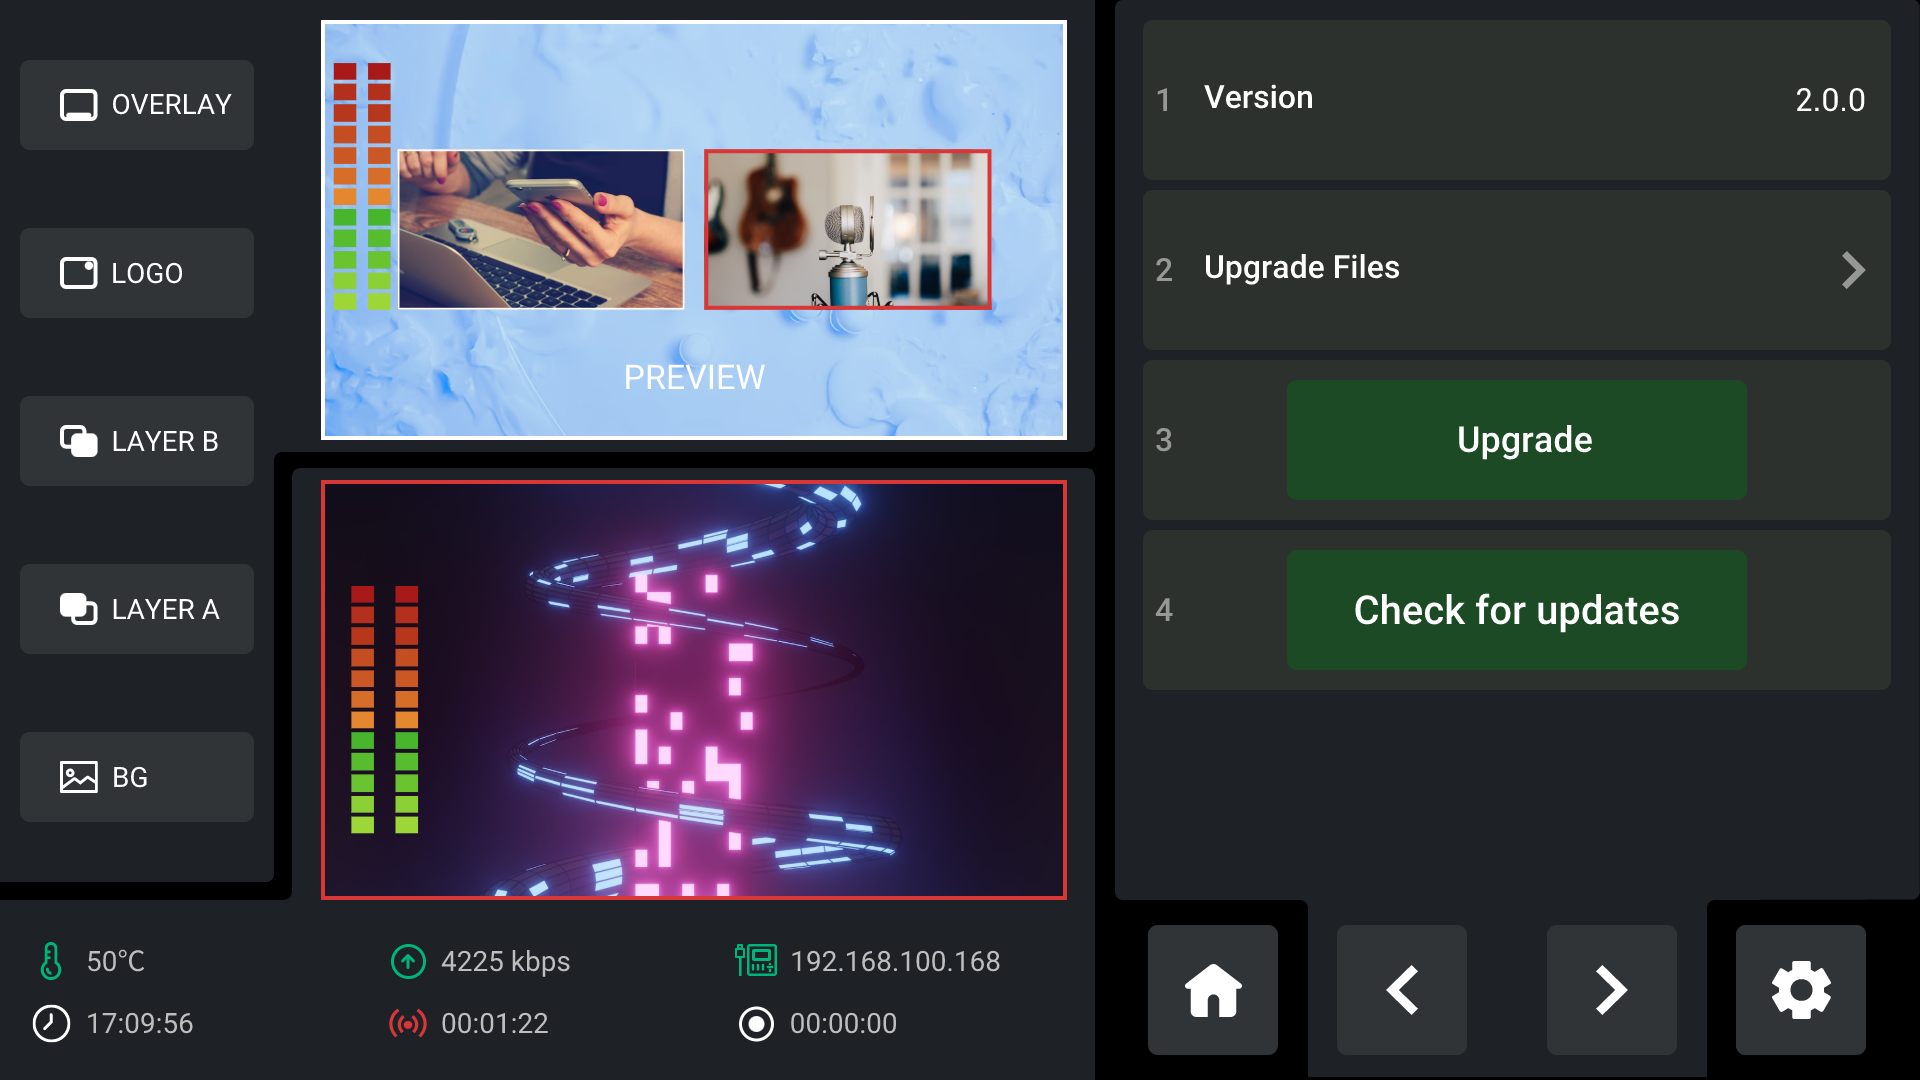
To update the device firmware:
- Select About.
- Select Model Version.
- Select Upgrade.
- Choose the firmware package and start the upgrade.
For detailed upgrade instructions, refer to Chapter Upgrade.
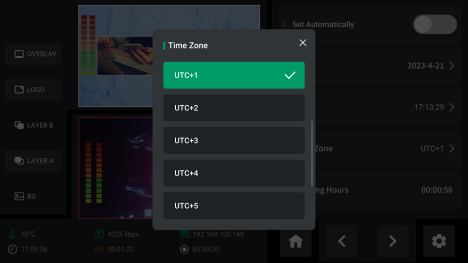
Date and Time
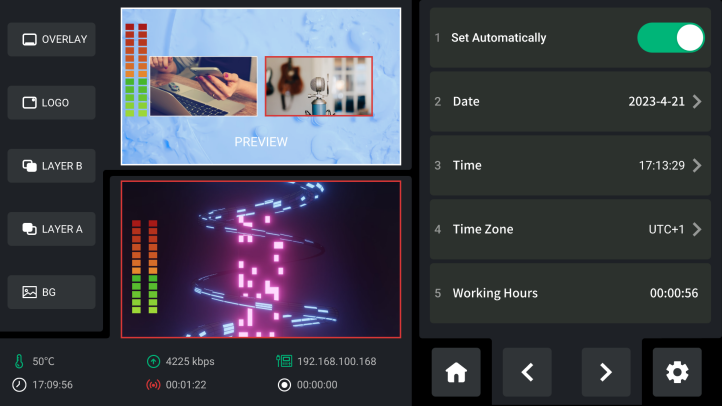
Automatic Time Synchronization
If the device is connected to a network:
- Select Date & Time.
- Enable Set Automatically.
The system time will be synchronized automatically.
Manual Time Configuration
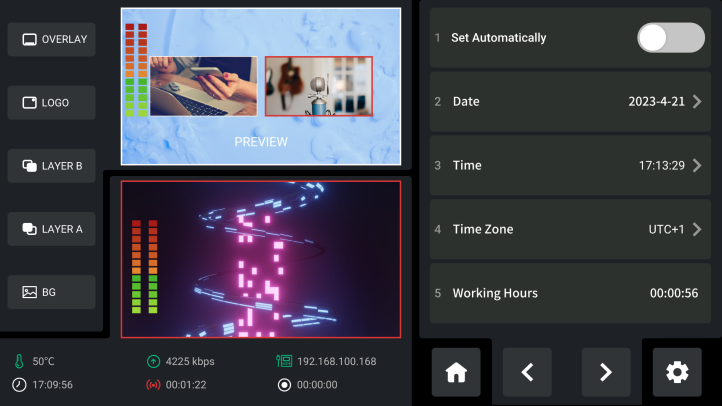
If no network connection is available:
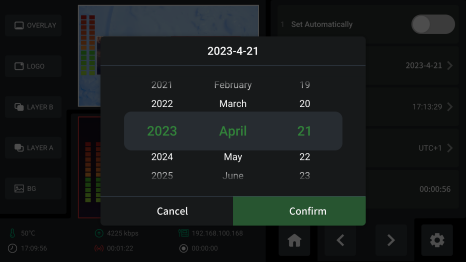
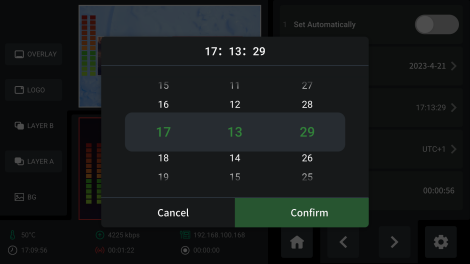
- Disable Set Automatically.
- Set the desired date and time manually.
The device will save the settings and continue timekeeping automatically.
Input
mini-edge SDI supports up to 10 input sources:
- HDMI 1–4
- SDI 1–4
- UVC
- NDI
Input Selection
- Select Input.
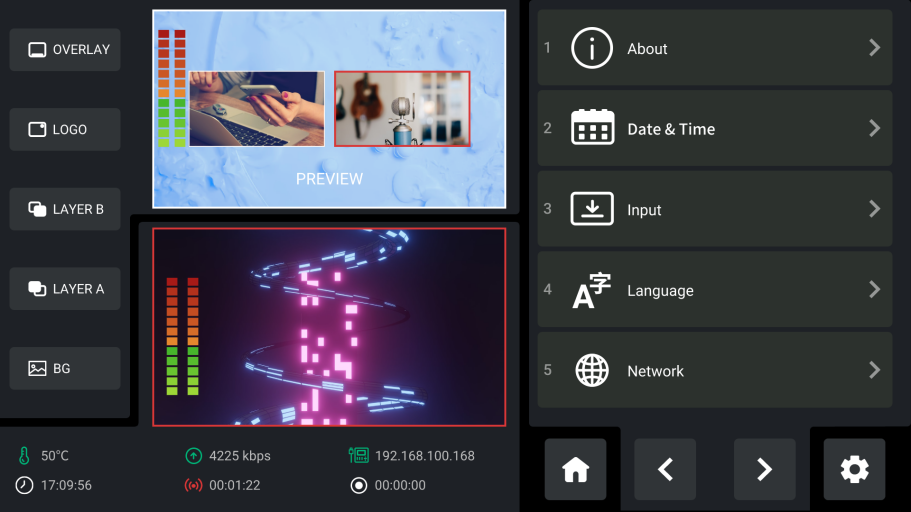
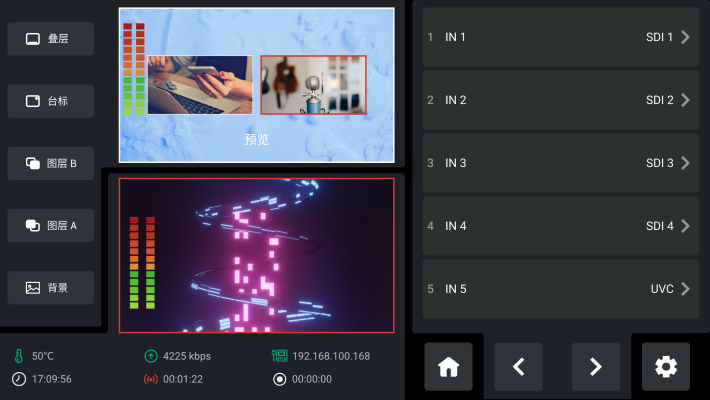
- Assign HDMI or SDI sources to IN1–IN4.
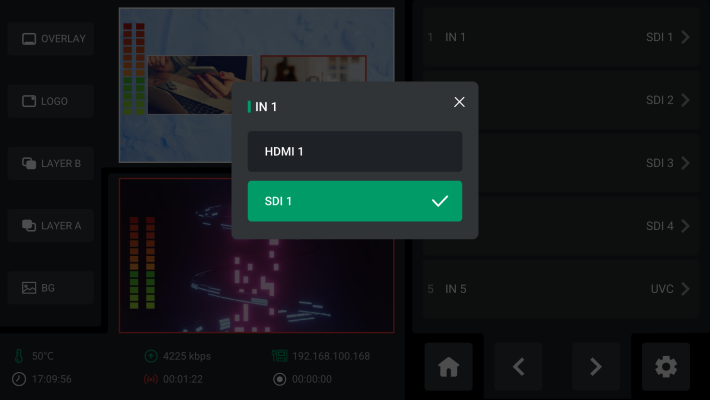
- Select either NDI or UVC for IN5.
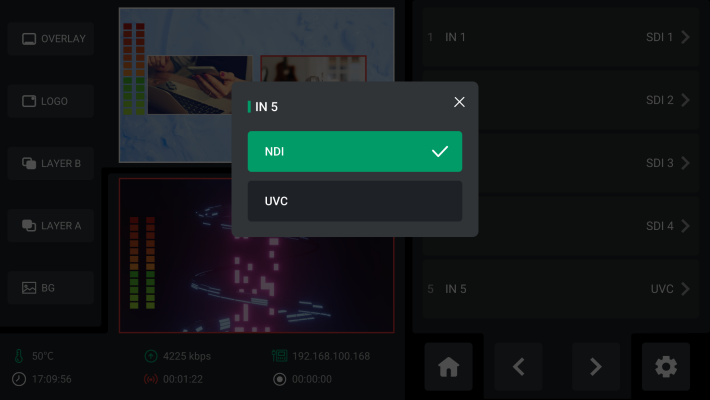
Signal Switching via TAO Cloud
In addition to operating directly on the device, you can also control mini-family devices and operate signal switching, saving the trouble of firmware installation. Follow the steps mentioned in Section 3.11 to bind your device to the TAO Cloud. Then you can check the basic information of your mini-family devices and operate signal switching. The device will respond correspondingly and immediately once you operate on the TAO Cloud.
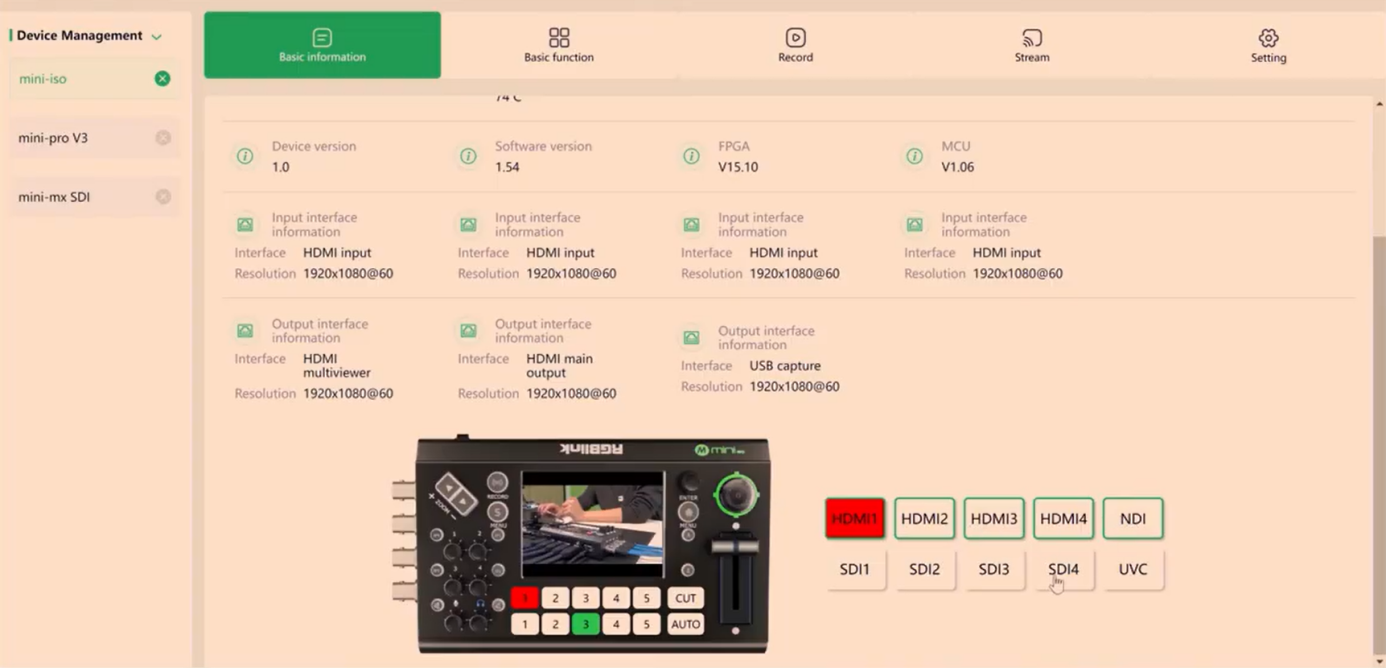
We have made a detailed video about channel switching via TAO Cloud. Click the following link to learn:
You can refer to this video for all channel-switching operations of mini-family products.
NDI Authorization
NDI decoding requires activation before use.
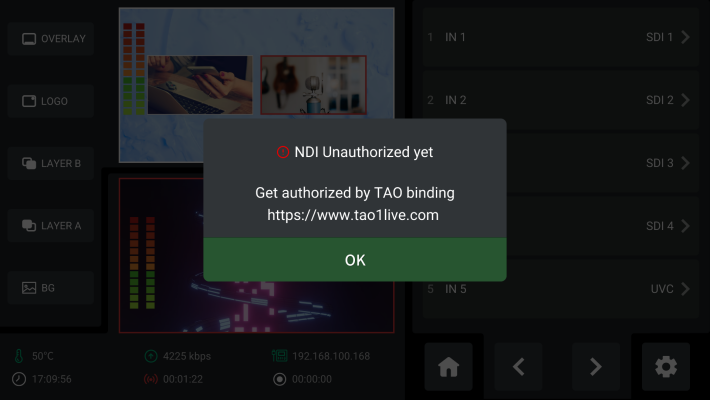
To activate NDI:
- Click to enter the device management interface on the TAO Cloud.
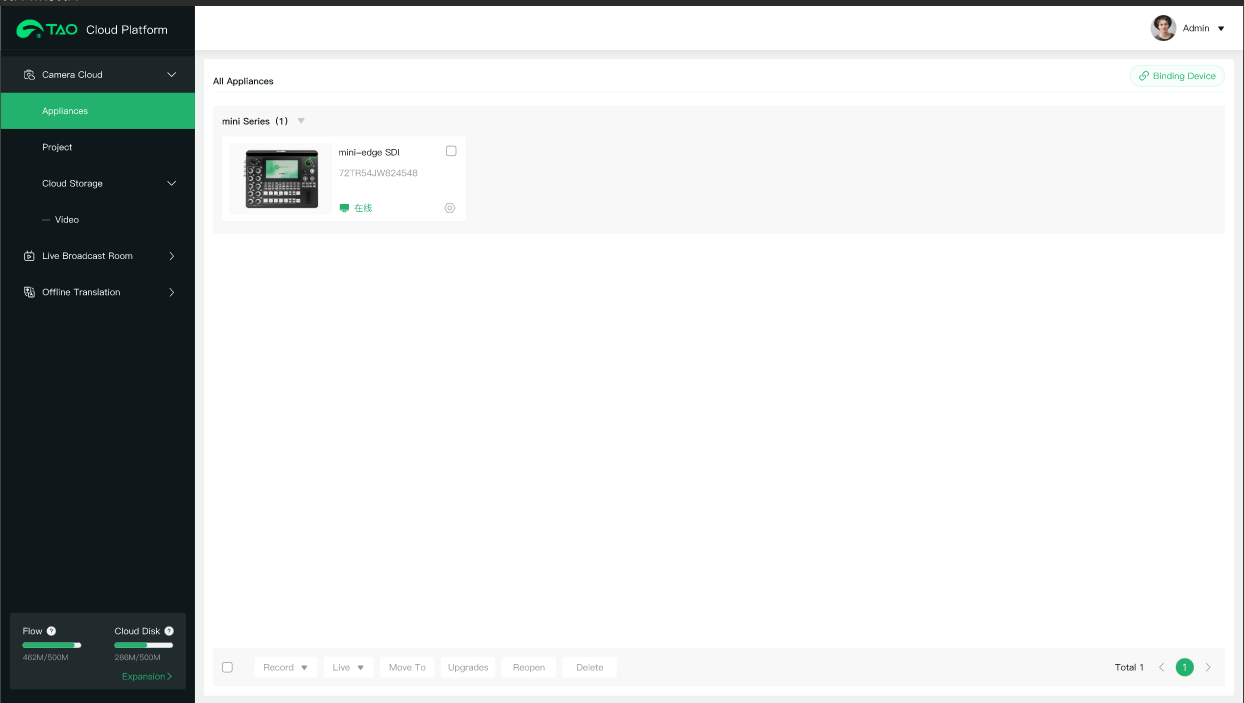
- Users should first click Enable under the NDI Authorization column.
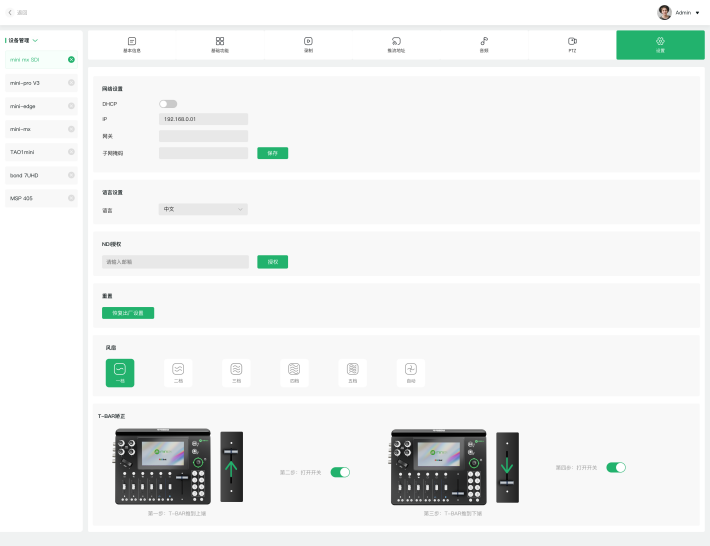
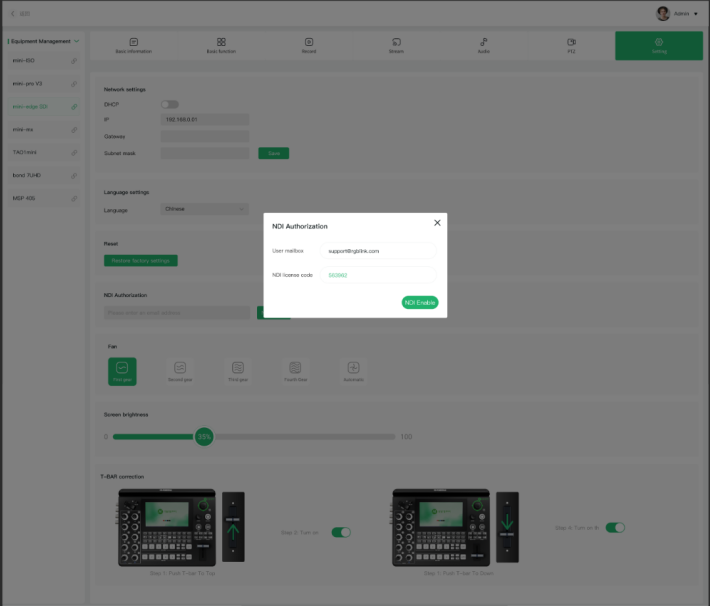
- Enter the user mailbox and verification code into the box popped up.
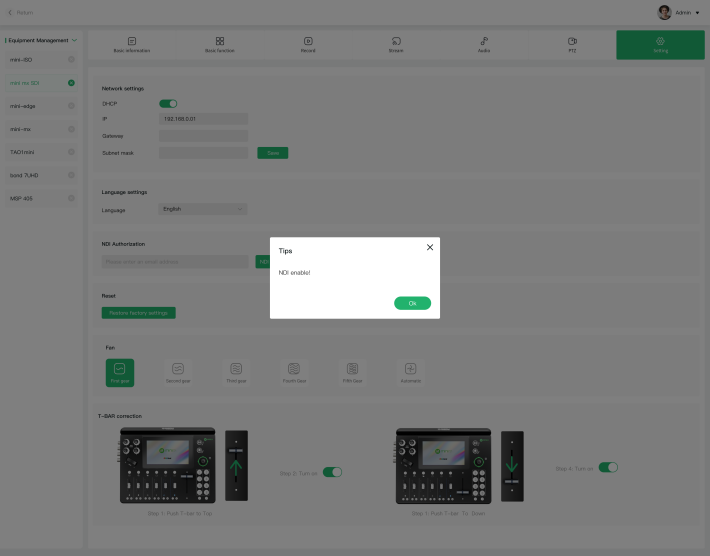
- The interface will show "NDI enabled".
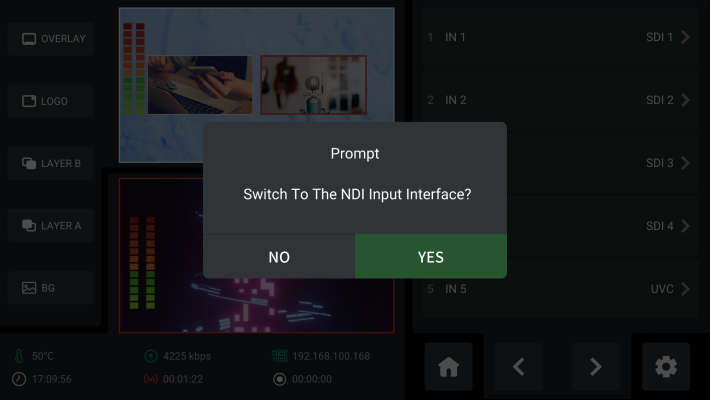
- After the authorization, tap NDI and a prompt interface will appear. Tap Yes and then you can select or add NDI sources.
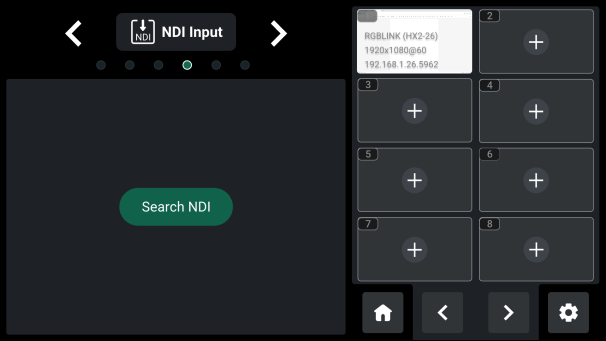
- On the NDI input interface, users can search and select NDI sources.
- To select a NDI source, proceed as follows: Tap a window on the right column and the window border turn green.
- Select a NDI source and the window selected will display the image of the selected NDI source.
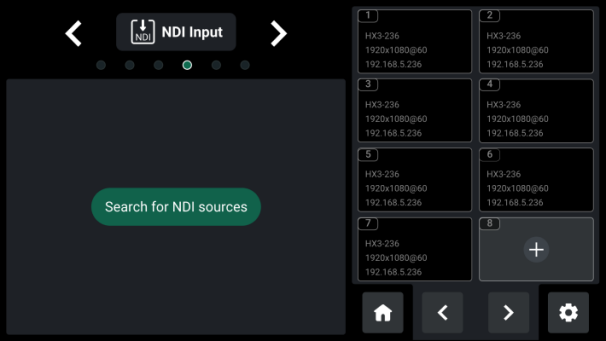
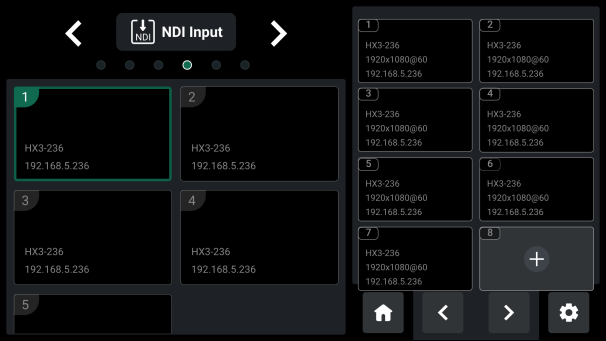
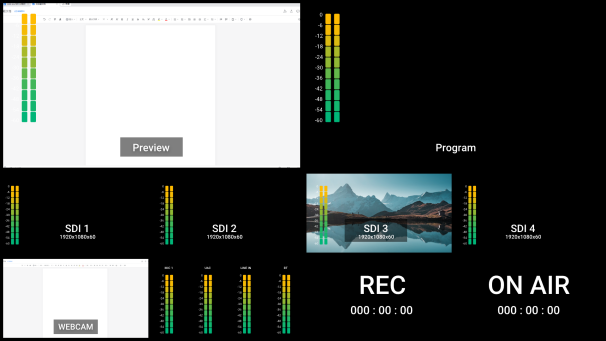
- When selecting an NDI source window, the image will be synchronized to the IN5 window on the main interface.
- If the border of the window is red, it indicates the image of the window is on the IN5 monitoring window. If the border is green, it means the window is selected for editing.
- If users want to switch the input source of IN5, users can just select another configured window on the NDI source interface.
Language
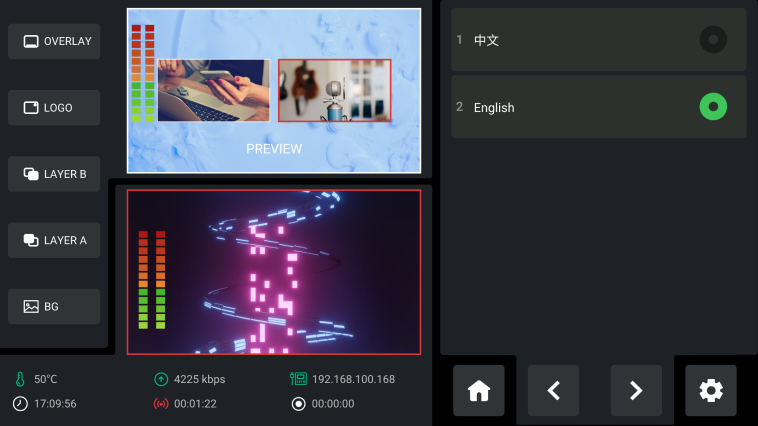
For users in different regions, we may need to switch the language from English to Chinese or vice versa. mini-edge SDI supports language switch between English and Chinese.
Rotate the ENTER knob to move the cursor to Language , press the knob once again to enter the following interface. Then set system language as English or 中文. The interface will switch to the set language immediately.
Network
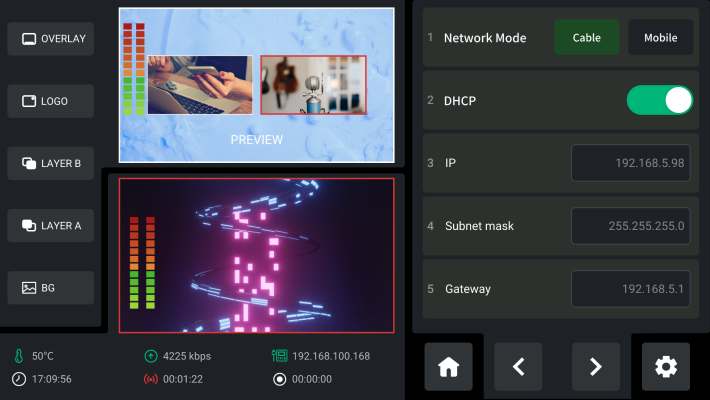
mini-edge SDI offers two network modes: Cable and Mobile.
- When choosing the cable network, users can open DHCP to let the device distribute the IP address automatically.
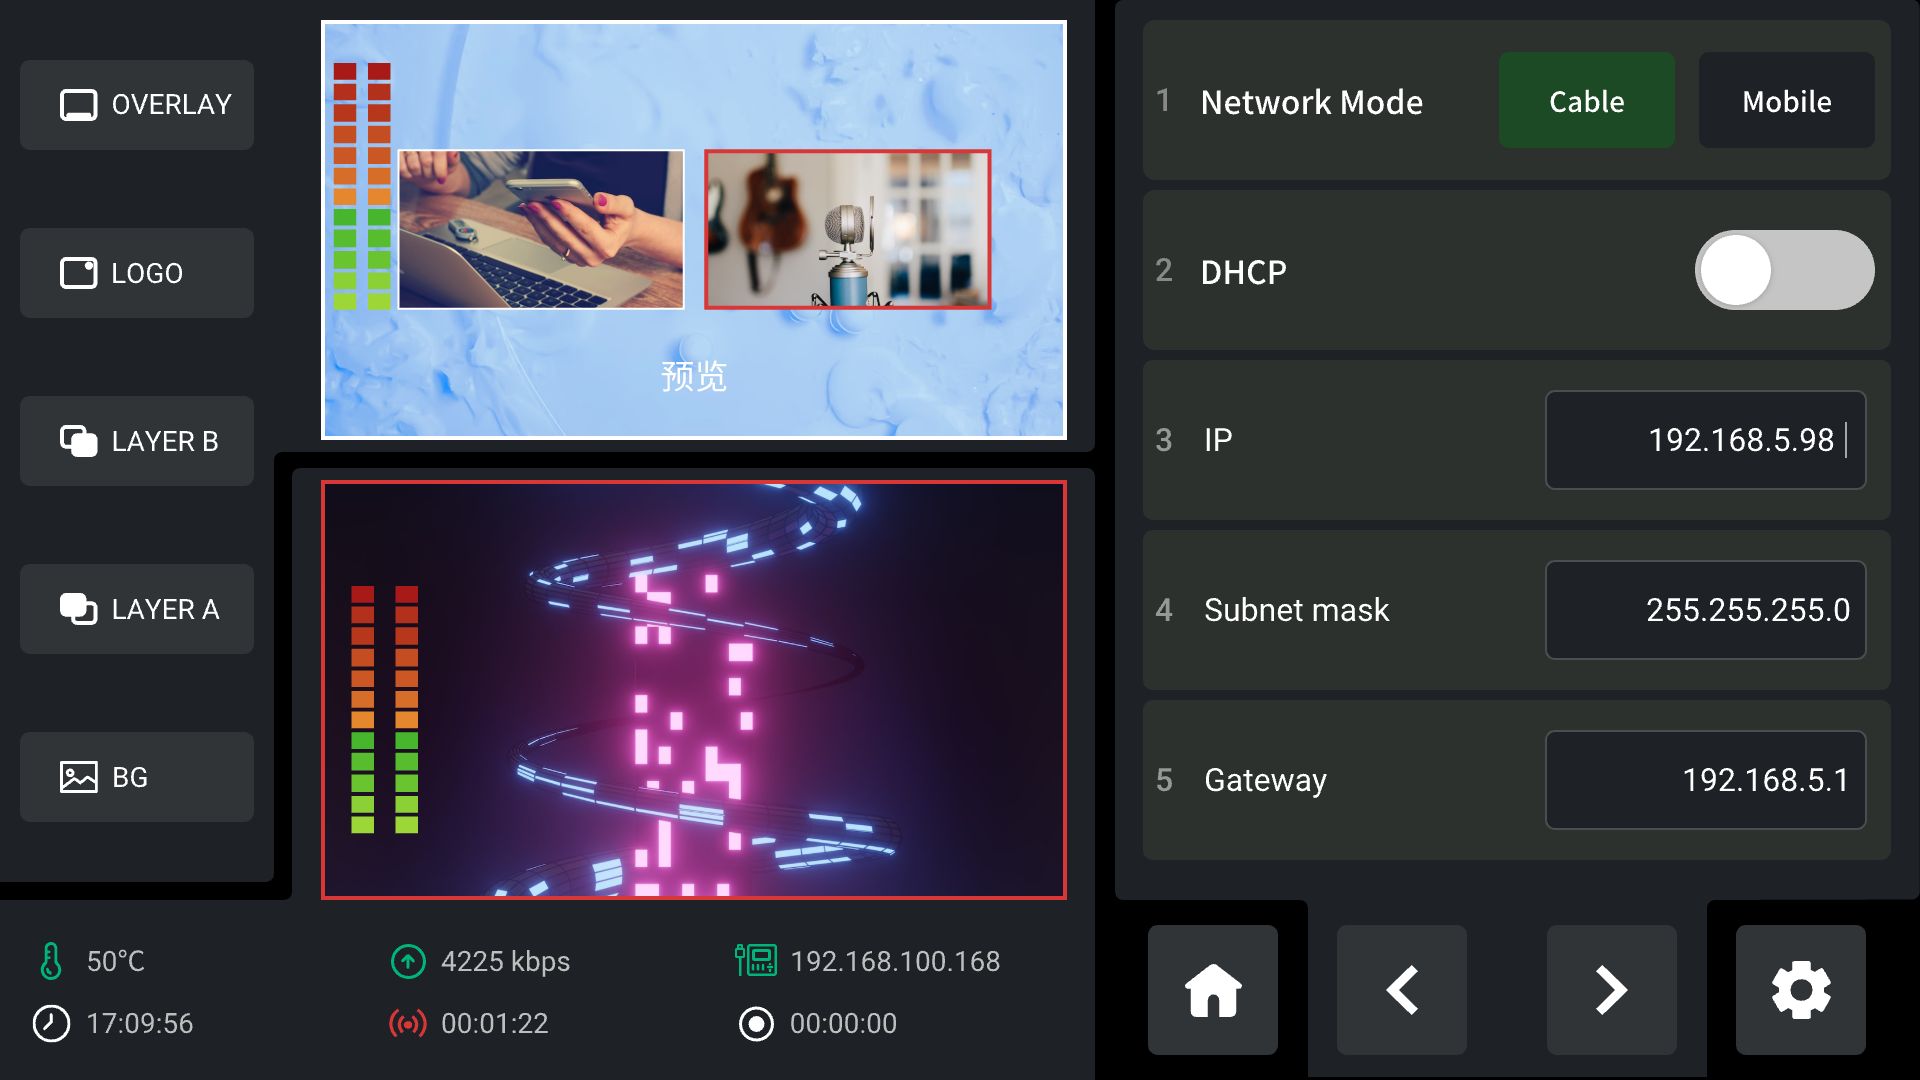
- Users can also set the IP address manually. Disable the DHCP and use ENTER knob to move the cursor to IP column. Then the SHORTCUT row on the front panel will turn blue and function as a number button row for users to modify the IP address.
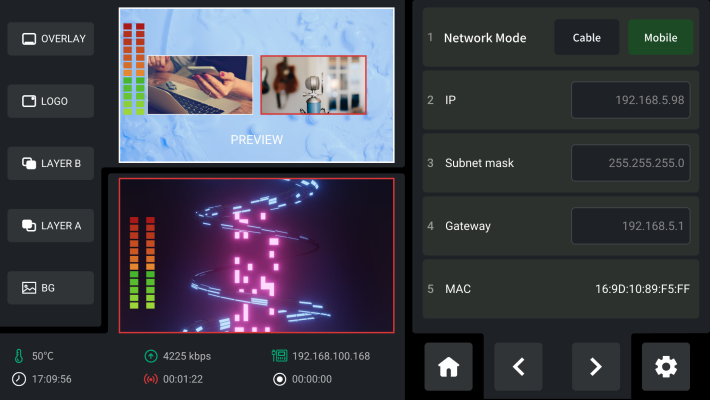
- Besides, users can use a mobile phone to realize the network connection.
Bluetooth
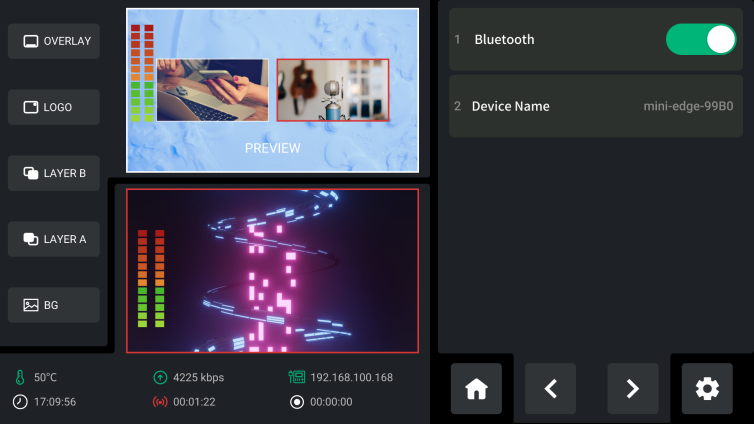
- Enable the Bluetooth
Rotate the ENTER knob to move the cursor to Bluetooth , press the knob once again to enter the following interface.
- Pairing
- Bluetooth defaults to ON.
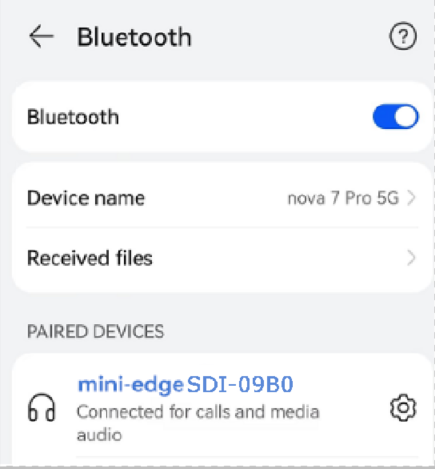
- Turn on Bluetooth on mini-edge SDI and mobile phone to establish a Bluetooth connection.
- Users can check the device name on the phone and then select the mini-edge SDI model that needs to be paired in the Bluetooth Setting Interface of the phone.
- After successfully connecting mini-edge SDI to mobile phone, you can play music via Bluetooth.
📢  Notes

1. Every mini-edge SDI model has a special name and is generally named **mini-edge SDI-XXXX**.
2. If there is no sound when playing music, please use the Channel Fader on the front panel to adjust the BLUETOOTH and PREVIEW volume to an appropriate level.
Scene Loop
Scene loop refers to the cyclic switching of saved scenes, allowing users to check multiple screens simultaneously.
- Enable Scene Loop: Choose Scene Loop to enter the following interface.
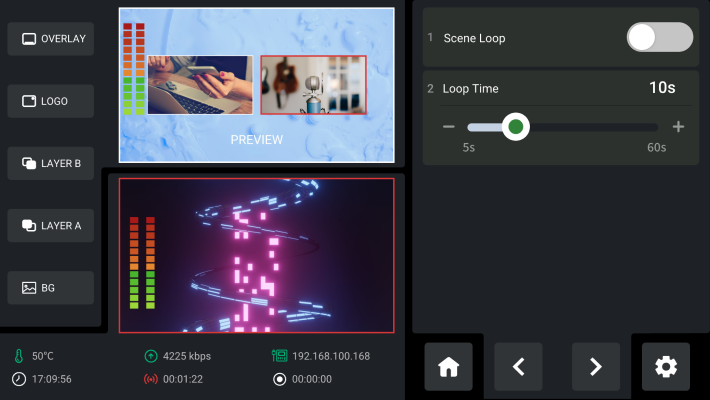
- Loop Time Setting: Enable the function to set the loop time between views.
- For example, if the loop time is set to 10 seconds, each view will be displayed for 10 seconds before automatically switching to the next view in the loop. After displaying the last view, it will automatically jump to the first view and continue the loop.
Switch Mode
mini-edge SDI provides PVW mode (default) and CUT mode.
- Rotate the ENTER knob to move the cursor to Mode , press the knob once again to enter the following interface. Select the mode you want and customize switch time as needed.
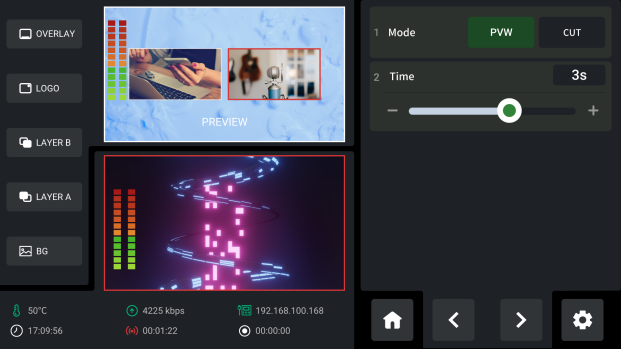
- Switch Mode
- PVW Mode
For some important occasions, users might need to preview and preset the next scene to ensure the accuracy and stability of the screen.
mini-edge SDI provides T-Bar PVW mode to allow switching after editing and confirmation. When PVW Mode is enabled, all operation could be checked on PVW window.
Slide T-Bar to switch between PVW and PGM.
- CUT Mode
If the user wants to perform a quick switch between PVW and PGM, you can choose CUT mode in this interface and set time to be 0s, or simply press CUT button on the front panel.
Then use Button 1~5 on the PREVIEW Source Row to switch input to PROGRAM.
Fan
- Rotate the ENTER knob to move the cursor to Fan , press the knob once again for fan speed adjustment.
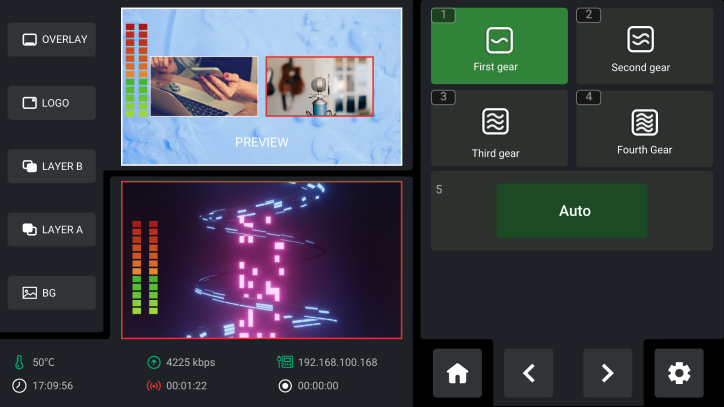
- In the fan control interface, there are four levels of fan speed for users to choose from. Choose Auto to achieve automatic adjustment of the fan speed.
Display
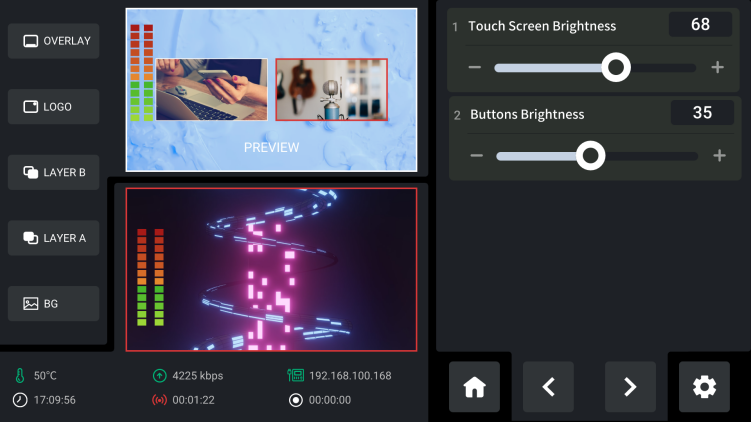
Rotate the ENTER knob to move the cursor to Display , press the knob once again to enter the interface below.
Use the ENTER knob to control the brightness of touch screen and buttons.
Color Management
- Rotate the ENTER knob to move the cursor to Color Management, press the knob once again to enter the interface below.
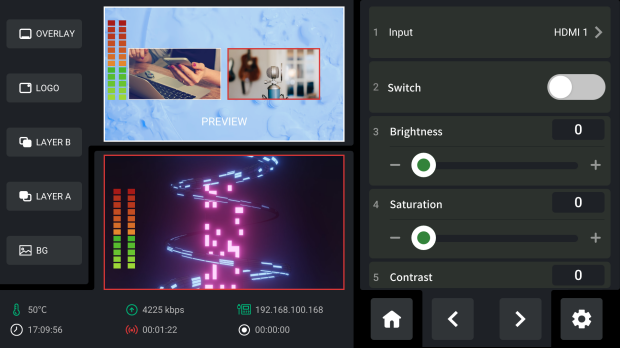
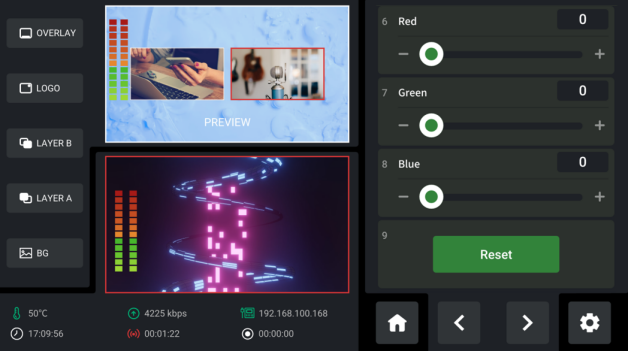
- Use the ENTER knob to enable switch to set brightness, saturation, contrast, red, green and blue values for four HDMI/SDI inputs.
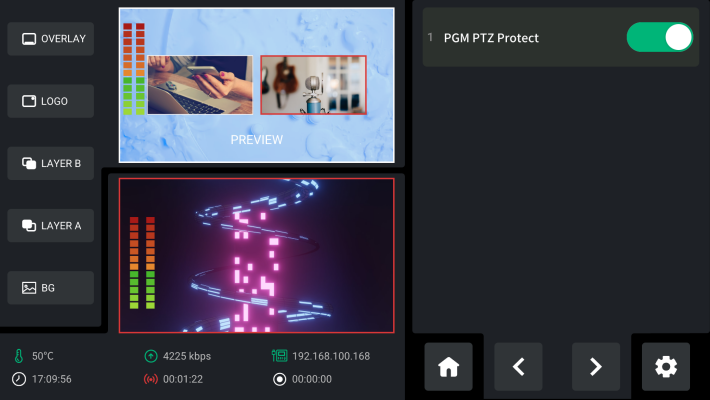
PGM PTZ Protect
When the PGM PTZ Protect is enabled, the preview scenes of the PTZ being controlled cannot be loaded to the Program if the PTZ content is displayed on the Program output.
T-Bar Correction
- Rotate the ENTER knob to move the cursor to T-Bar Correction , press the knob once again to enter the interface below.
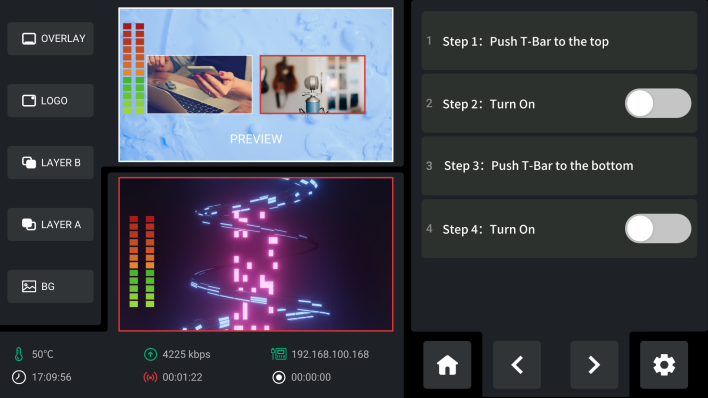
- To ensure accuracy during use, T-Bar calibration is necessary before use.
- Push the T-bar to the very top
- Enable switch on Step 2
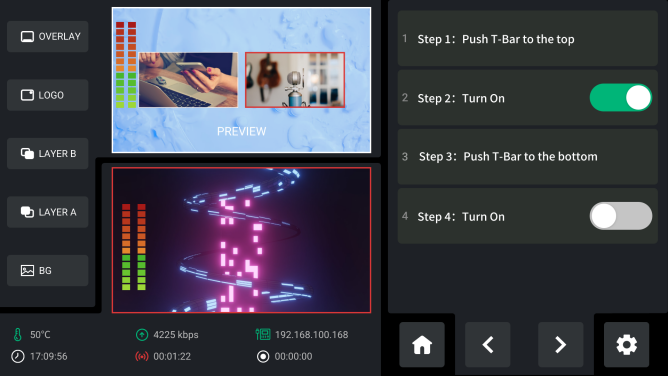
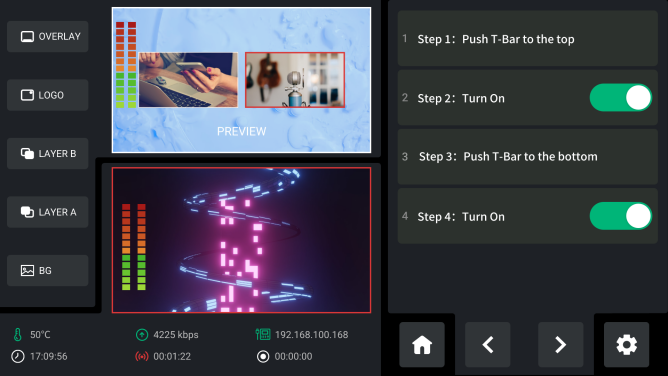
- Push the T-bar to the bottom
- Enable switch on Step 4
Auto Return
Rotate the ENTER knob to move the cursor to Auto Return , press the knob once again enter the following interfaces.
The user can disable Auto PVW or set interval to 15s, 30s, 45s or 60s.
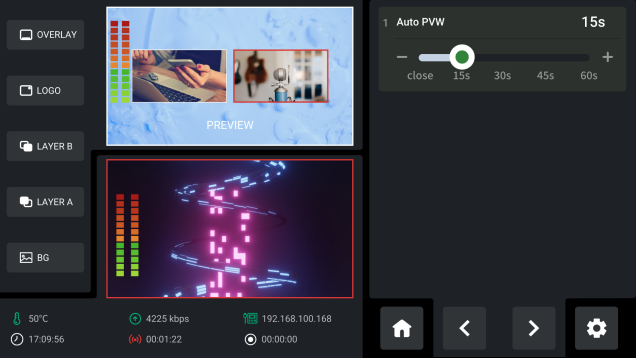
As shown in the figure below, the interval is set to 15s.
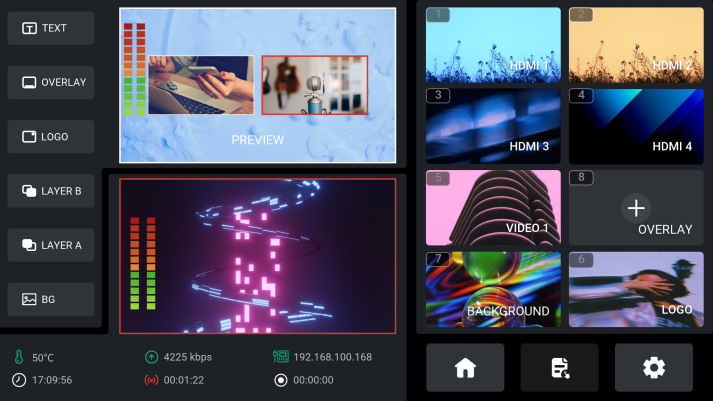
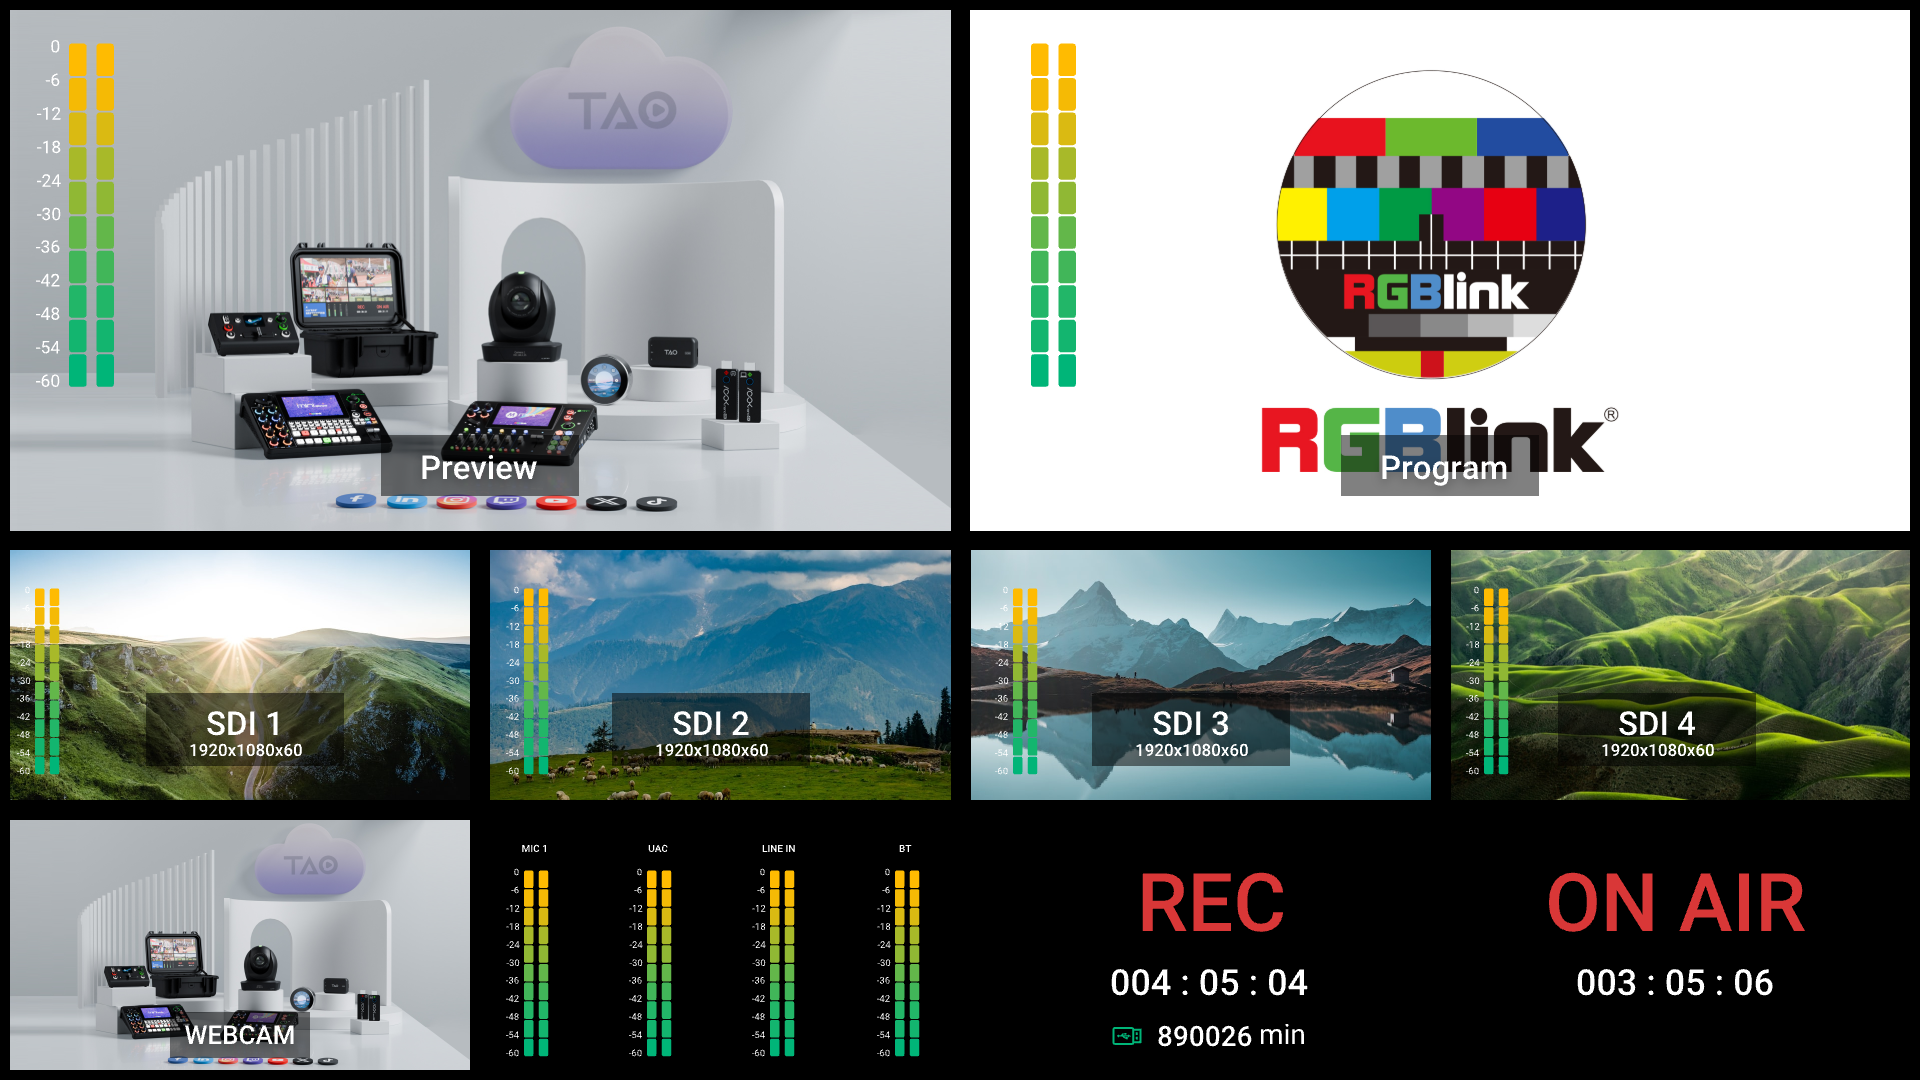
When time is up, the Standby Interface will automatically return to the Main Interface.
Reset
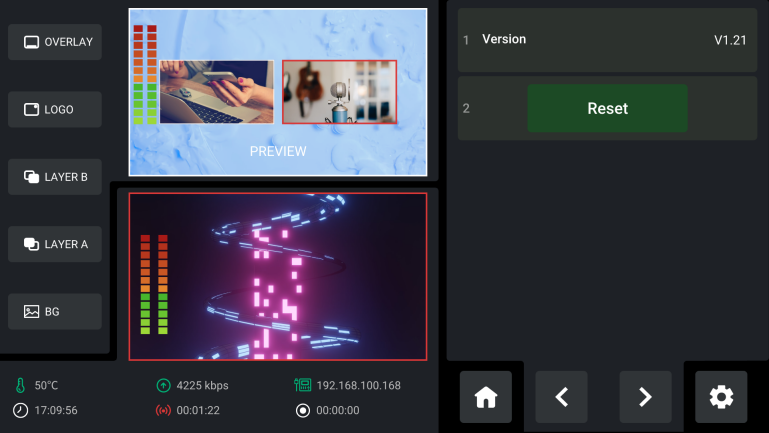
Rotate the ENTER knob to move the cursor to Reset , press the knob once again to check current version of mini-edge SDI and perform factory reset.