Online Manual
mini-edge SDI User Manual

3.13 Audio
mini-edge SDI provides comprehensive audio management features, including:
- Audio Mixing
- Volume Adjustment
- AFV (Audio Follow Video)
- Audio Delay
- Sound Effects Playback
- Noise Reduction
- Audio Monitoring
Audio settings can be controlled directly from the front panel or configured in detail from the Audio Management page.
Accessing the Audio Management Page
Audio Management can be accessed in any of the following ways:
- Press MENU and select AUDIO
- Press and hold the AFV Button or Mute Button in the front panel.
After entering the page, the complete Audio Management interface is displayed.
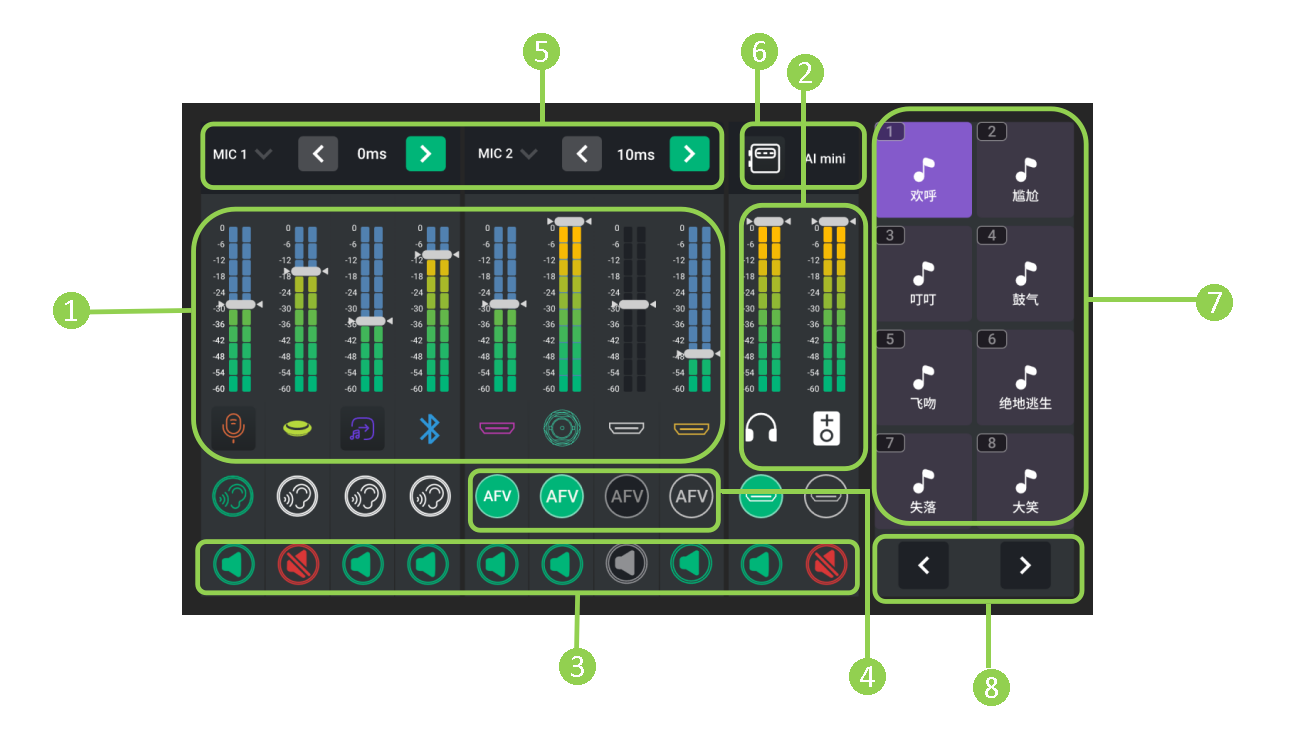
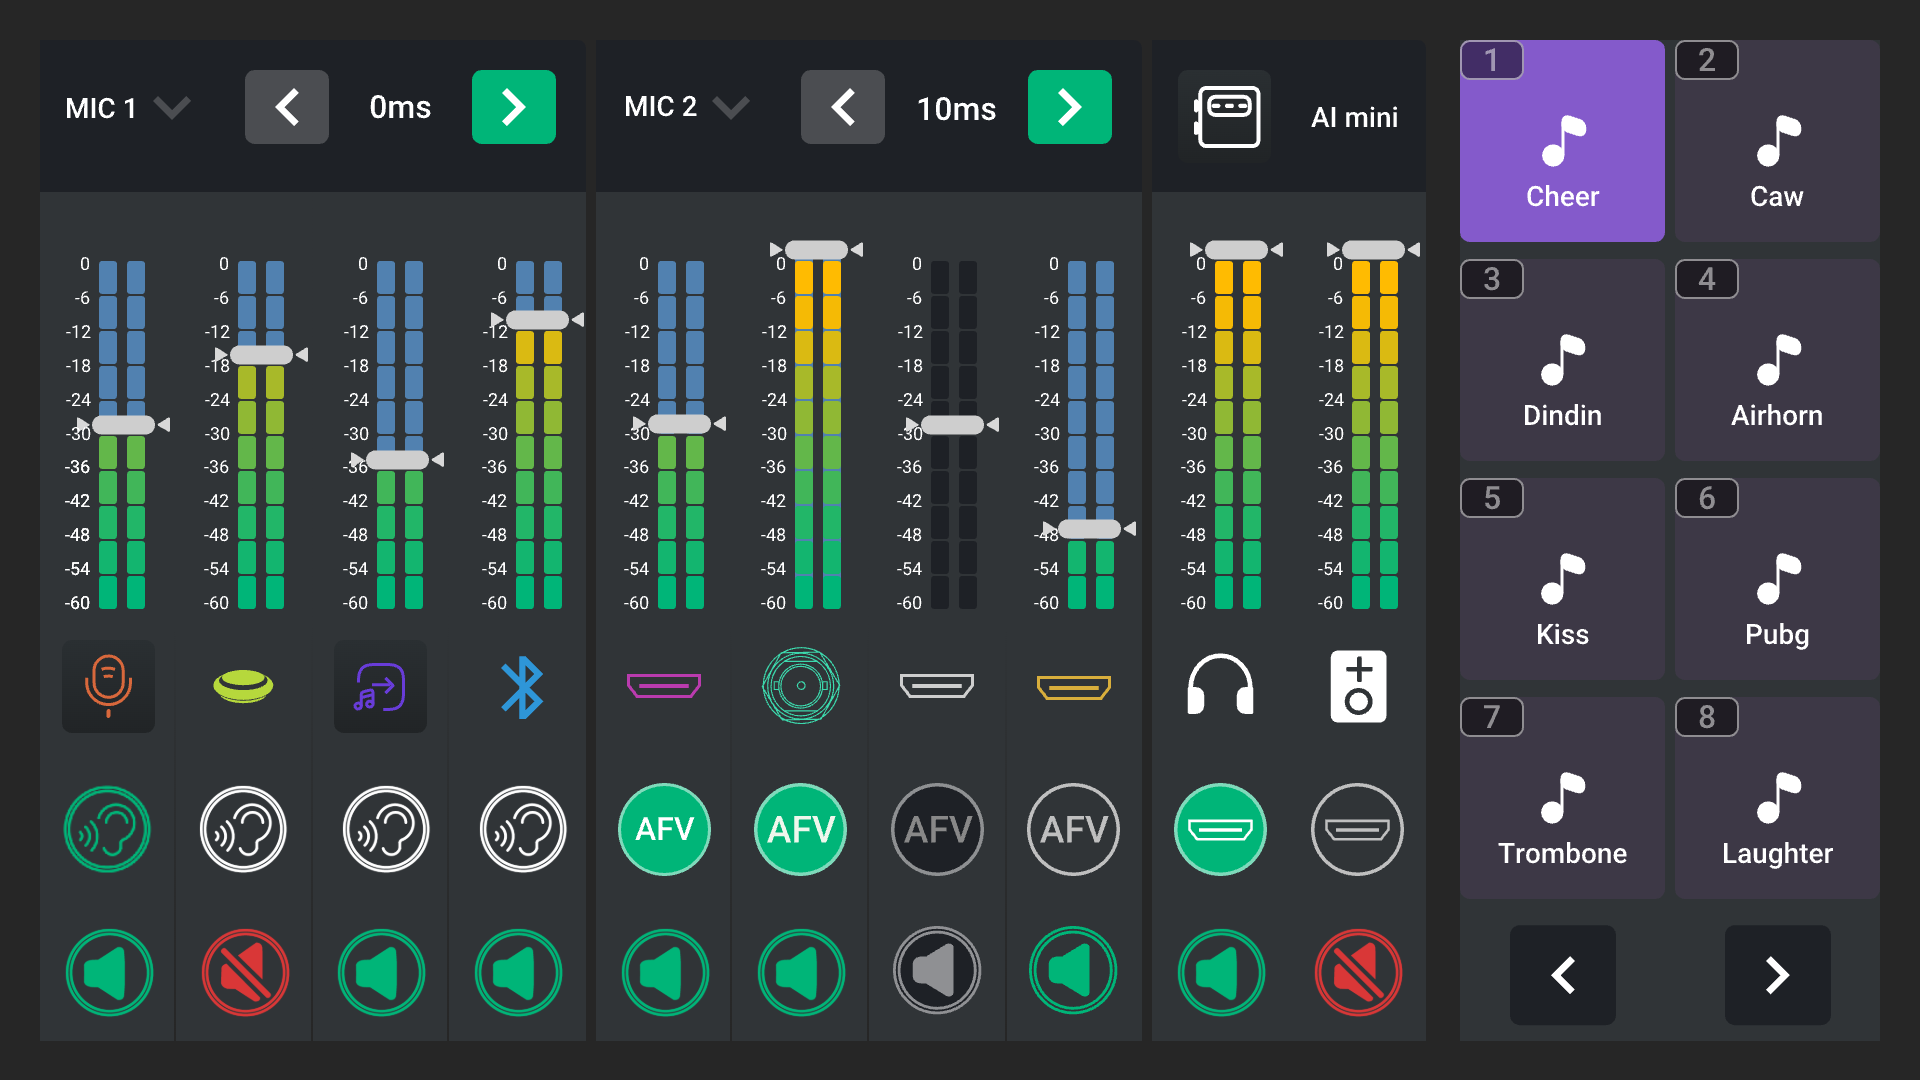
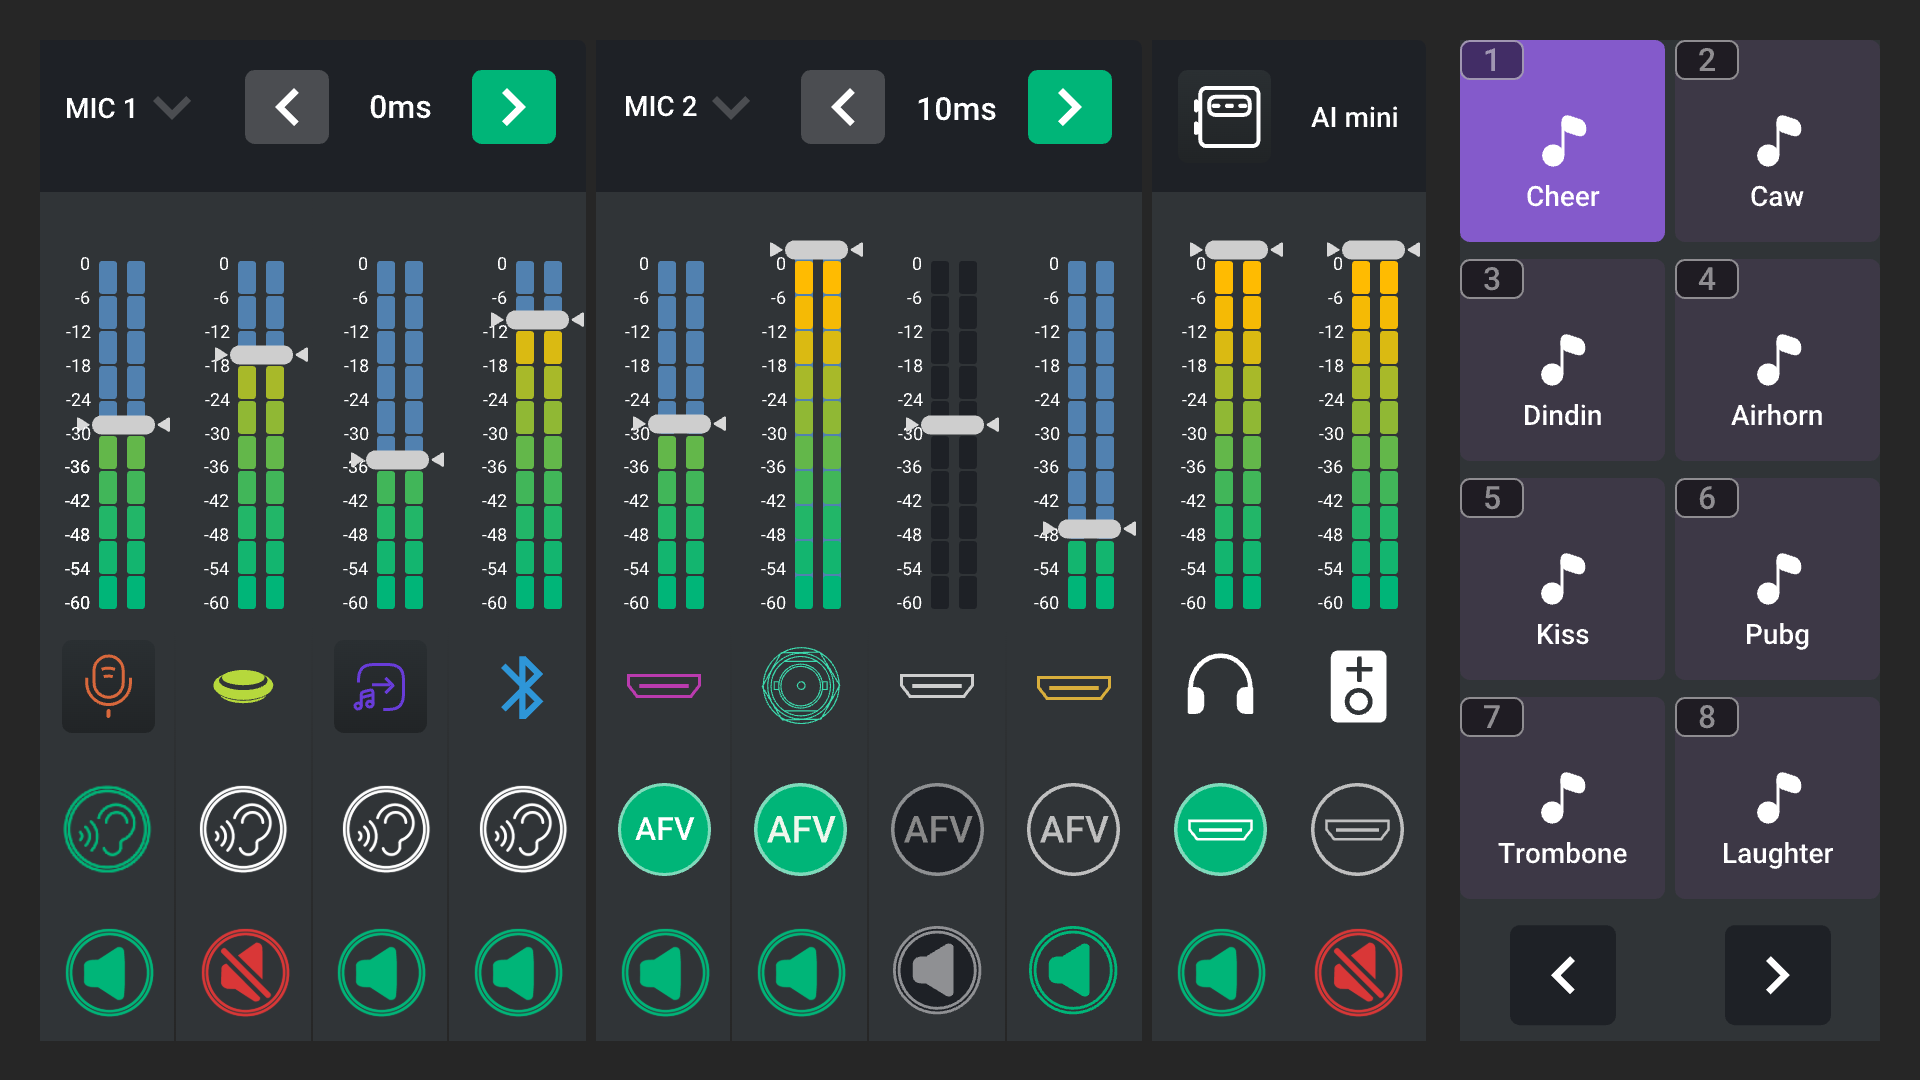
Audio Management Interface
| Area | Description |
|---|---|
| ❶ Input Audio Meters | ● Indicate MIC, UAC/NDI input, Line-in, Bluetooth, HDMI 1-4/SDI 1-4. ● Use the control knob on the front panel to adjust the volume. ● The bluetooth icon is touchable only when the device pairs successfully. For more details, please refer to Chapter Bluetooth |
| ❷ Output Audio Meters | ● Indicate Headphone output and Program output. ● Press or knob the audio monitoring and Line out buttons 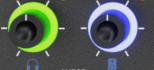 for audio control. |
| ❸ Mute Button | + Icon illuminated green indicates OFF. Icon illuminated red indicates ON. + Press the mute button  on the AUDIO area for input and output audio management. |
| ❹ AFV Button | ● AFV stands for audio - follow - video function, and indicates that the audio of the input source will be presented in the program along with the video when the video is switched. ● Enabling AFV, the audio will follow the video to make a soft gradual transition. Disabling AFV, the audio will remain on during and after video switching. ● The AFV buttons only function on the HDMI1-4 inputs. ● Button illuminated green indicates AFV ON. Button unlit indicates AFV OFF. |
| ❺ Audio Delay | ● Configure audio delay for MIC, Line-in, HDMI/SDI or Bluetooth to keep audio in sync with the video. ● Range: 0~300ms, increase or reduce 10ms each time. |
| ❻ AI mini Identification | ● mini-edge SDI features MIC1 and MIC2 by default and a MIC3 will be displayed when recognizing a camera signal. Attach the AI mini receiver to the device, the interface will display AI mini. If attaching other brand cameras, the inerface will display MIC3. |
| ❼ Audio Effects Area | ● Audio clip storage and playback area. ● Use ENTER knob to choose one audio clip and play it in Program out. ● Icon in green indicates playing status; icon in white indicates the audio clip has finished playing. |
| ❽ Page up/Page Down | ● Use ENTER knob to choose the right bottom icons to enter different audio clip storage page if the audio clips are more than eight. ● Use ENTER knob to choose "Page up" icon to enter Media for audio management; Use ENTER knob to choose "Page up" or "Page down" icon to back to Audio. |
Microphone and Line In Level Settings
mini-edge SDI allows independent level adjustment for different audio input sources.
If an input level is too high or too low, adjust the input gain accordingly.
Microphone Level Adjustment
- Open the Audio Management page.
- Select the desired microphone input and press ENTER.
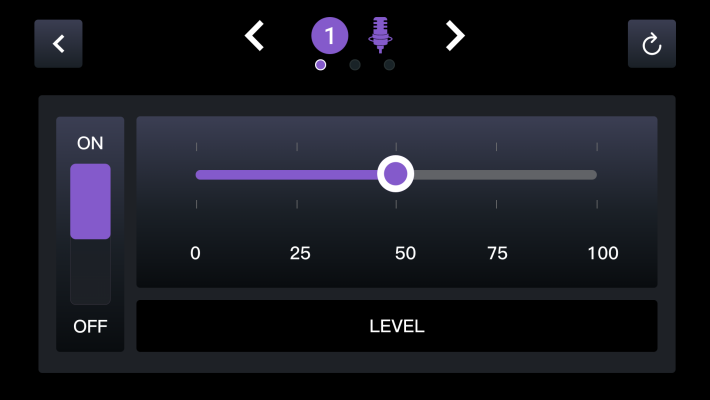
- Use + or – to adjust the input level.
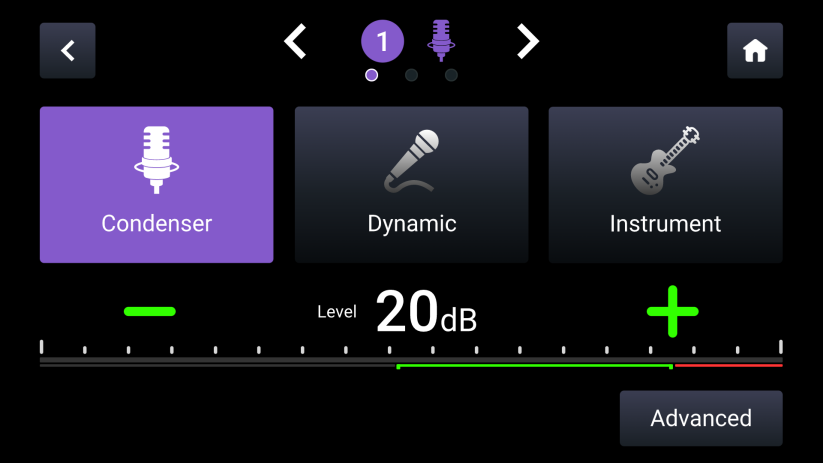
📢  Important
If a 48V condenser microphone is used, enable phantom power for the MIC input before use.
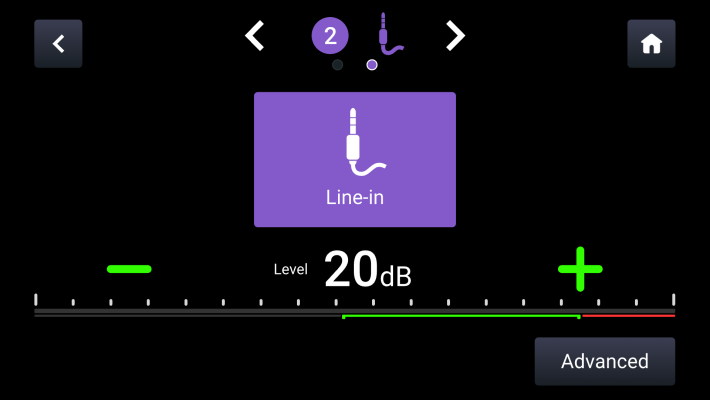
Line in Level Adjustment
- Open the Audio Management page.
- Select Line In and press ENTER.
- Use + or – to adjust the input level
Advanced Audio Features
Compared with mini-edge, mini-edge SDI adds AI-powered noise reduction.
This feature is particularly useful for:
- Outdoor productions
- Live streaming in noisy environments
- Voice enhancement applications
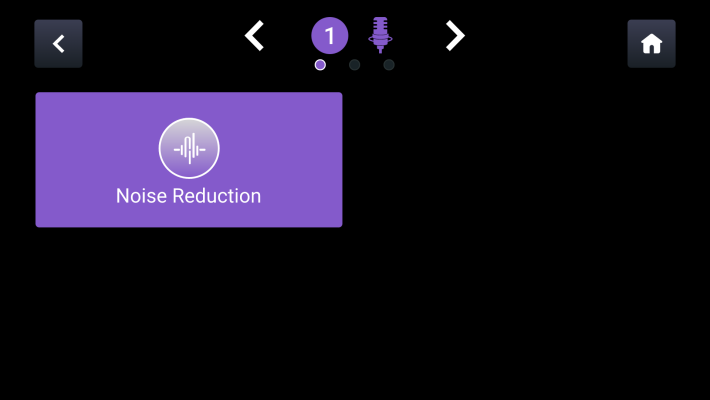
Enabling Noise Reduction
- Select the audio input source to be adjusted.
- Open the Advanced page.
- Enable Noise Reduction. When enabled, the Noise Reduction icon turns purple.
Adjusting Noise Reduction Strength
Use ENTER to adjust the Noise Reduction level.
To restore the default settings, select the Reset icon in the upper-right corner of the page.