Online Manual
mini-extreme ISO User Manual

2.1.2 Front Panel
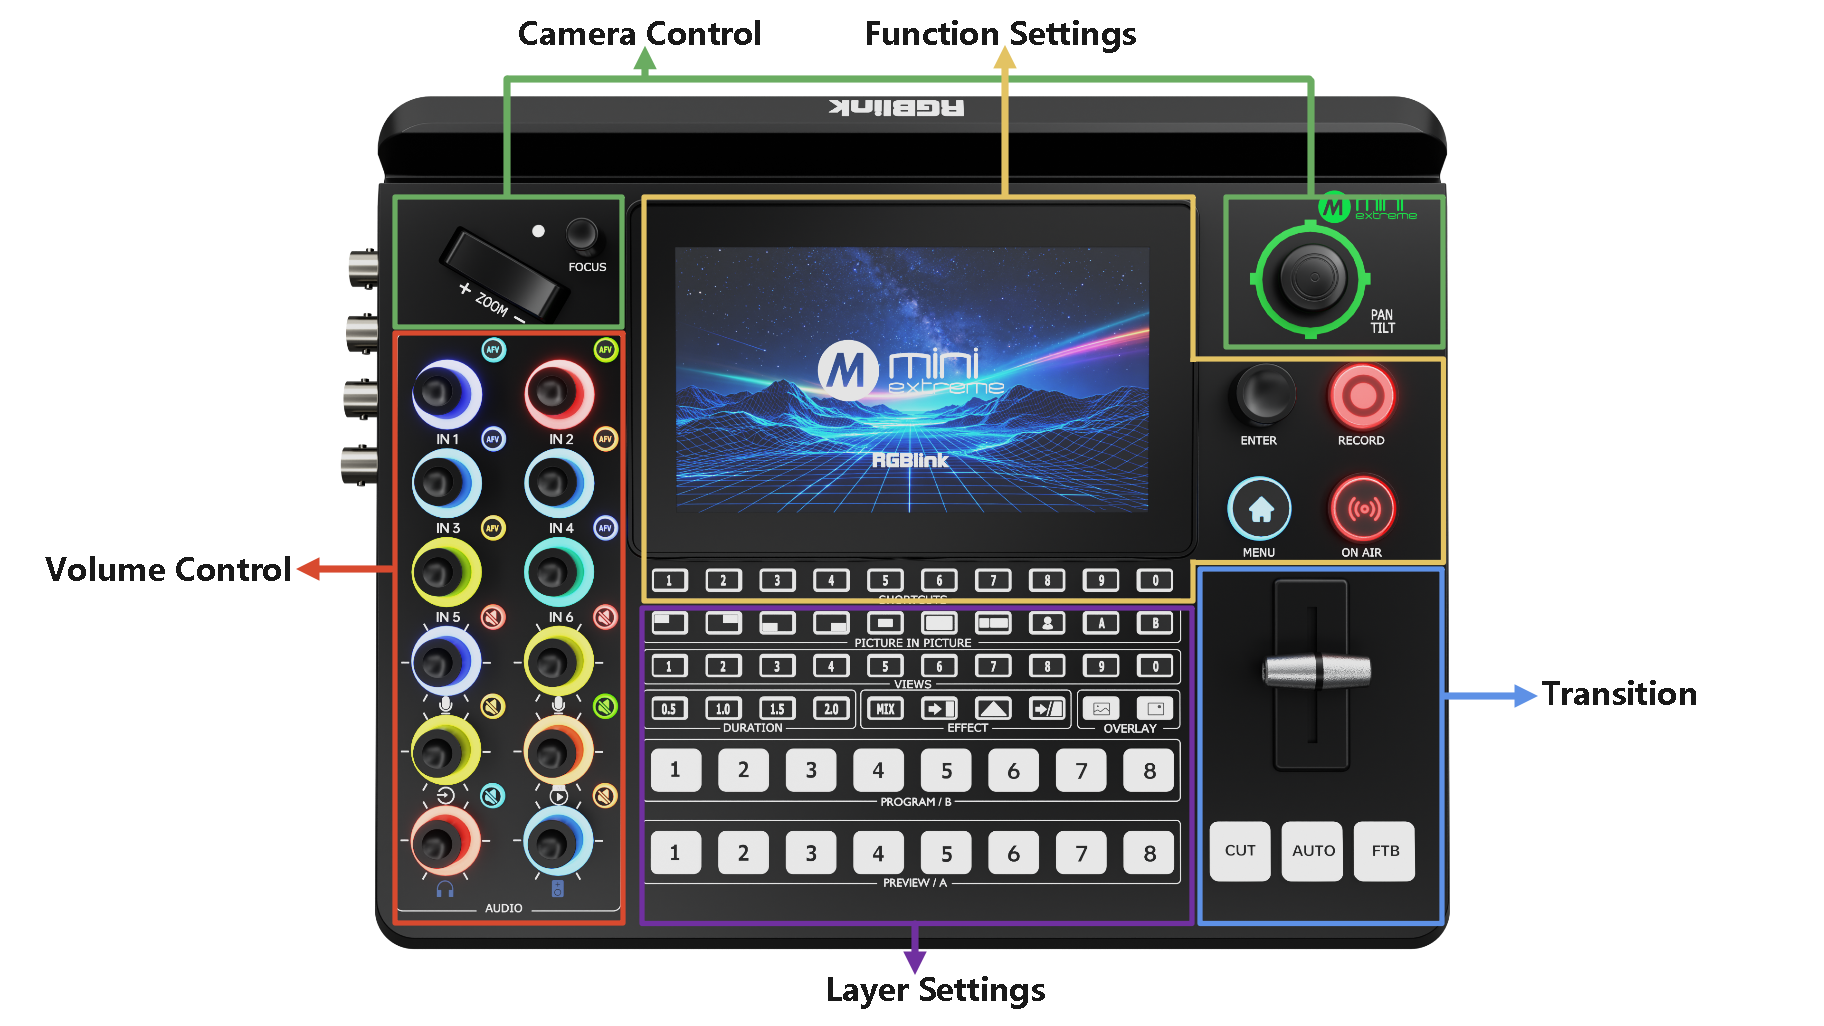
| Area | Description |
|---|---|
| Function Settings | ○ 5.5" HD Touch Screen ○ SHORTCUTS Custom Function Button ○ MENU/EXIT Button ○ ENTER: Menu Browsing/Confirm Button ○ RECORD Button ○ ON AIR Button |
| Camera Control | ○ FOCUS knob with indicator ○ ZOOM Toggle ○ 5-Direction Joystick |
| Volume Control | ○ Volume Control Knob ○ AFV (Audio Follow Video) Button ○ Mute Button |
| Layer Settings | ○ PICTURE-IN-PICTURE layout selection buttons ○ Chroma Key button ○ A/B Layer selection buttons ○ VIEWS scene recall button ○ EFFECT transition effect selection button ○ DURATION transition duration selection button ○ OVERLAY selection button ○ PROGRAM/B program output and multi-layer preset buttons ○ PREVIEW/A preview output and multi-layer preset buttons |
| Transition | ○ T-Bar ○ CUT quick transition button ○ AUTO automatic transition button **○ FTB **fade-to-black transition button |
Function Settings
| Area | Description |
|---|---|
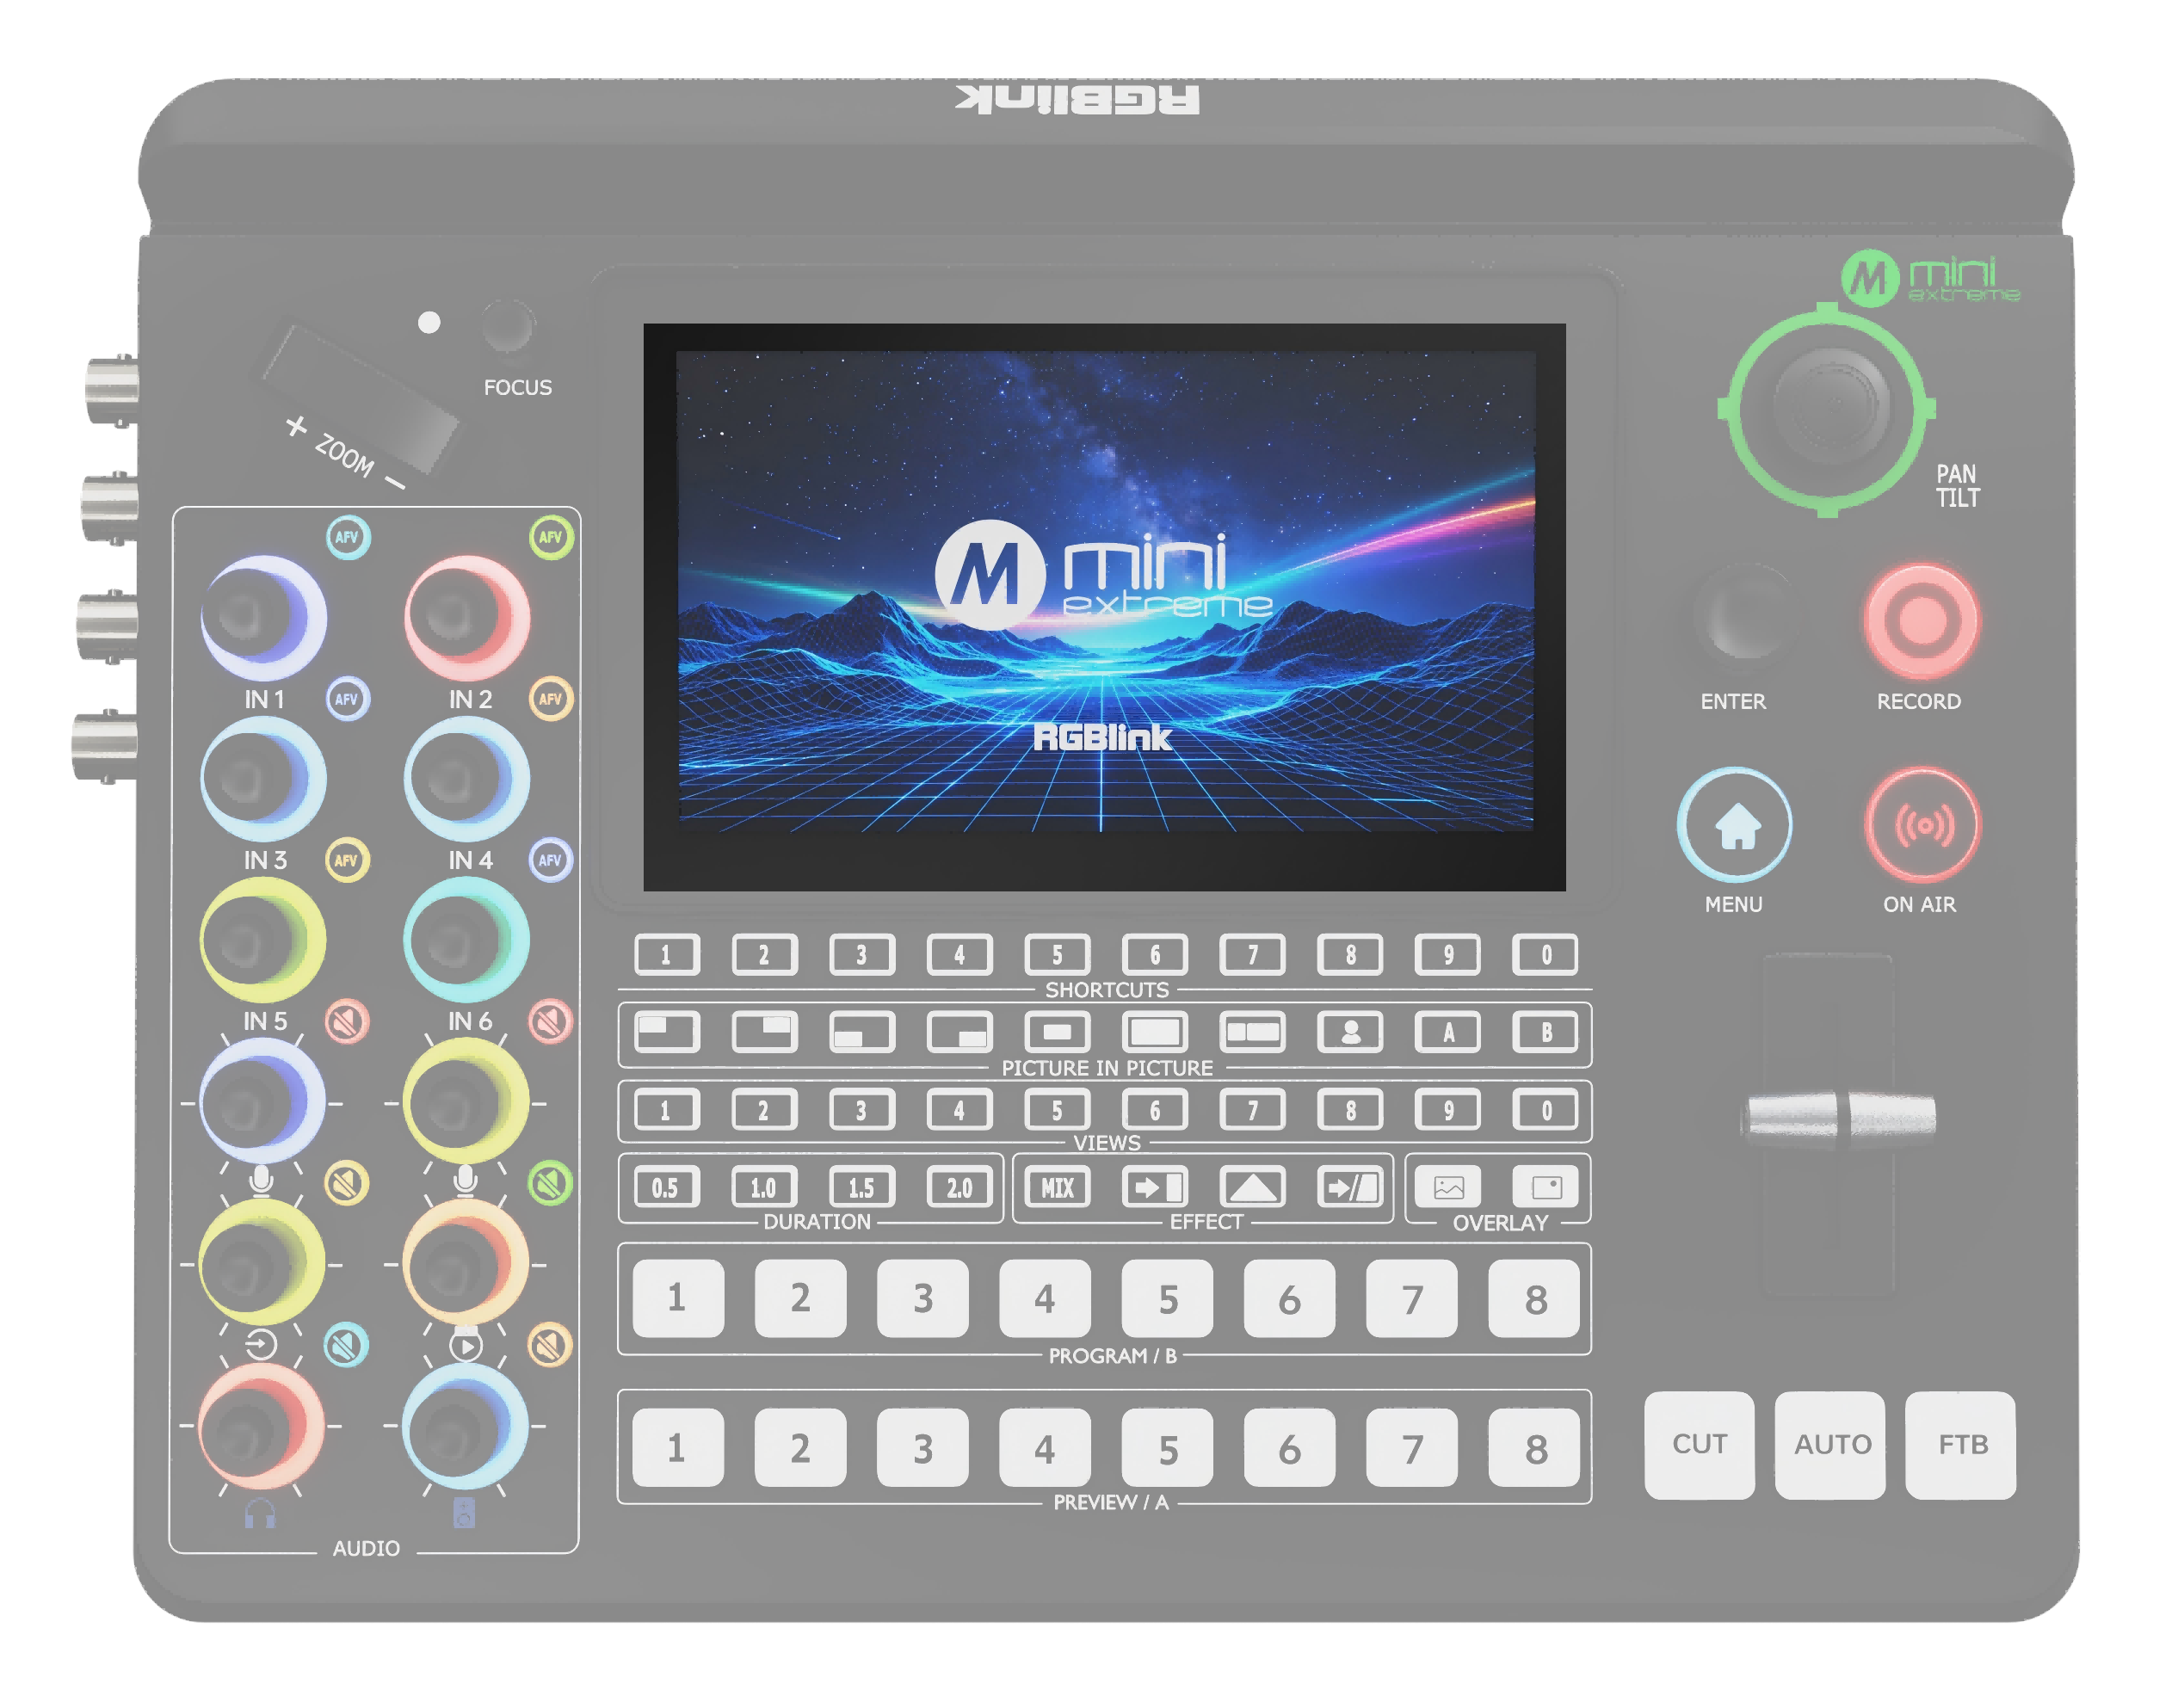 | 5.5-inch Full-Color Display Monitors all audio/video inputs and outputs, recording and streaming status, and displays menus. |
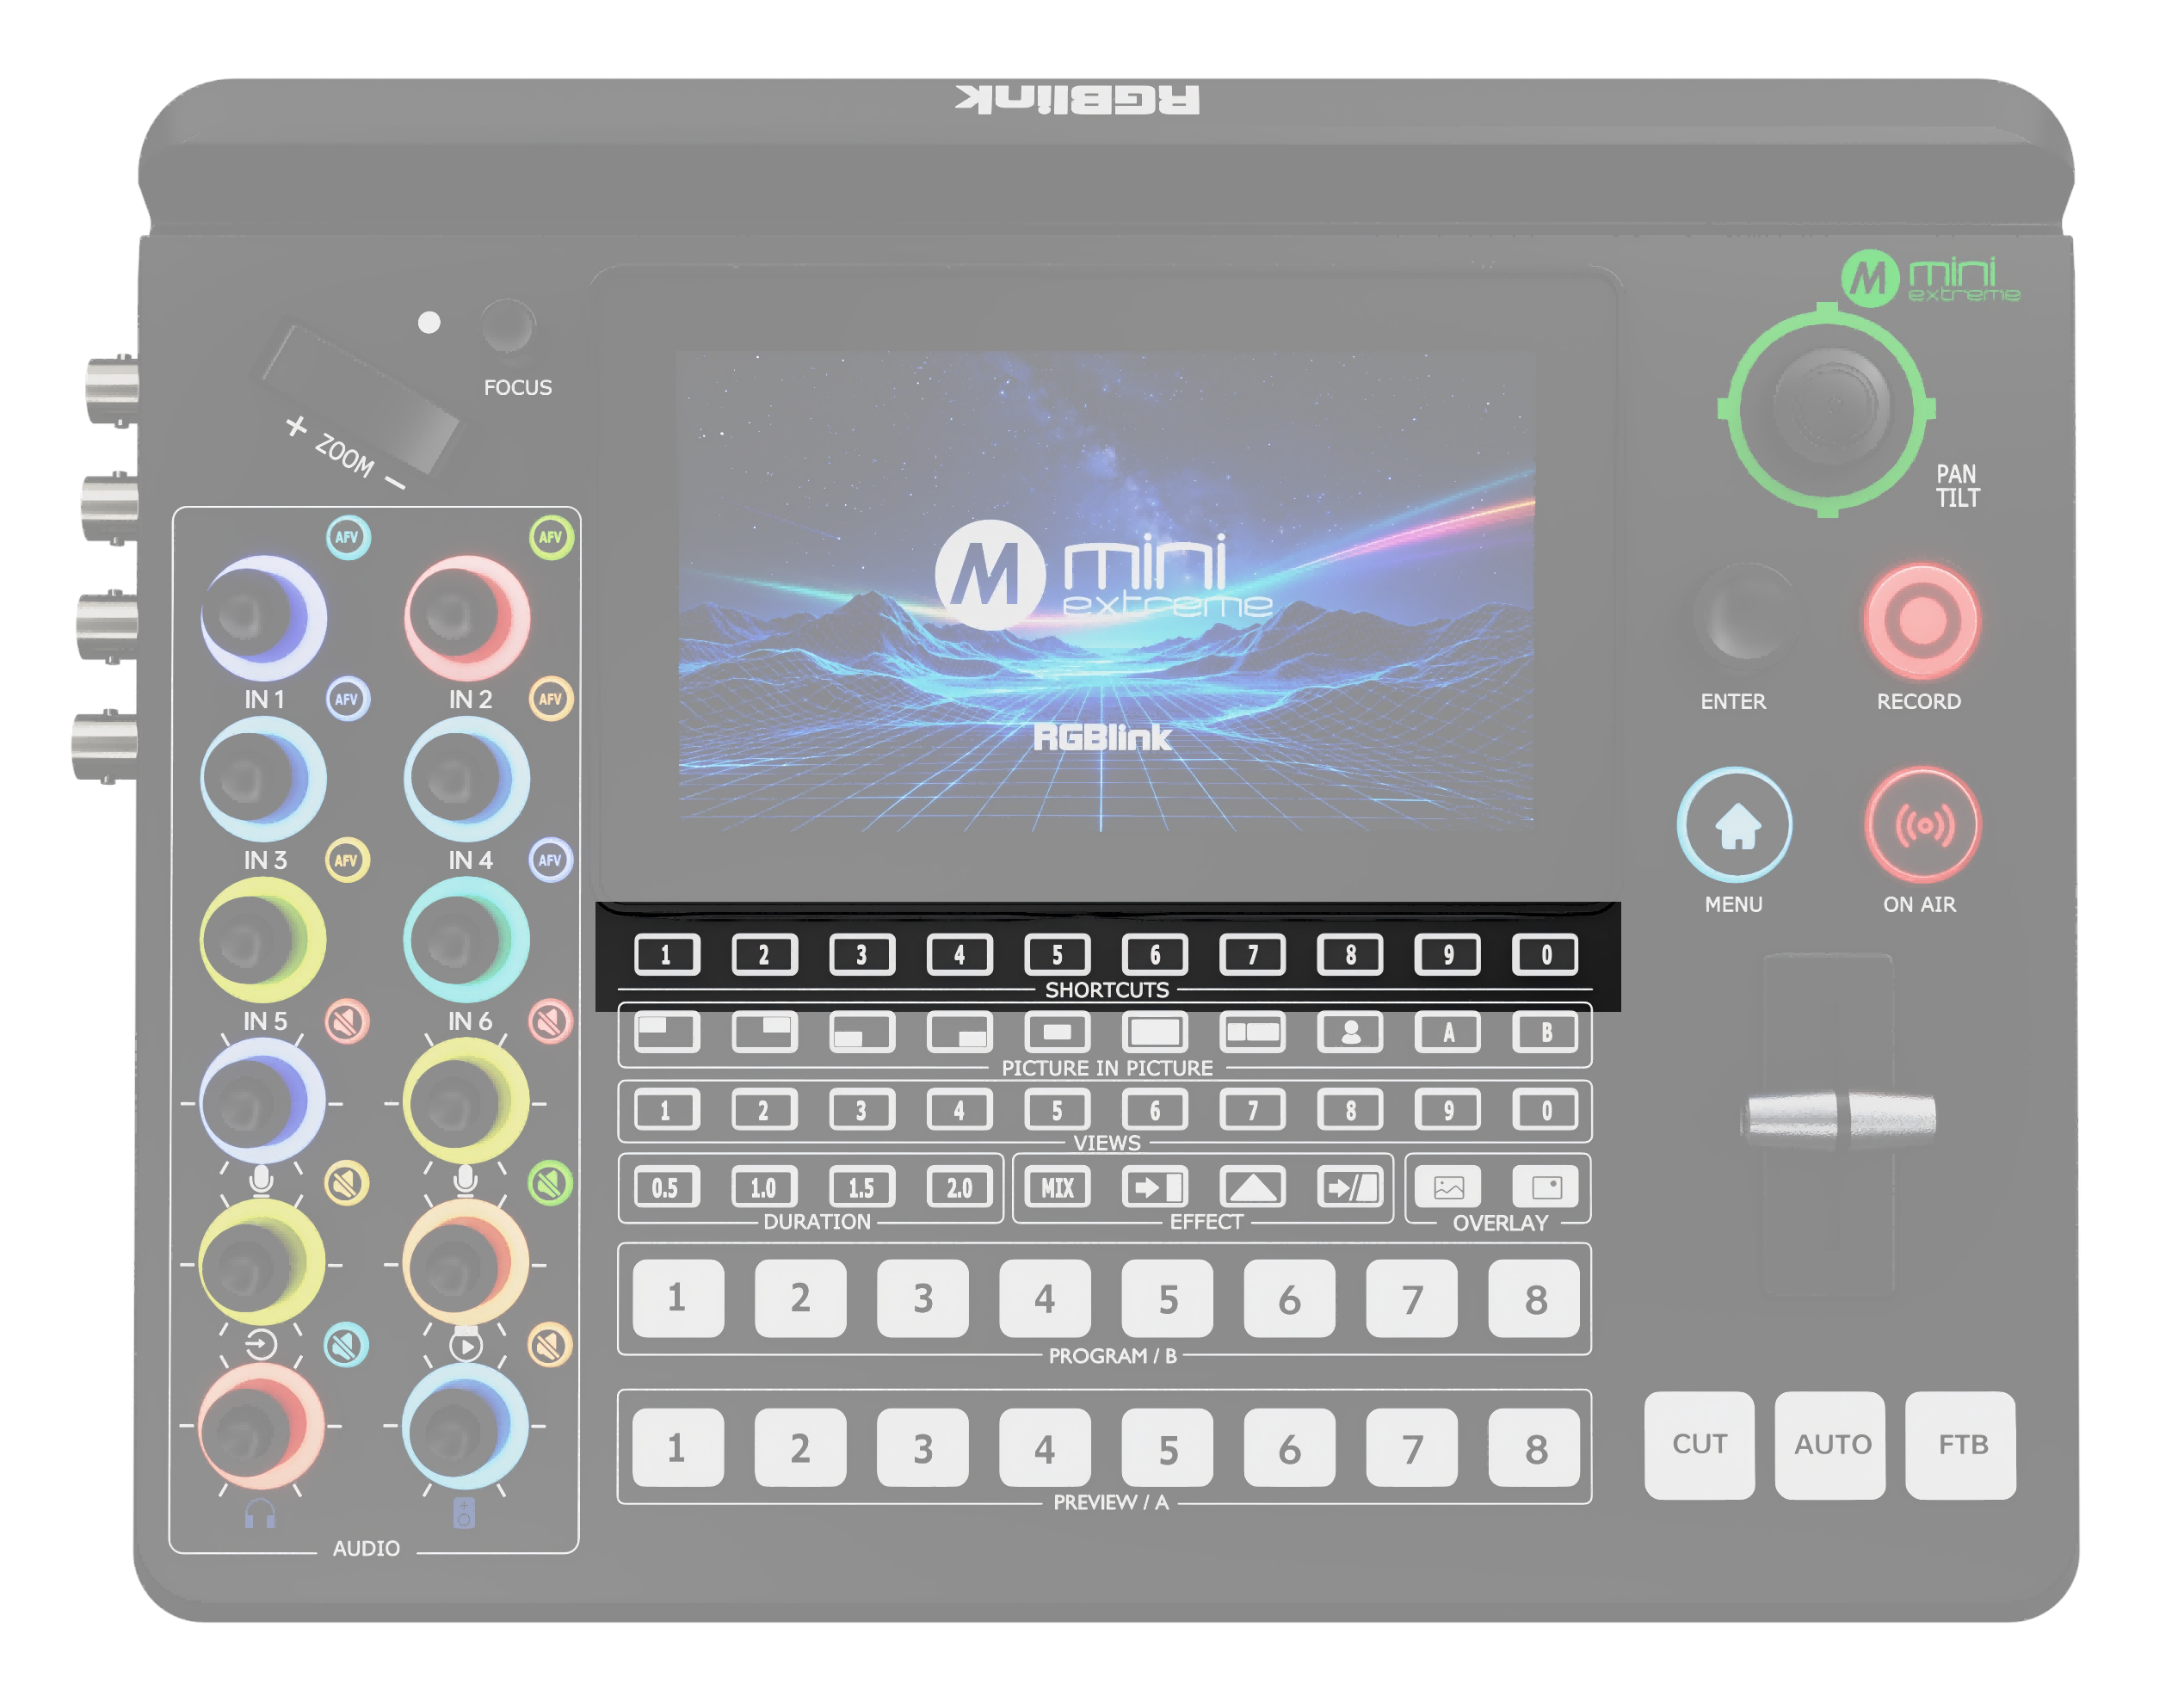 | SHORTCUTS (Coming Soon) Button Functions ○ Shortcut functions can be assigned through the Web App. Indicator Status ○ Off: No shortcut function is assigned. ○ Solid white: A shortcut function is assigned. Operation ○ Press: Activates the assigned shortcut function. |
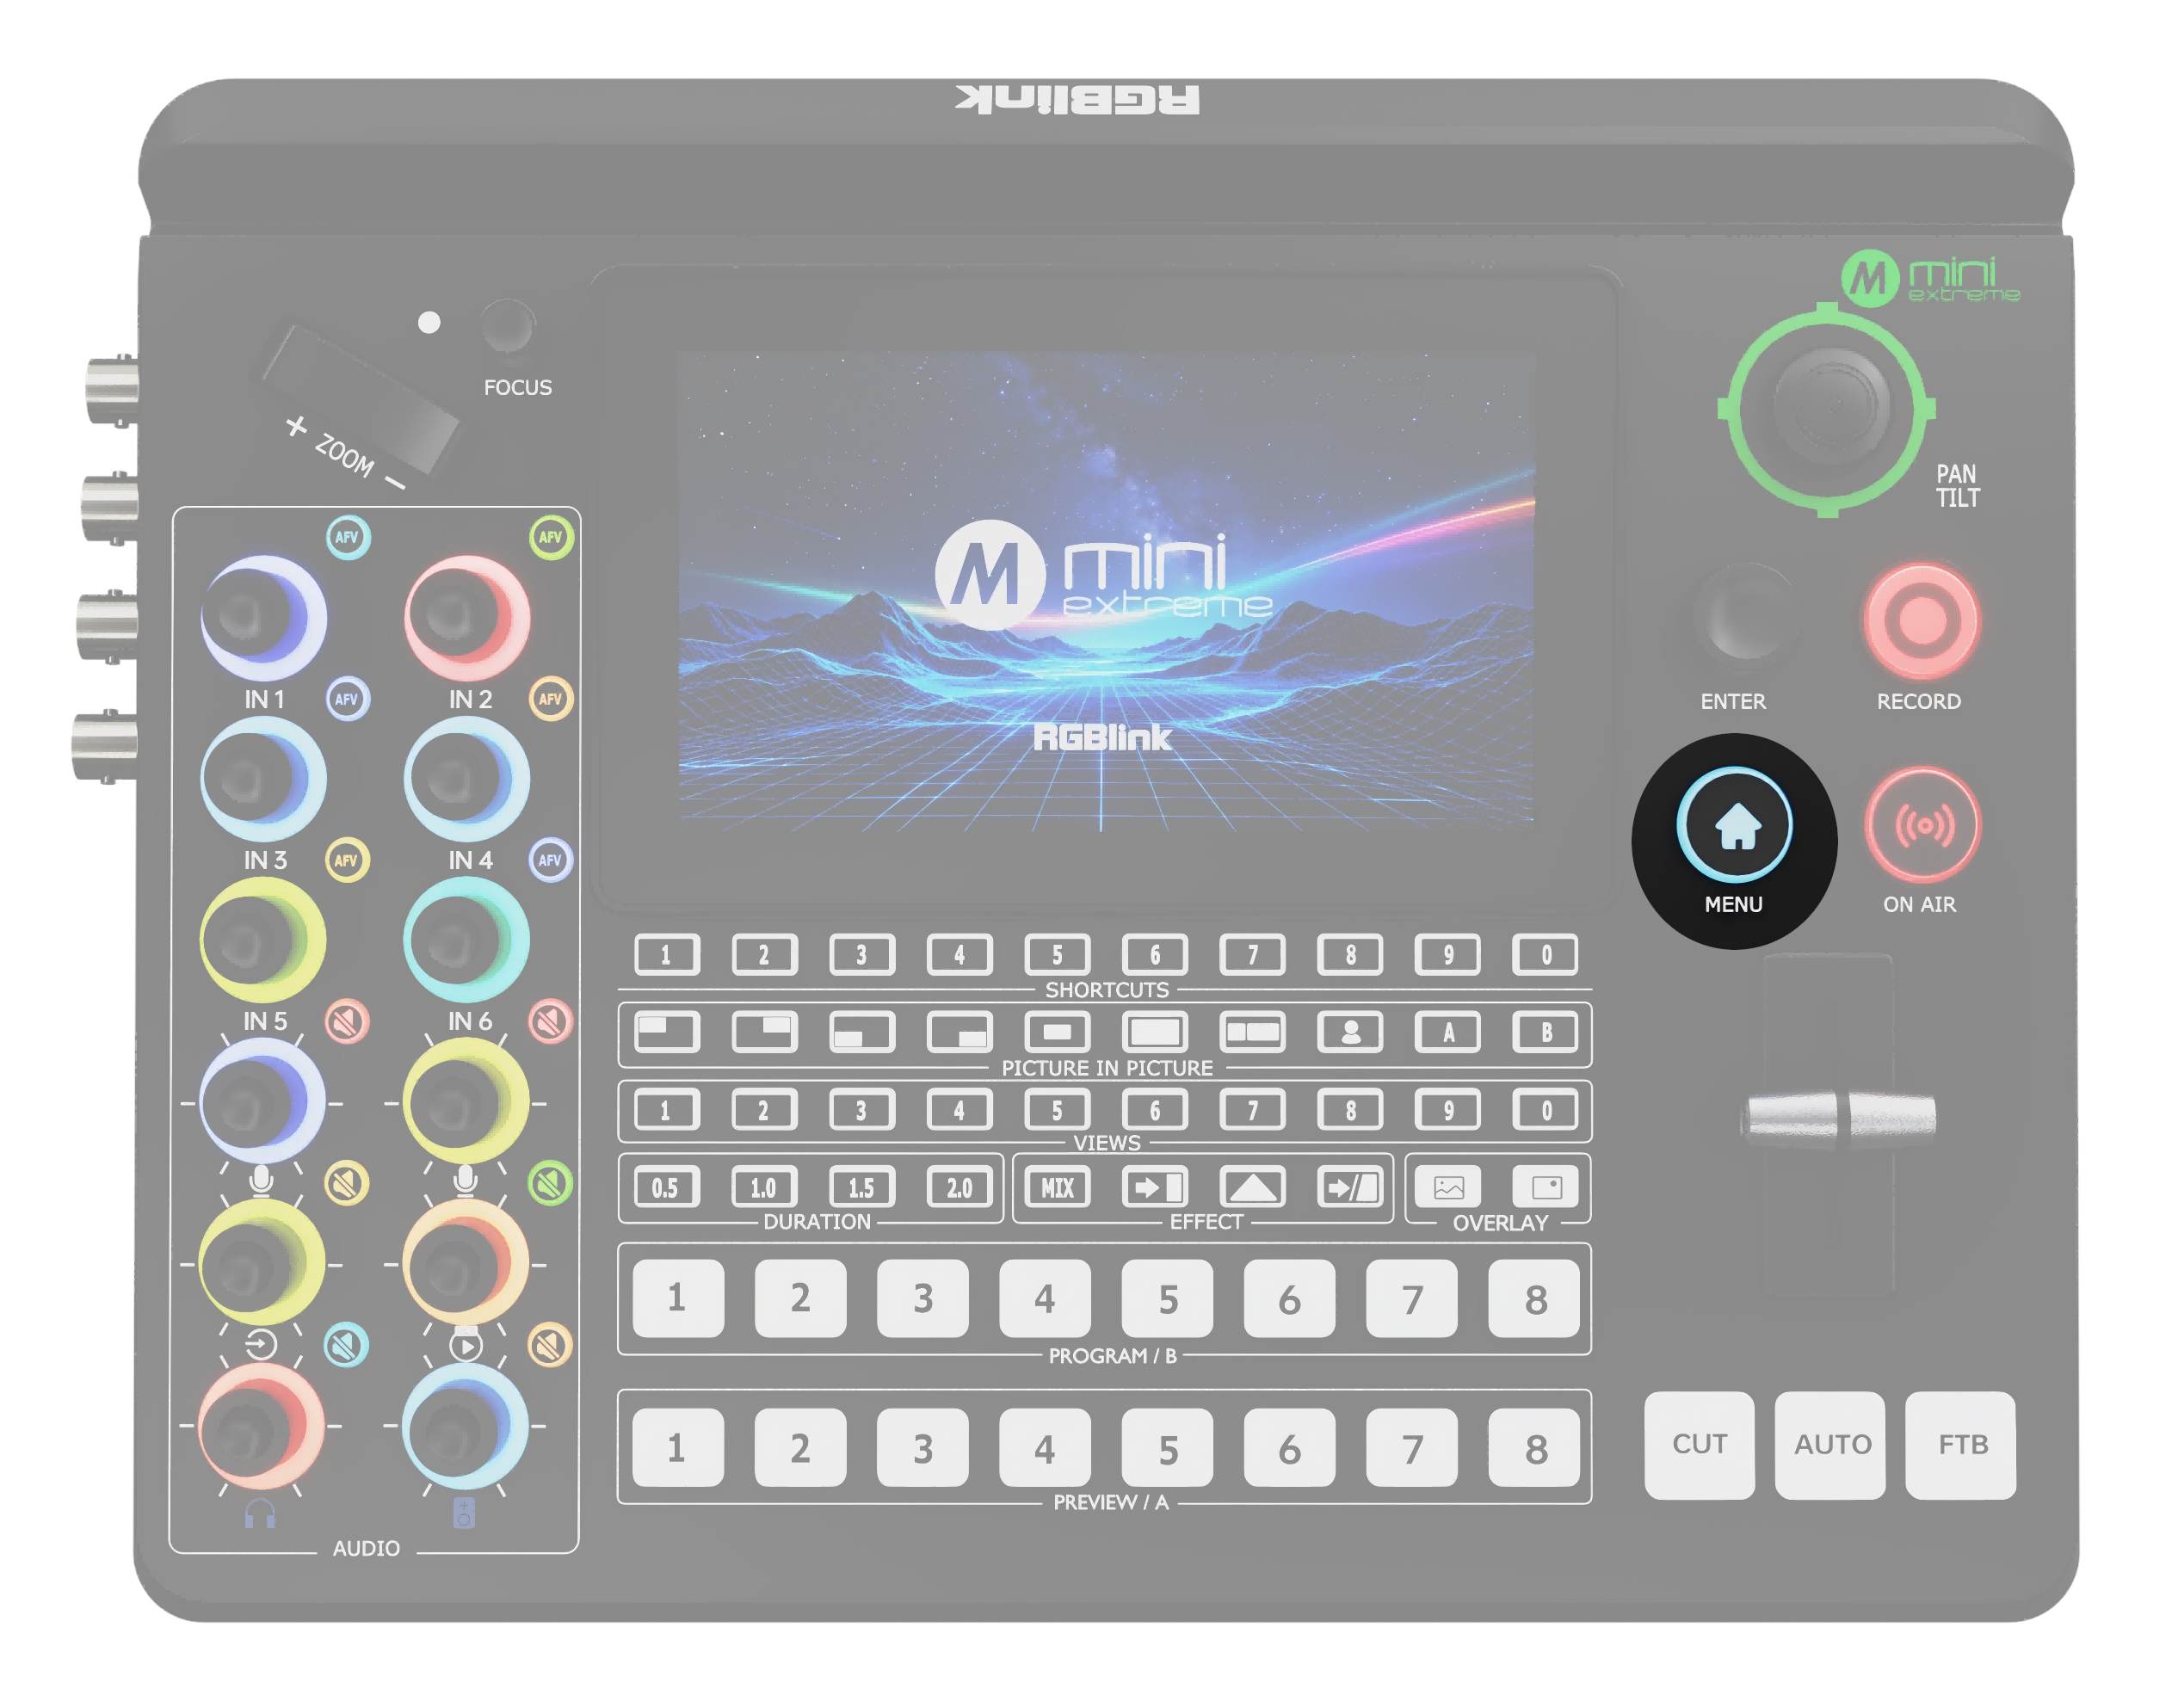 | MENU Button Functions ○ MENU: Opens the menu. ○ Back: Returns to the previous screen. ○ Screen Lock: Press and hold for 3 seconds to lock or unlock the screen. |
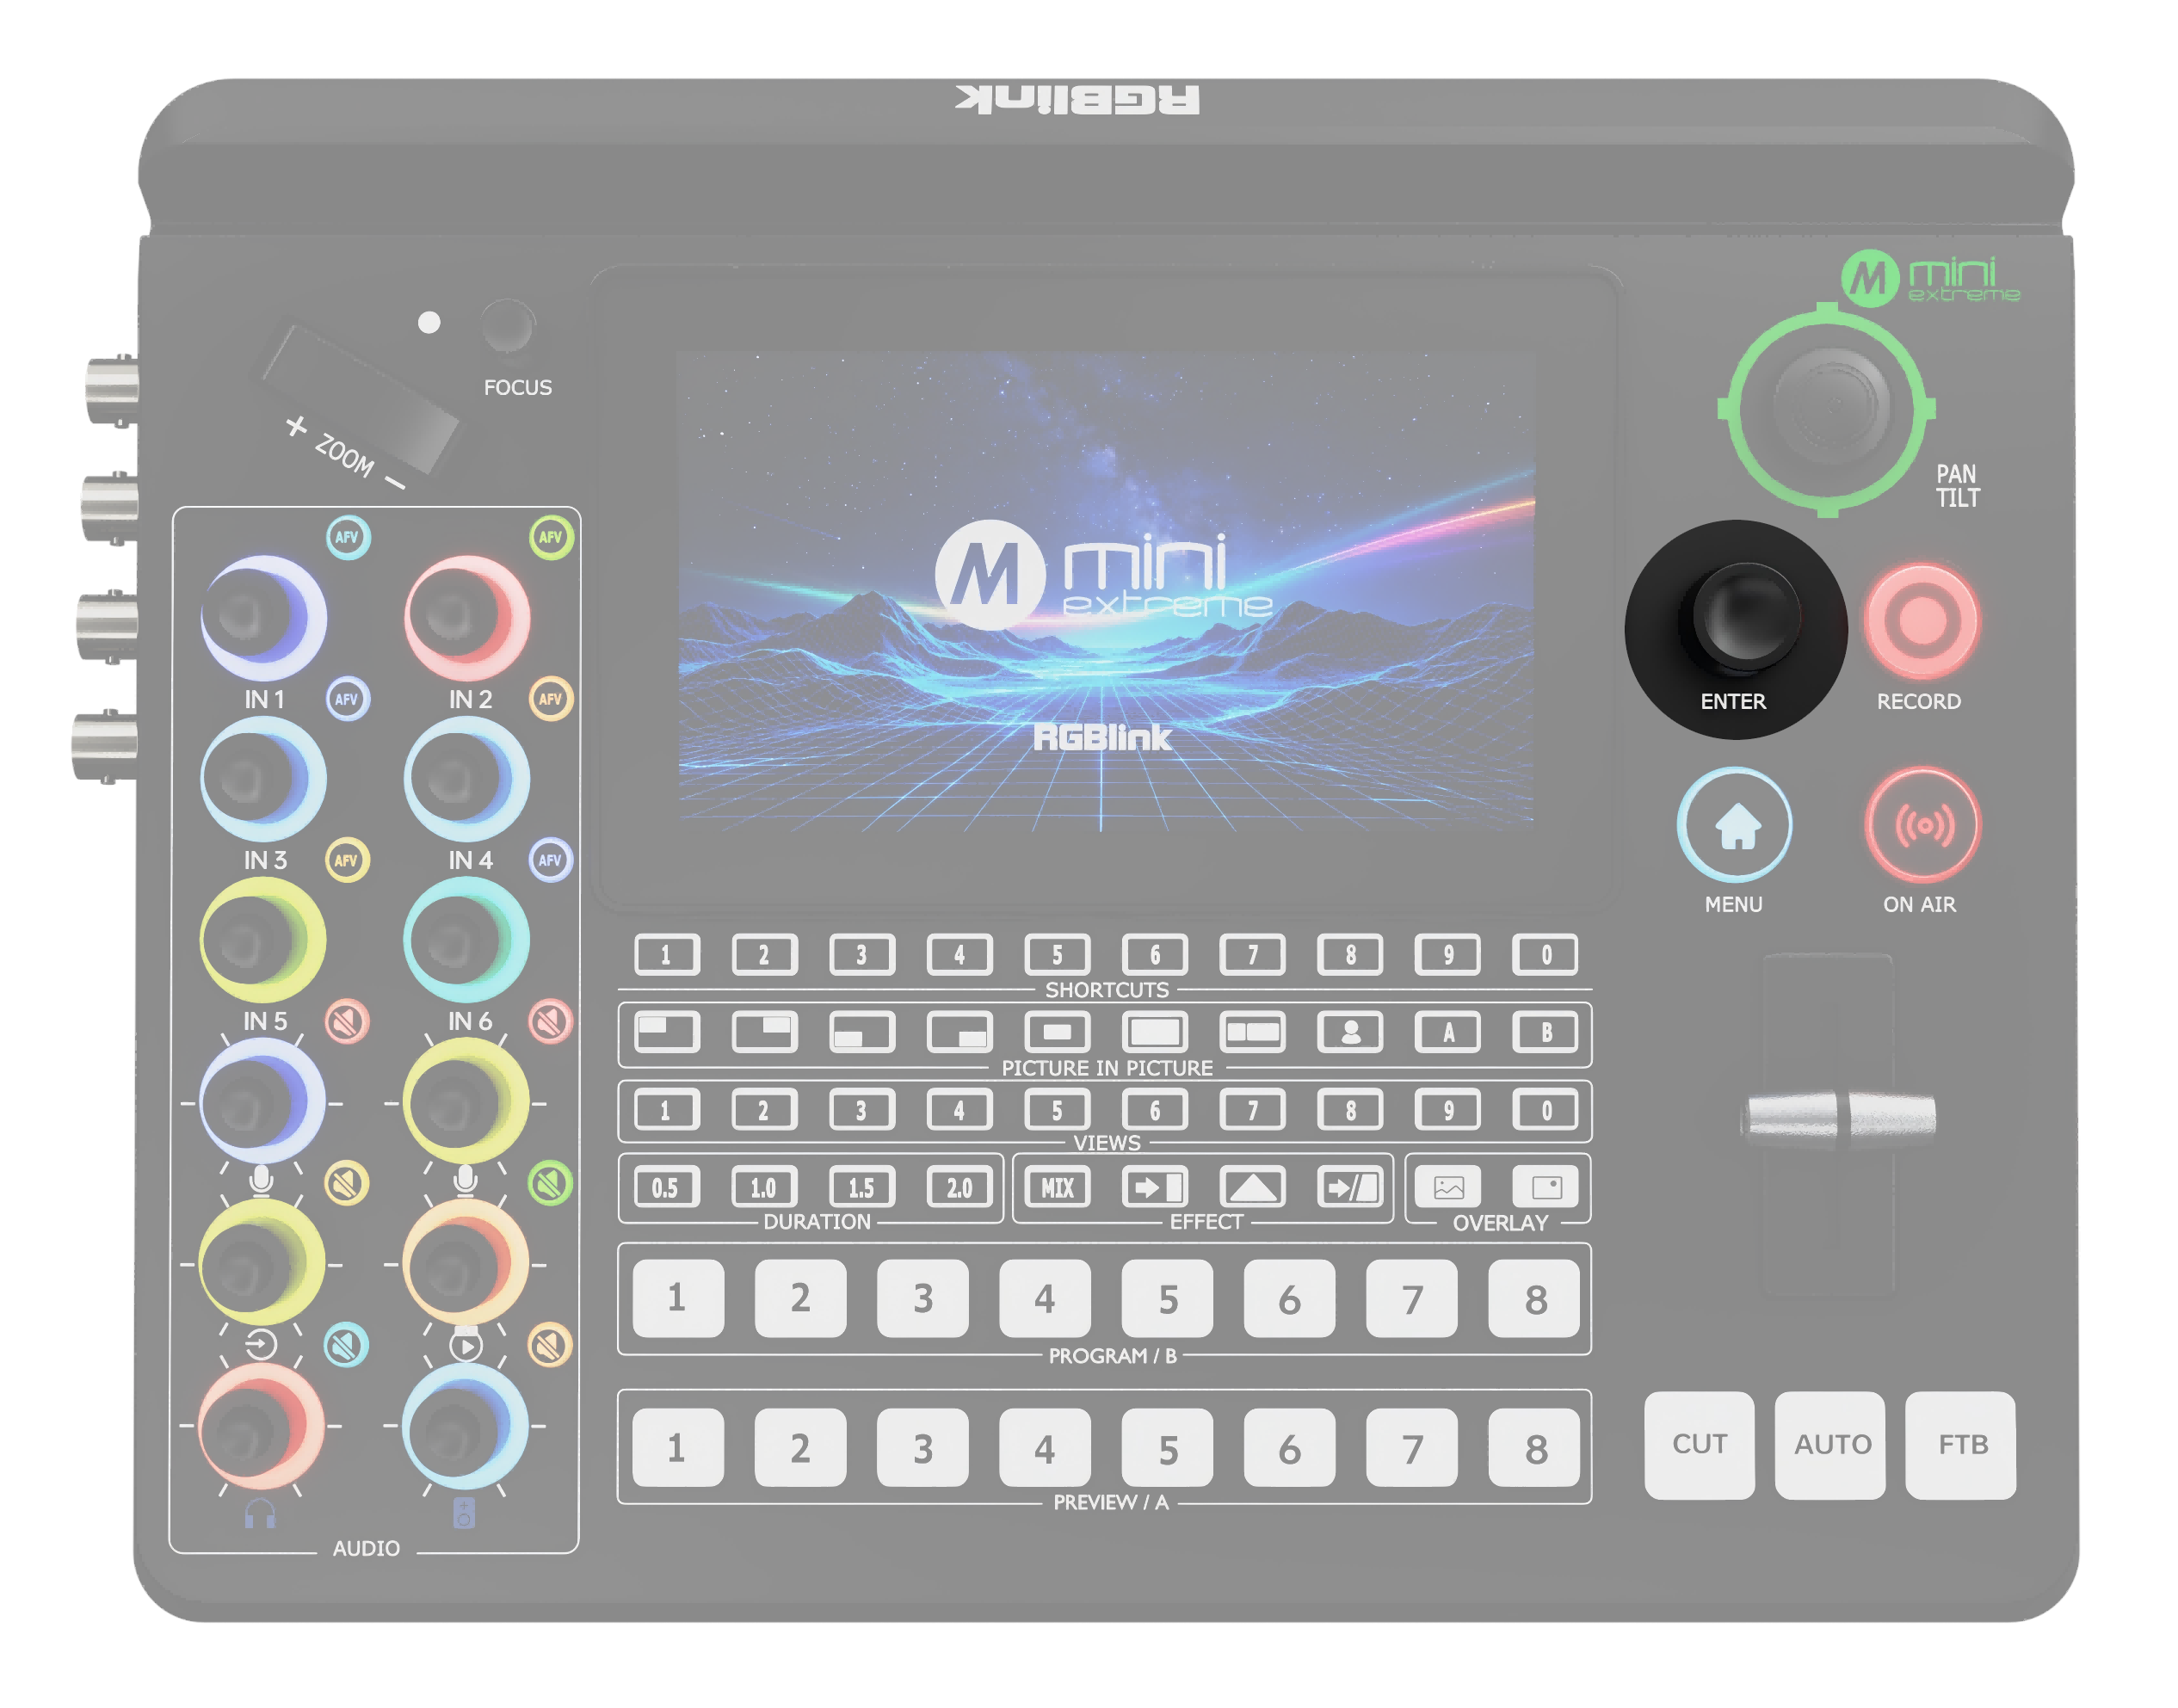 | ENTER Button Functions ○ Selects an option. ○ Confirms a selection. ○ In PTZ control mode, turn the knob to adjust the value. |
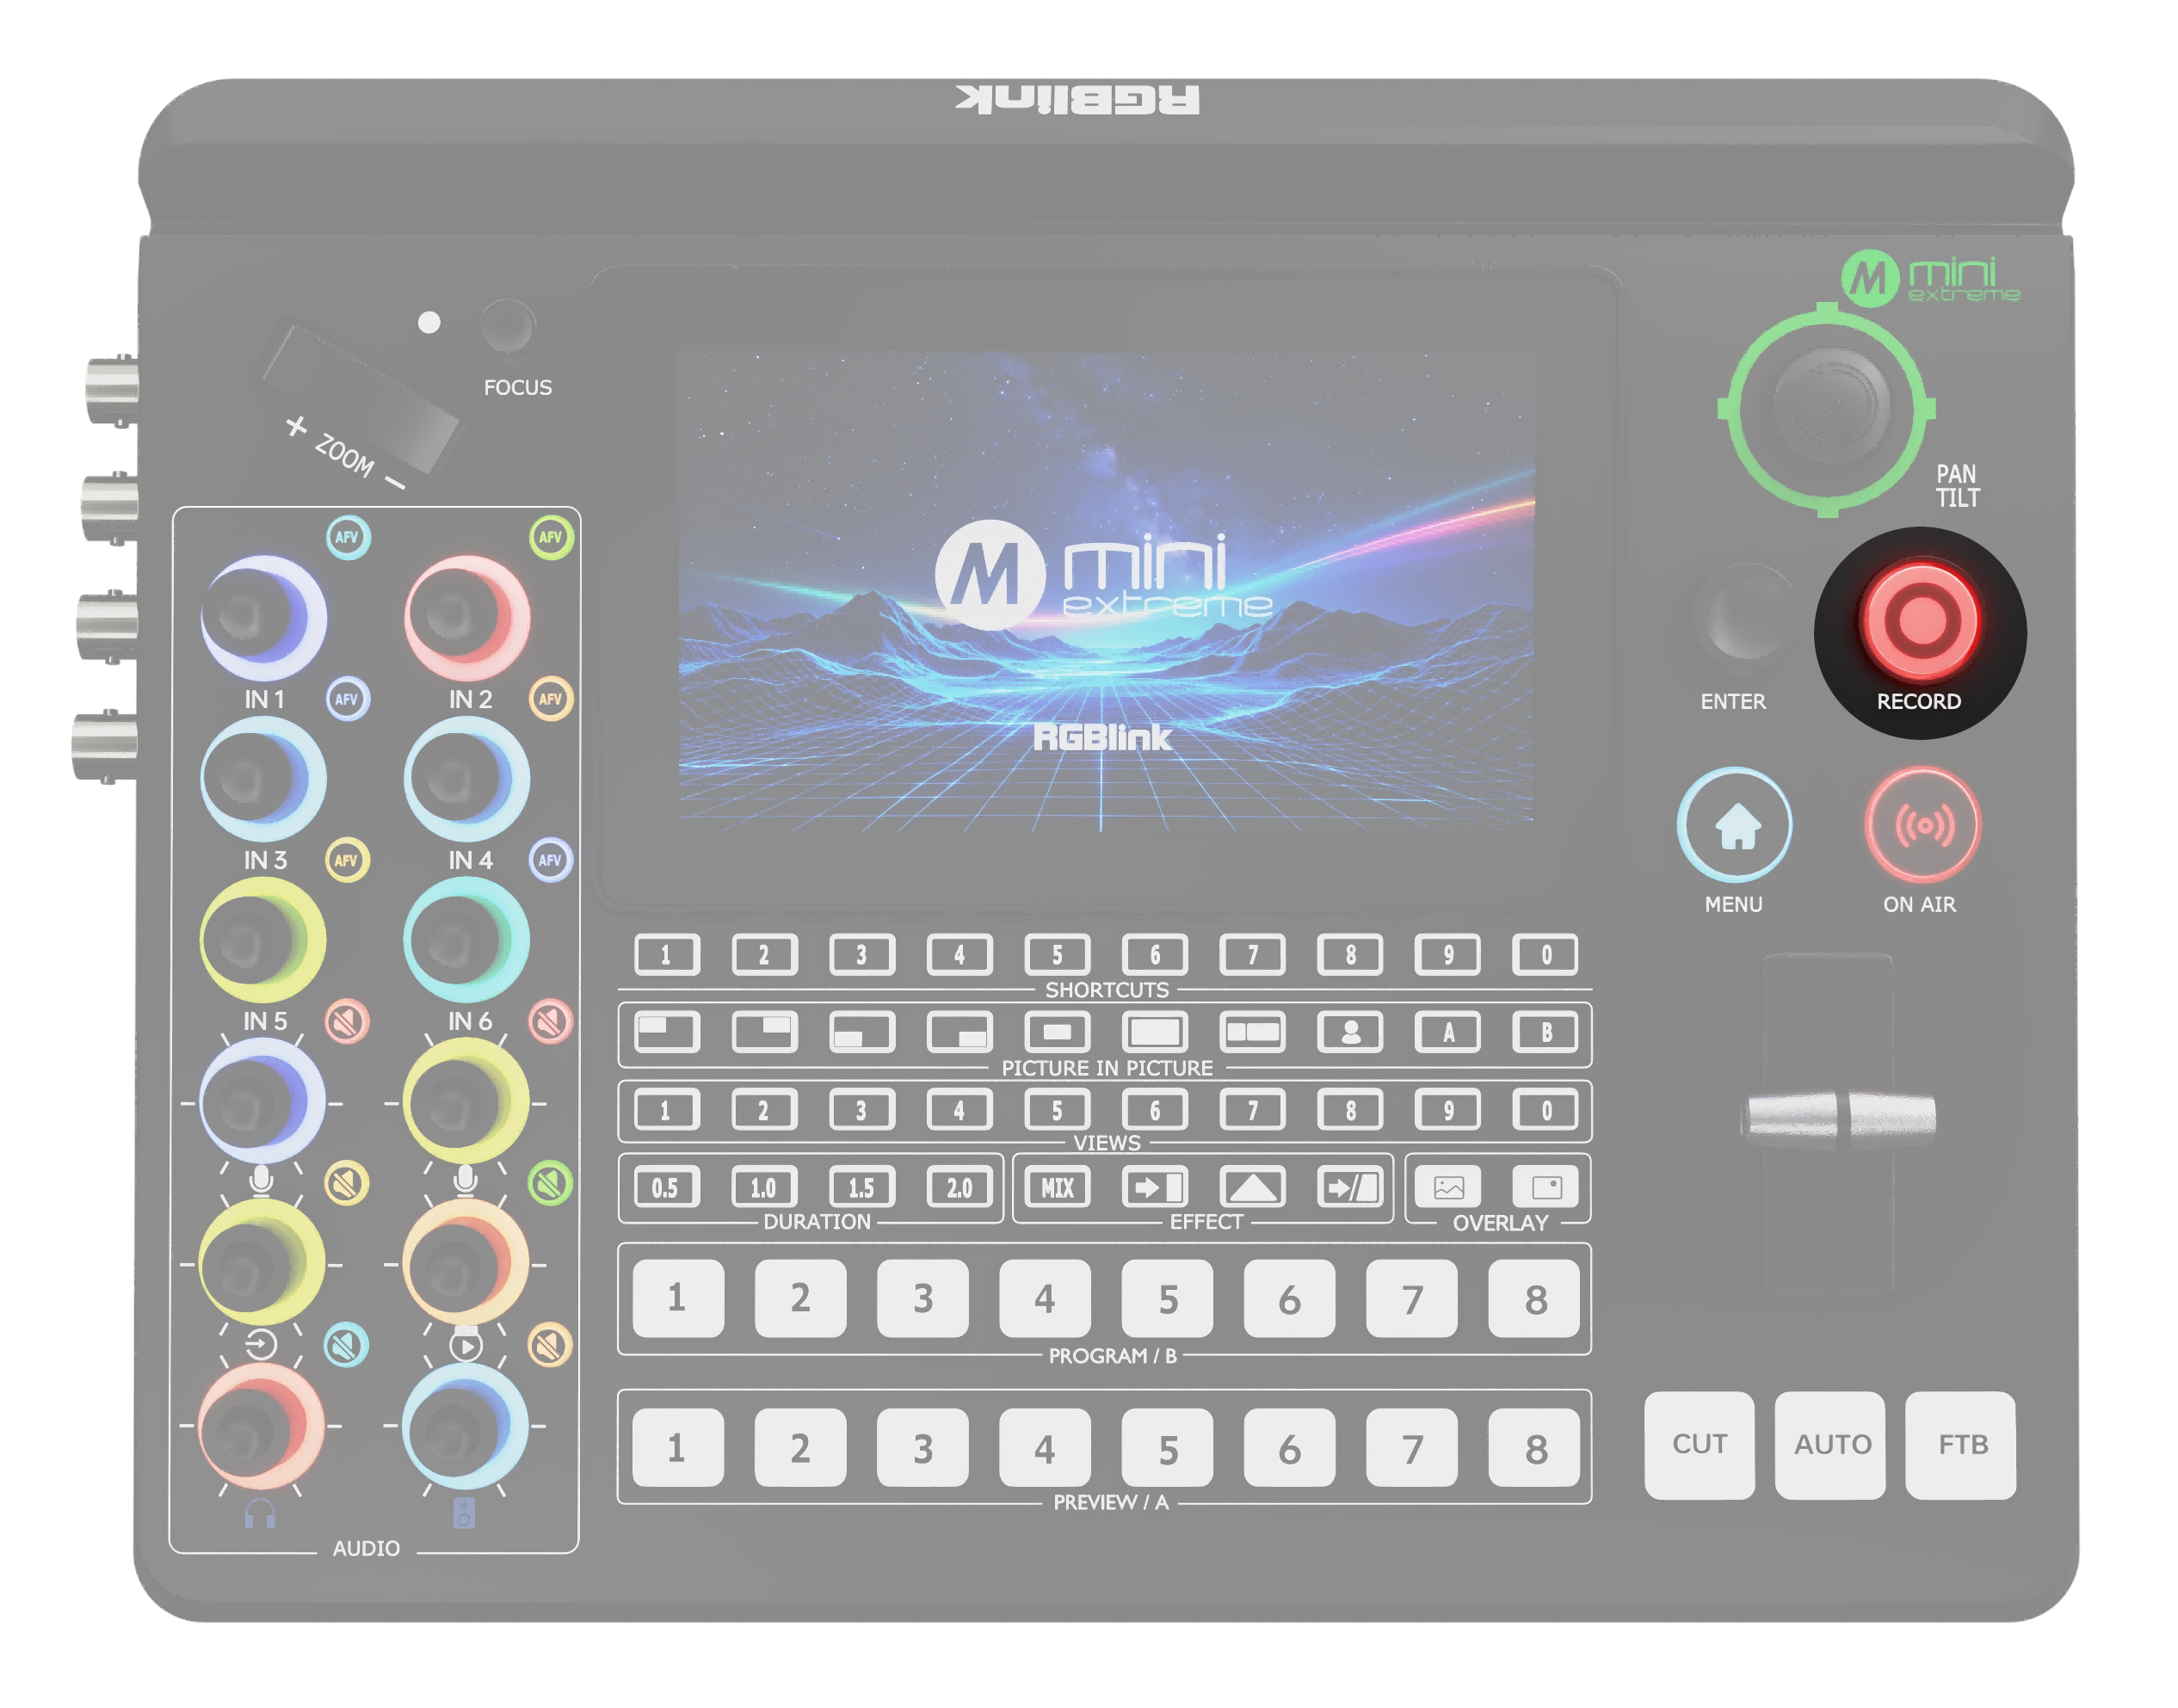 | RECORD ○ Connect a USB drive or hard drive to USB-C 1, then press RECORD to start recording. A solid red indicator indicates that recording is in progress. ○ Recording cannot be started when less than 300 MB of storage space remains. ○ During recording, press RECORD to select whether to stop recording. The indicator flashes red while the recording is being saved. |
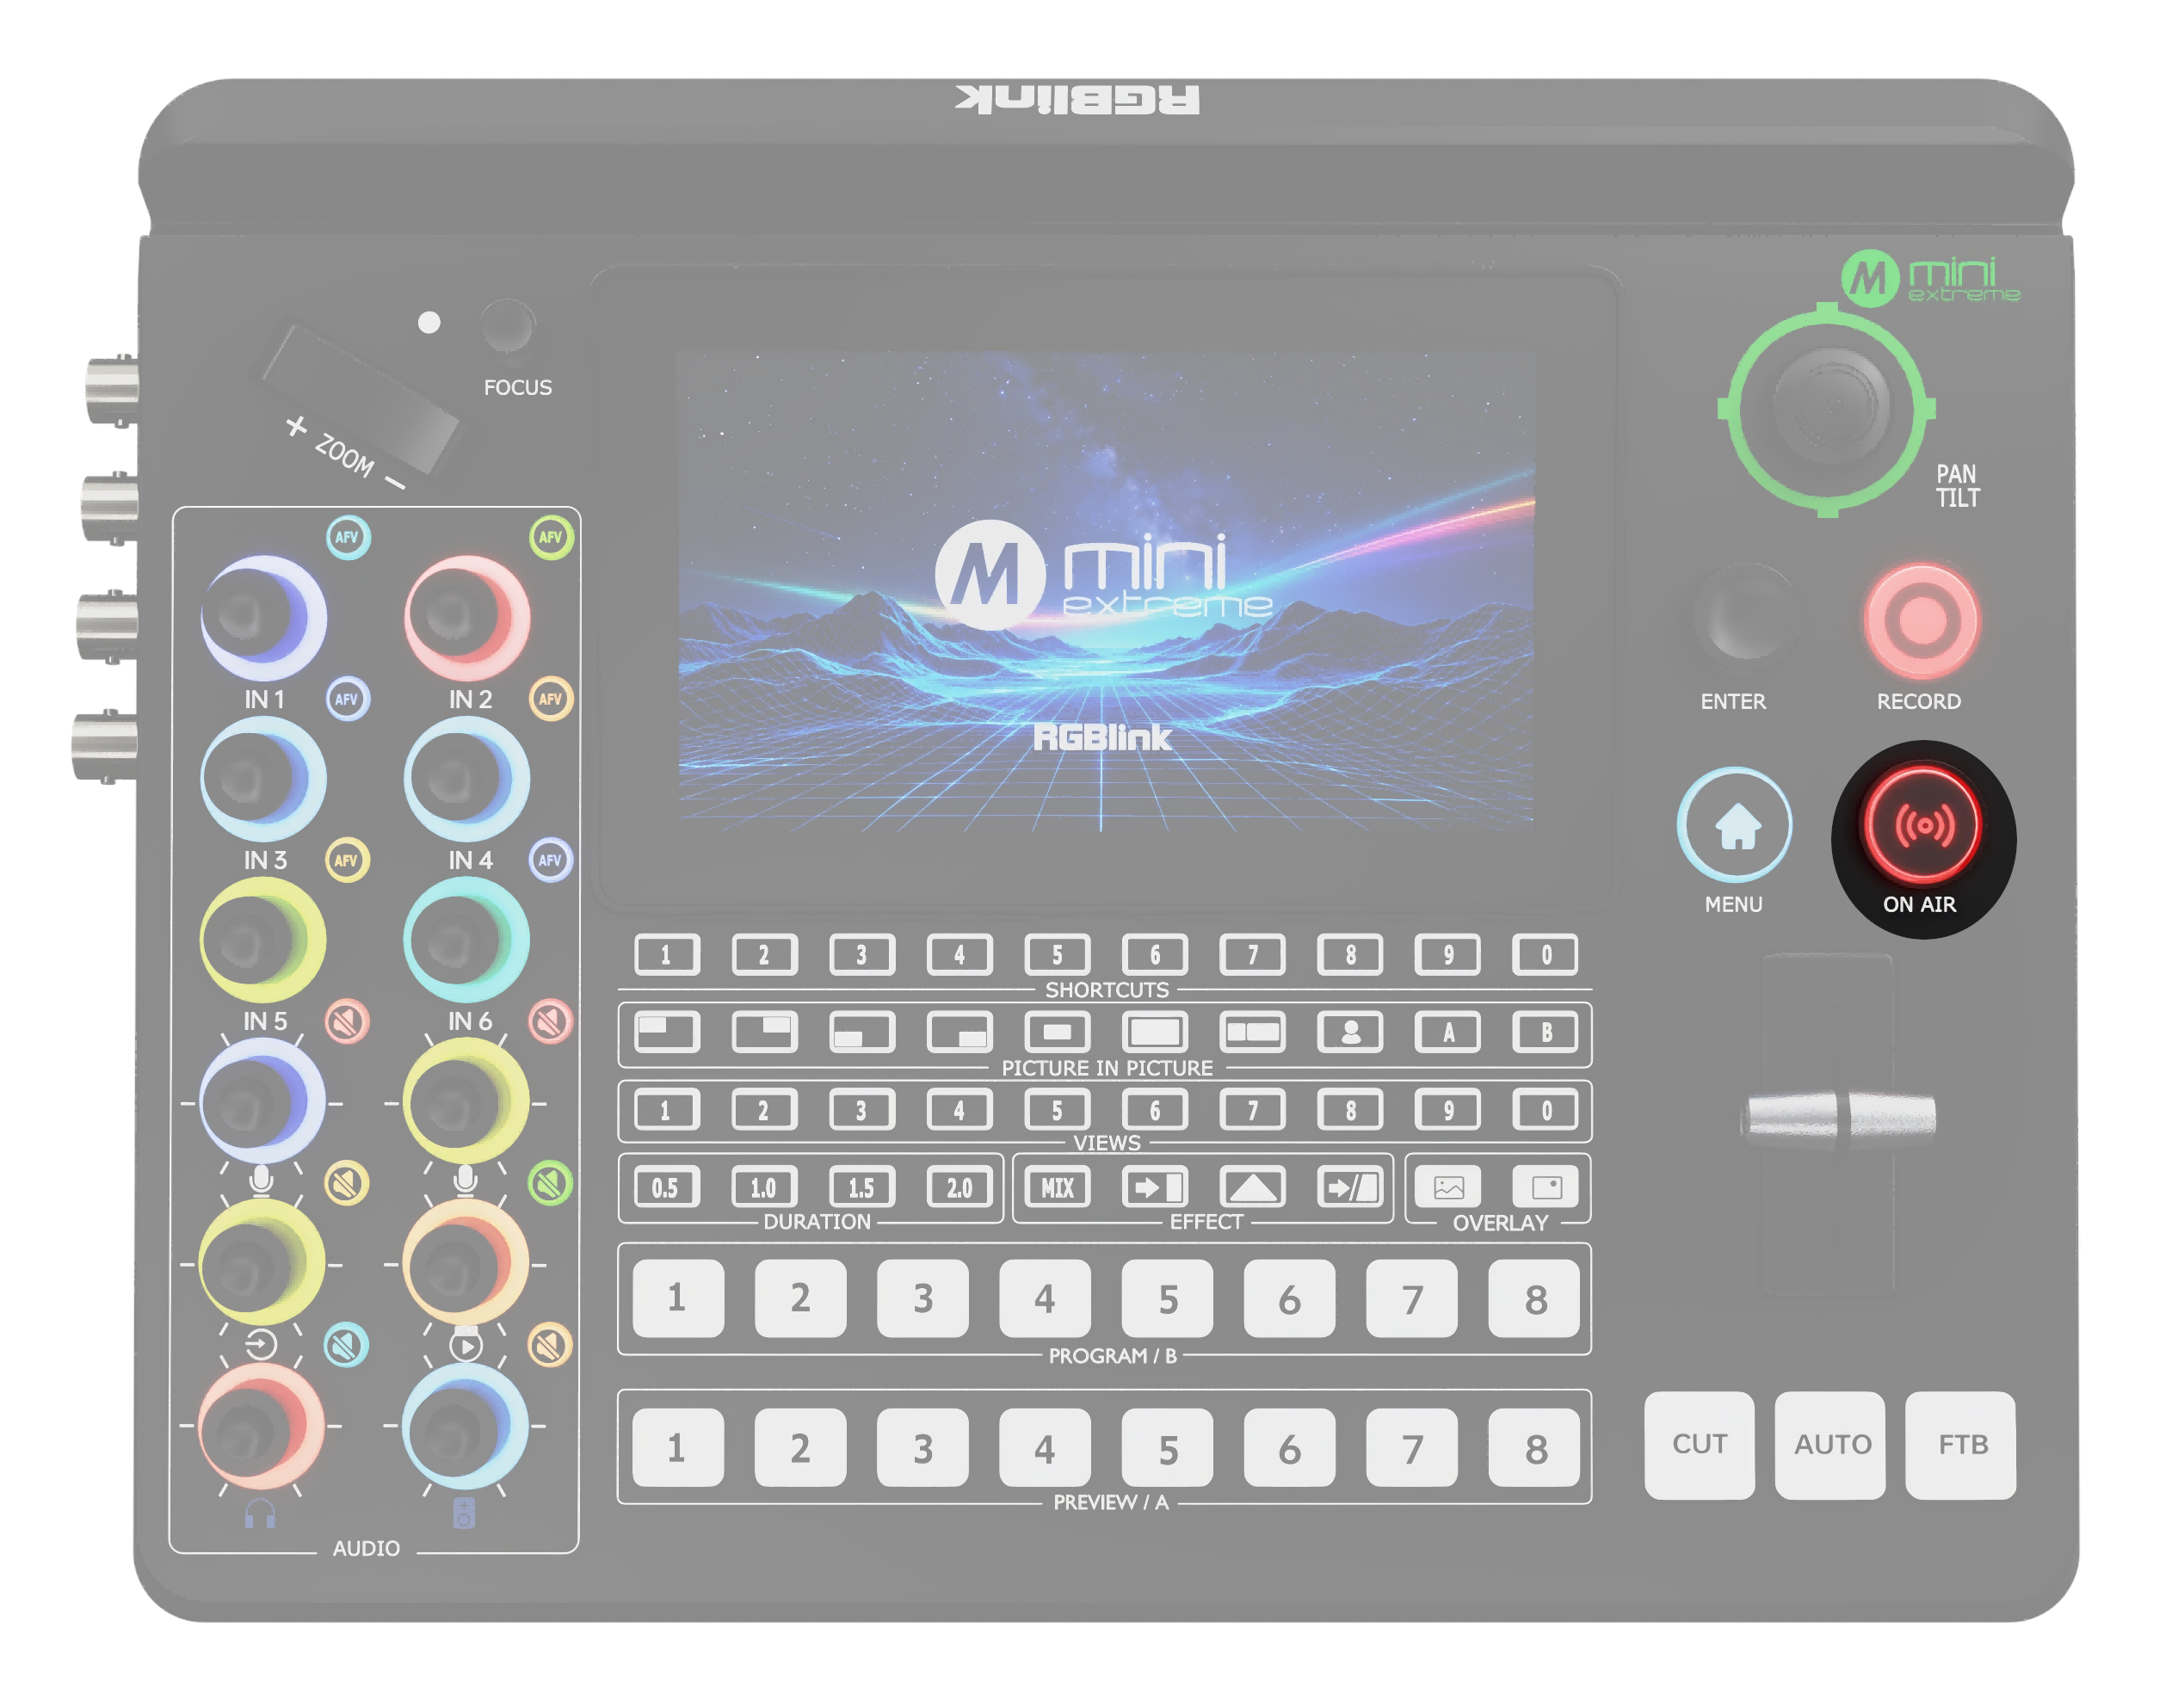 | ON AIR ○ When a streaming address is configured, press ON AIR to start streaming. A solid green indicator indicates that streaming is in progress. ○ The indicator flashes red when no streaming address is configured or a configured streaming address fails. ○ During streaming, press ON AIR to select whether to stop streaming. ○ The indicator turns off when streaming ends. |
Camera Control
| Area | Description |
|---|---|
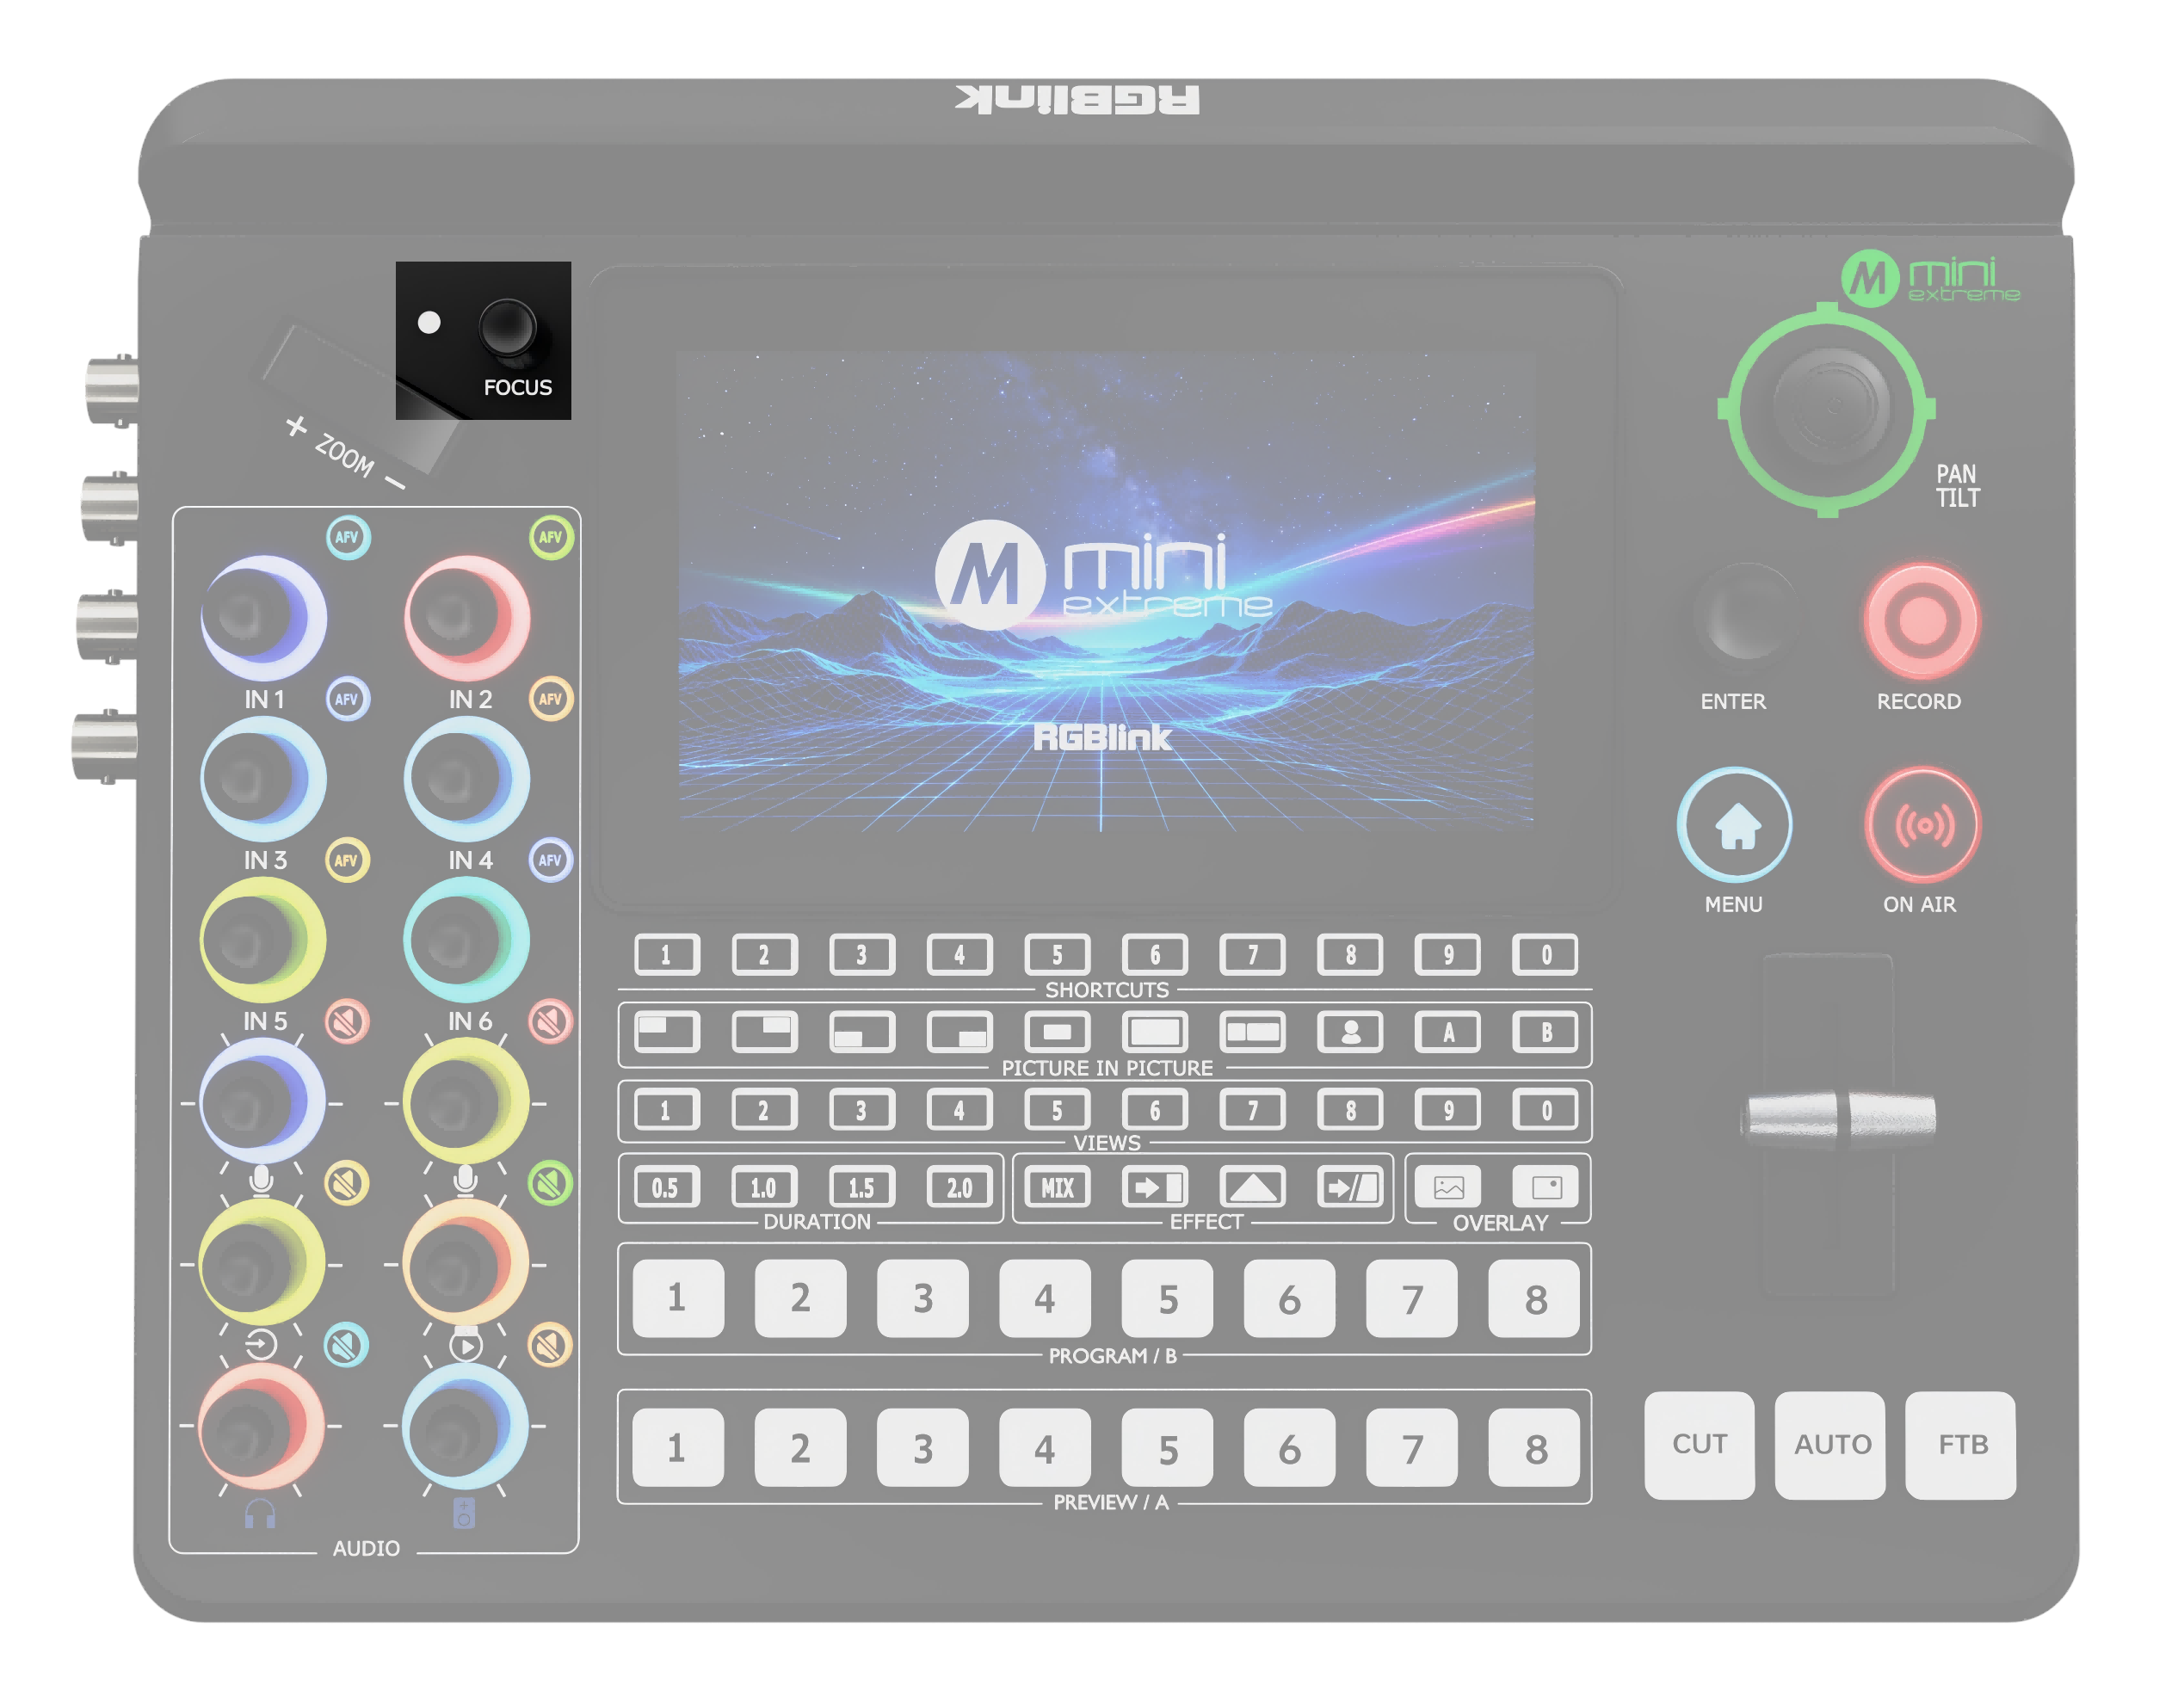 | FOCUS Knob and Indicator Focus Status ○ Manual focus: The indicator is off. ○ Auto focus: The indicator lights blue. FOCUS Knob ○ Turn: Manually adjusts focus. ○ Press: Enables auto focus and opens the PTZ page. |
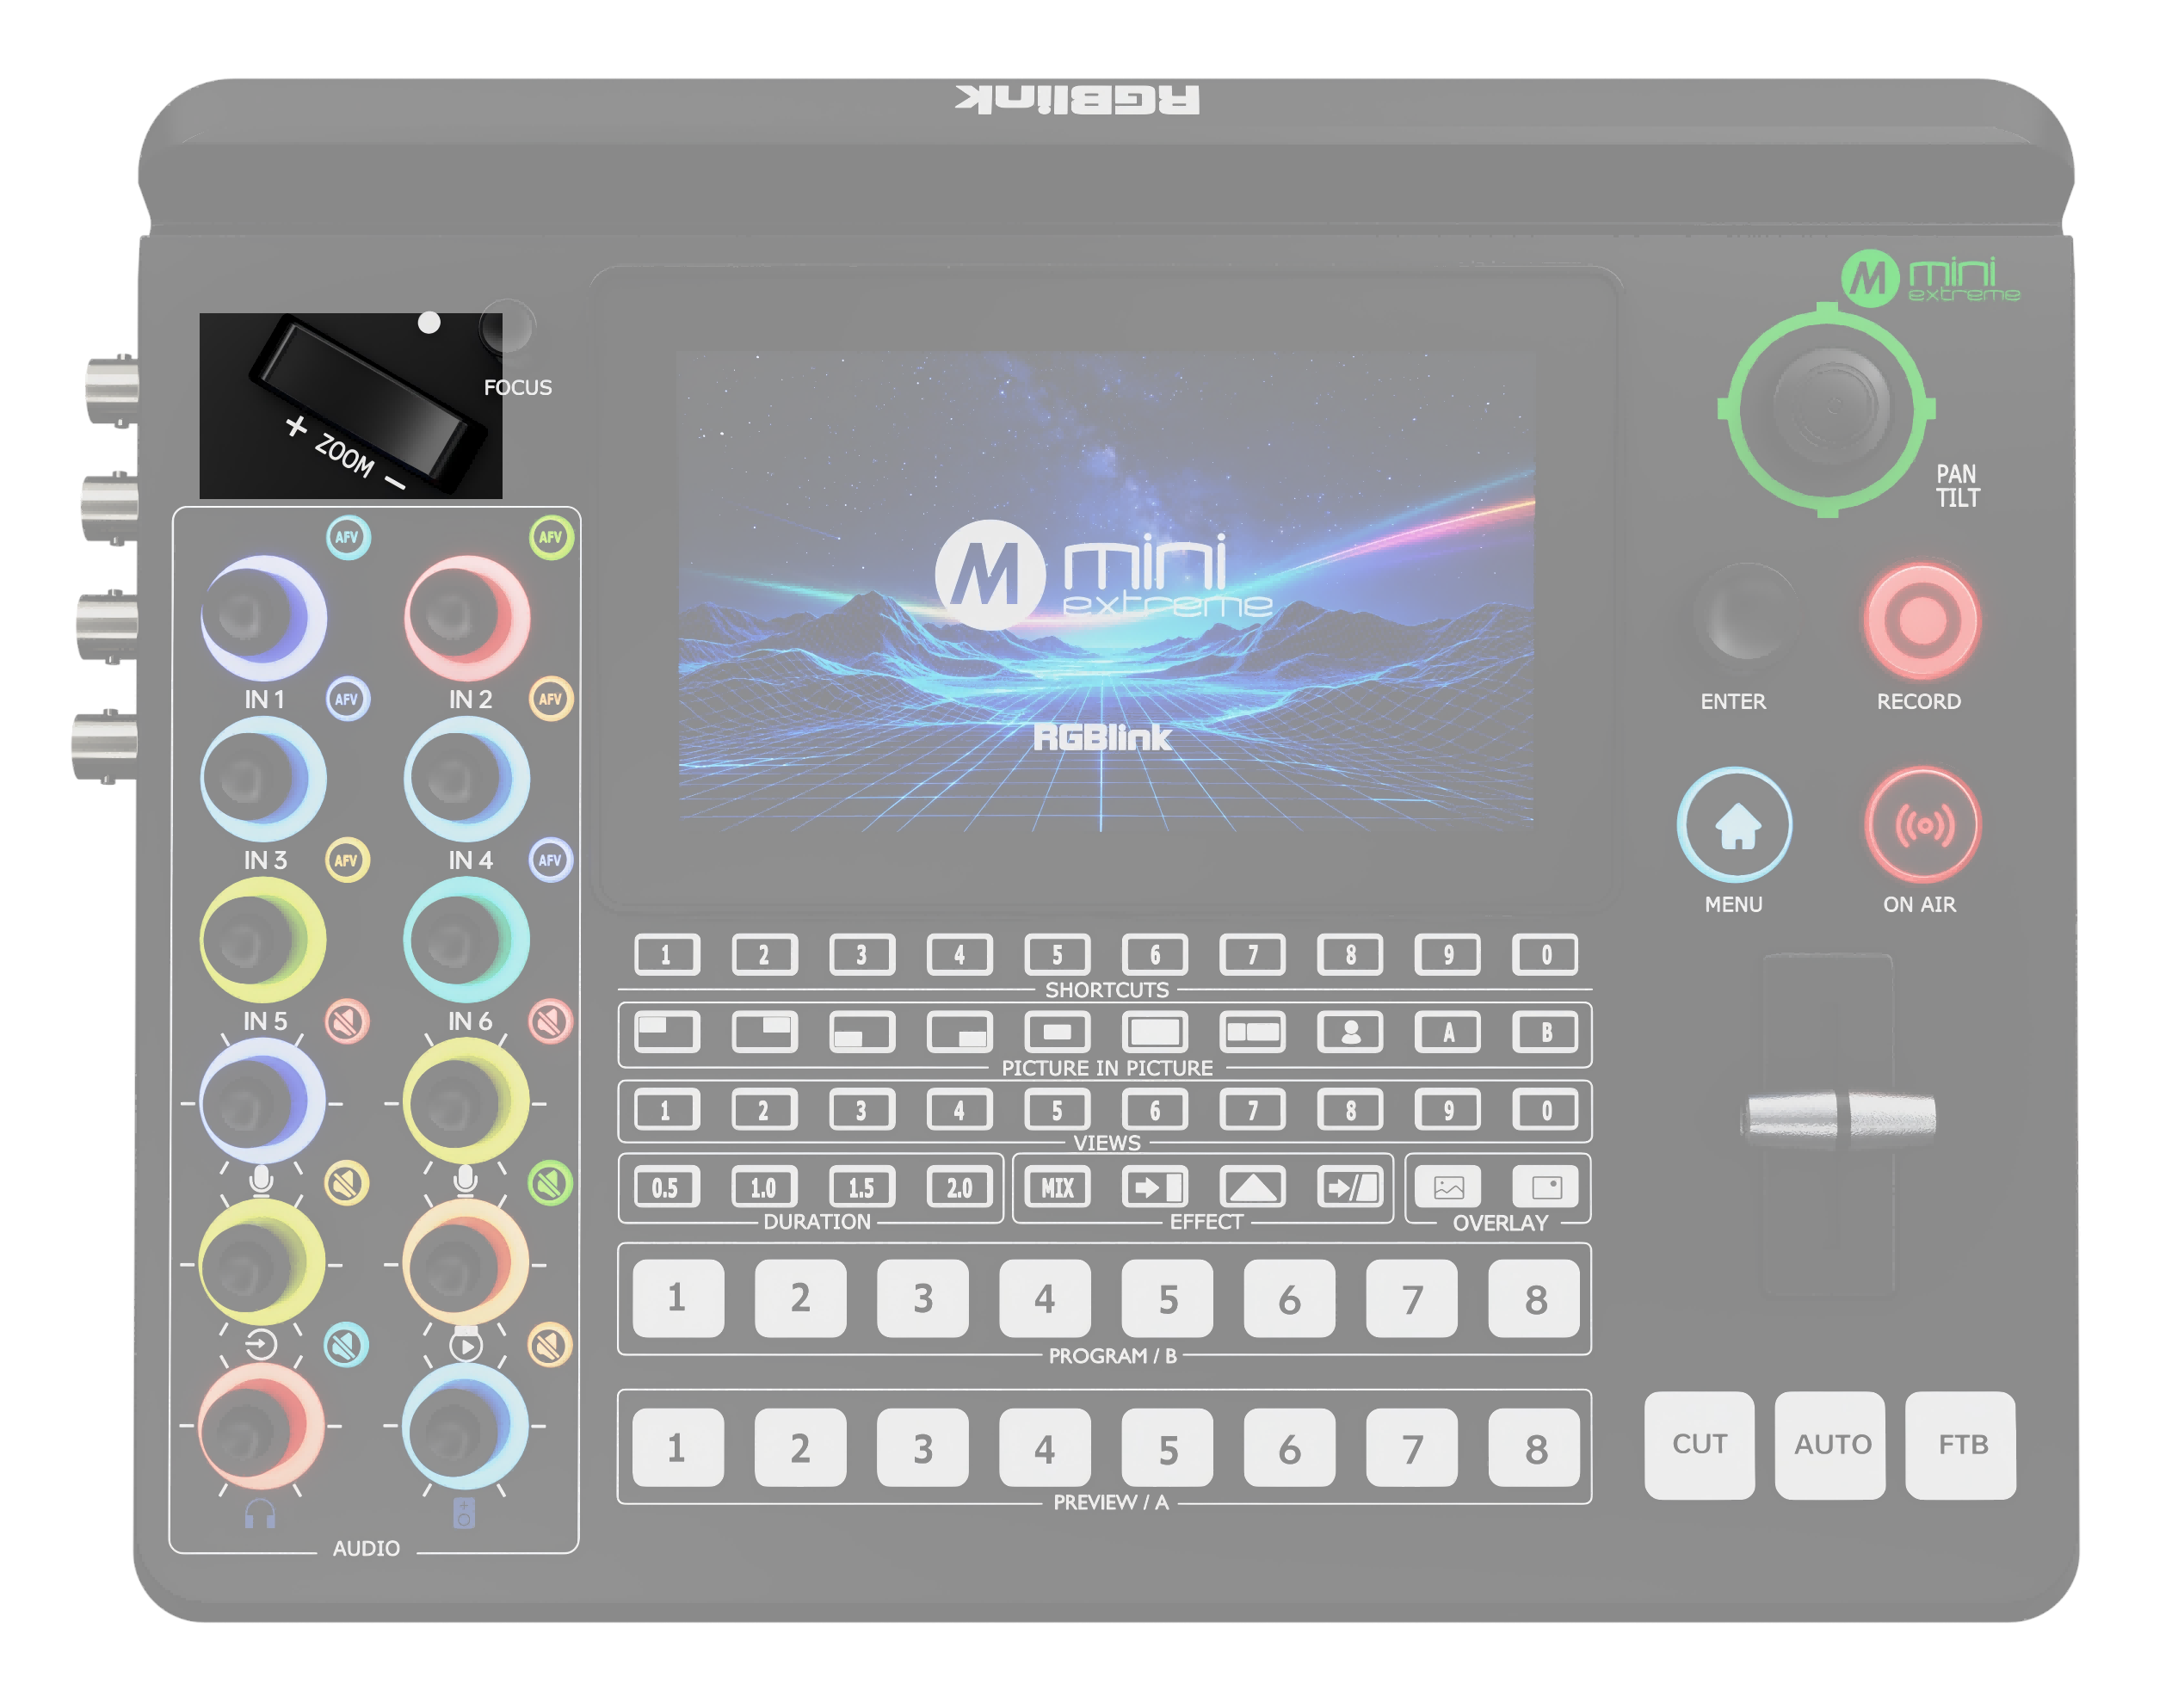 | ZOOM Toggle ○ In layer control mode: Adjusts the size of Layer A and Layer B. ○ In camera control mode: Adjusts the camera zoom. Press + to zoom in and - to zoom out. |
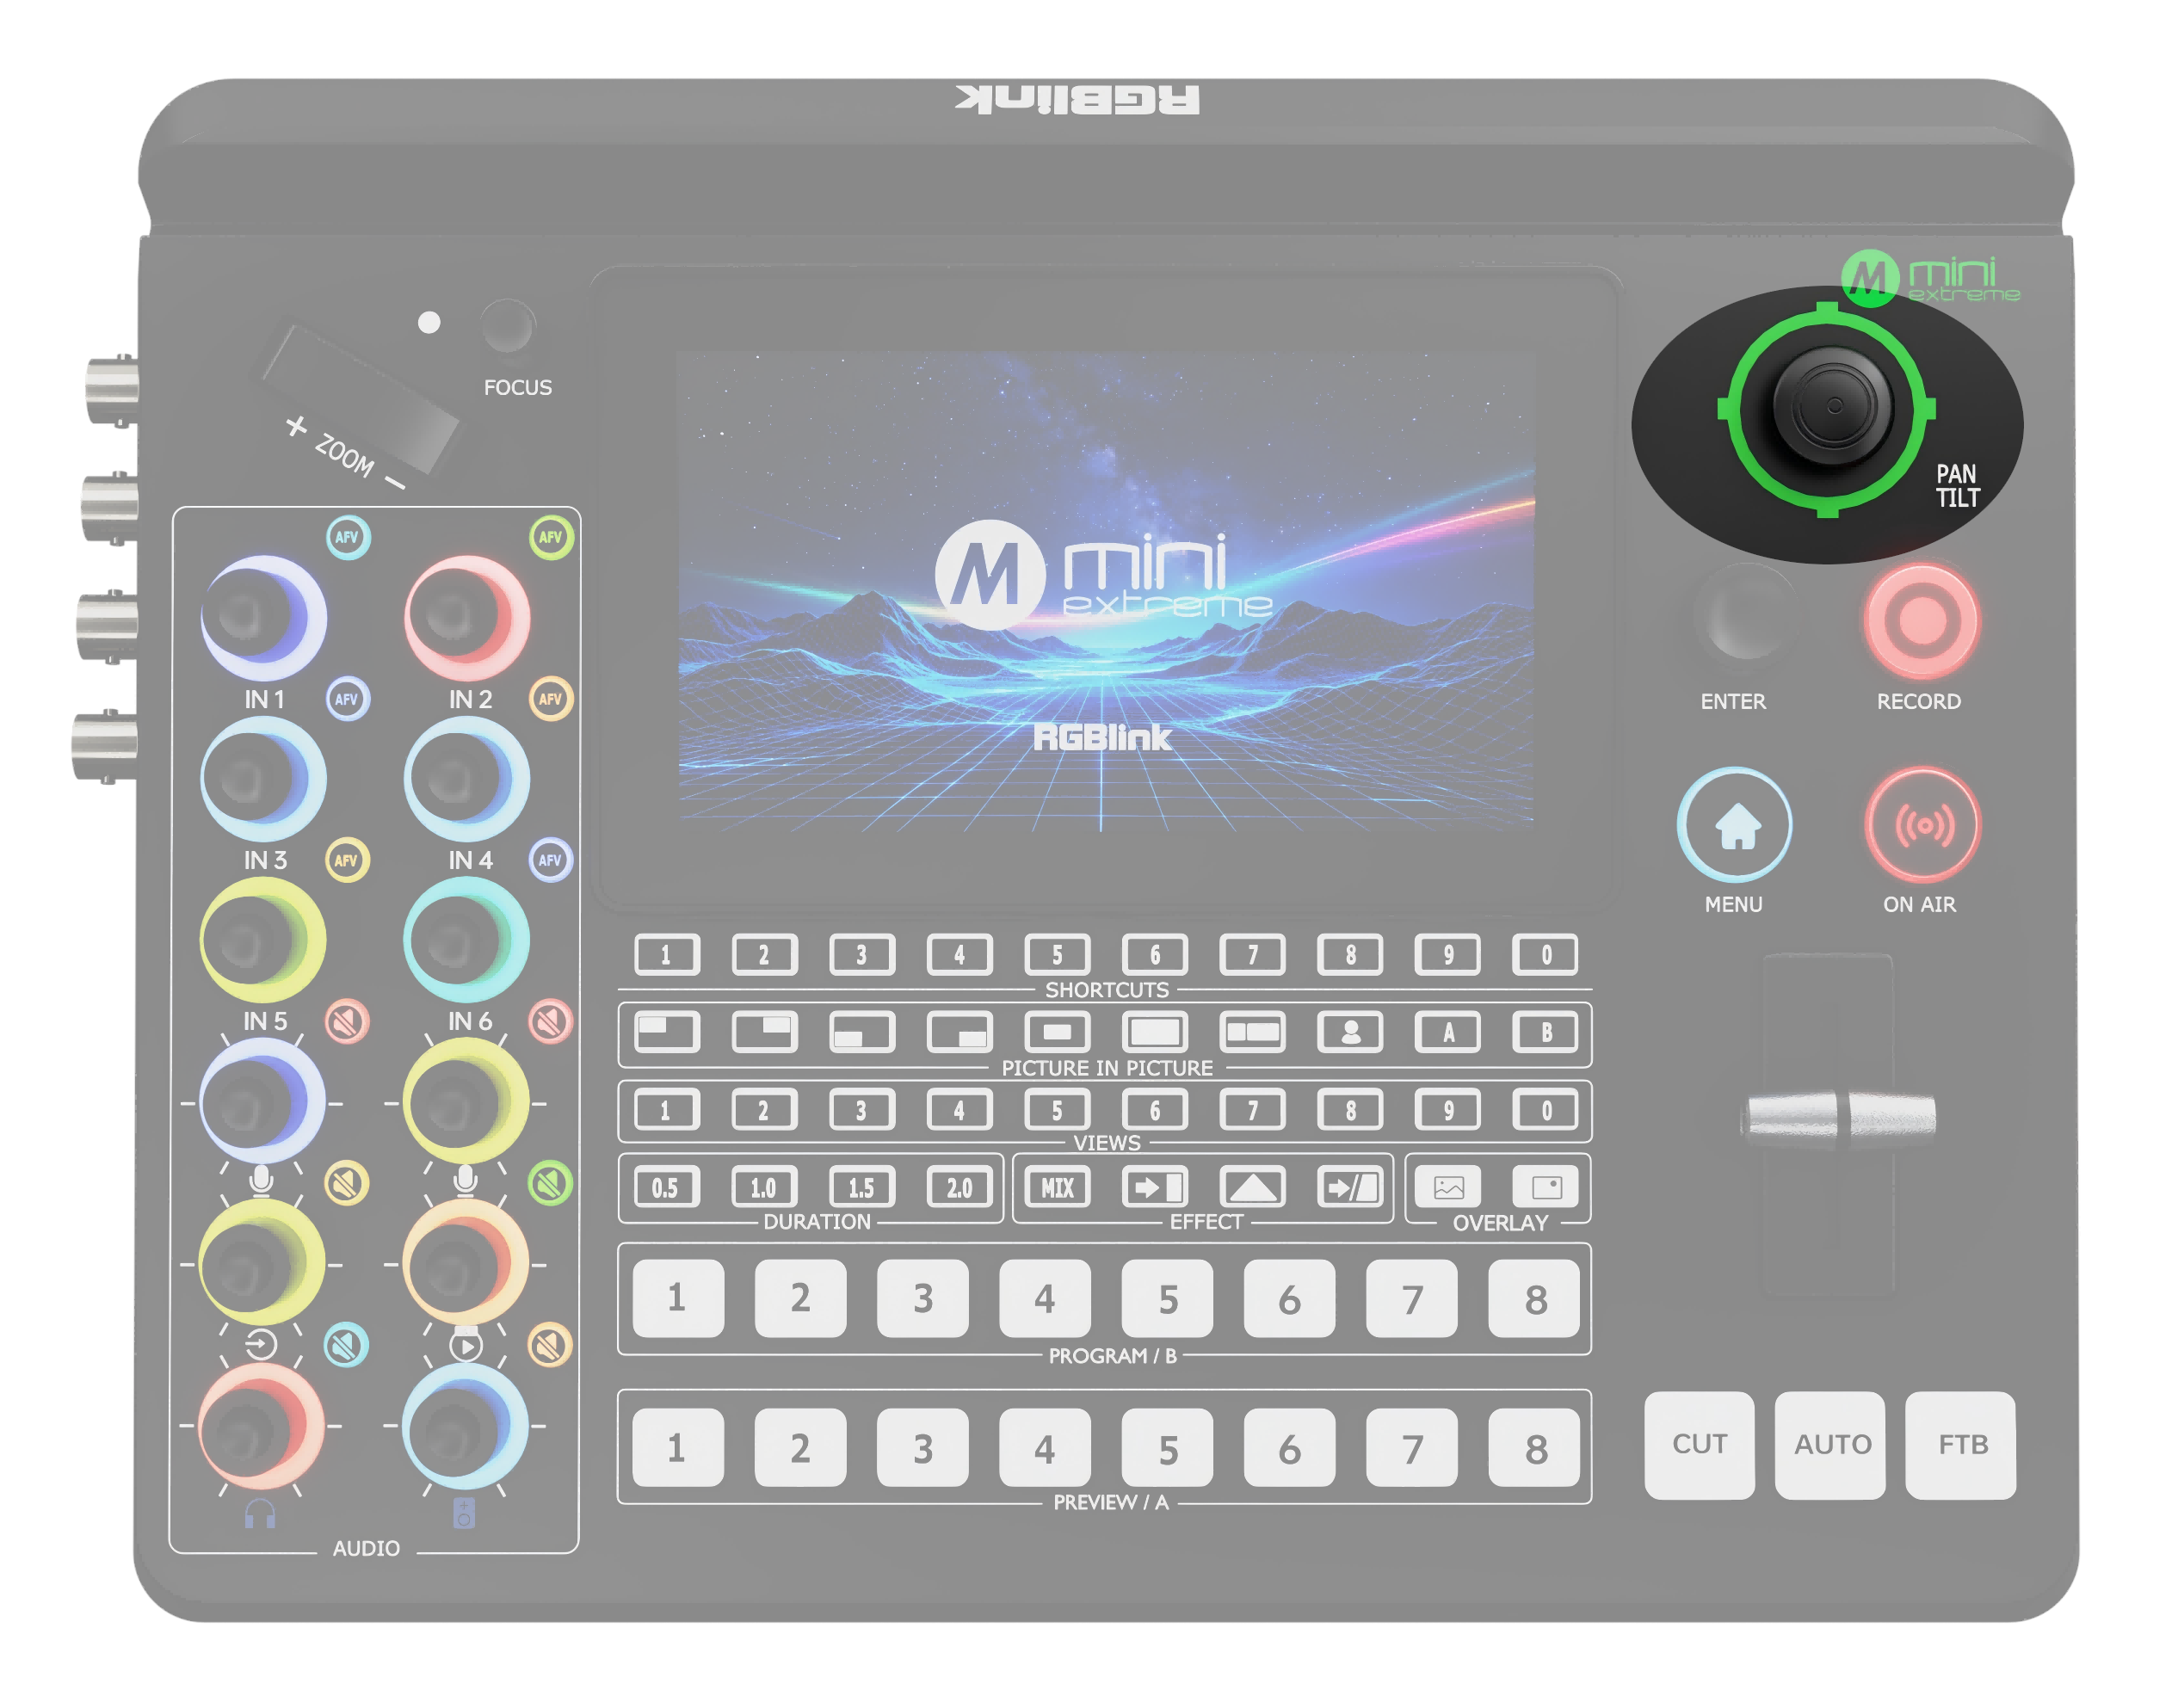 | Five-Direction Joystick Move up, down, left, or right: ○ In layer control mode: Adjusts the layer position. ○ In camera control mode: Controls camera pan and tilt. Press: In camera control mode: Adjusts the pan/tilt speed. |
Volume Control
| Area | Description |
|---|---|
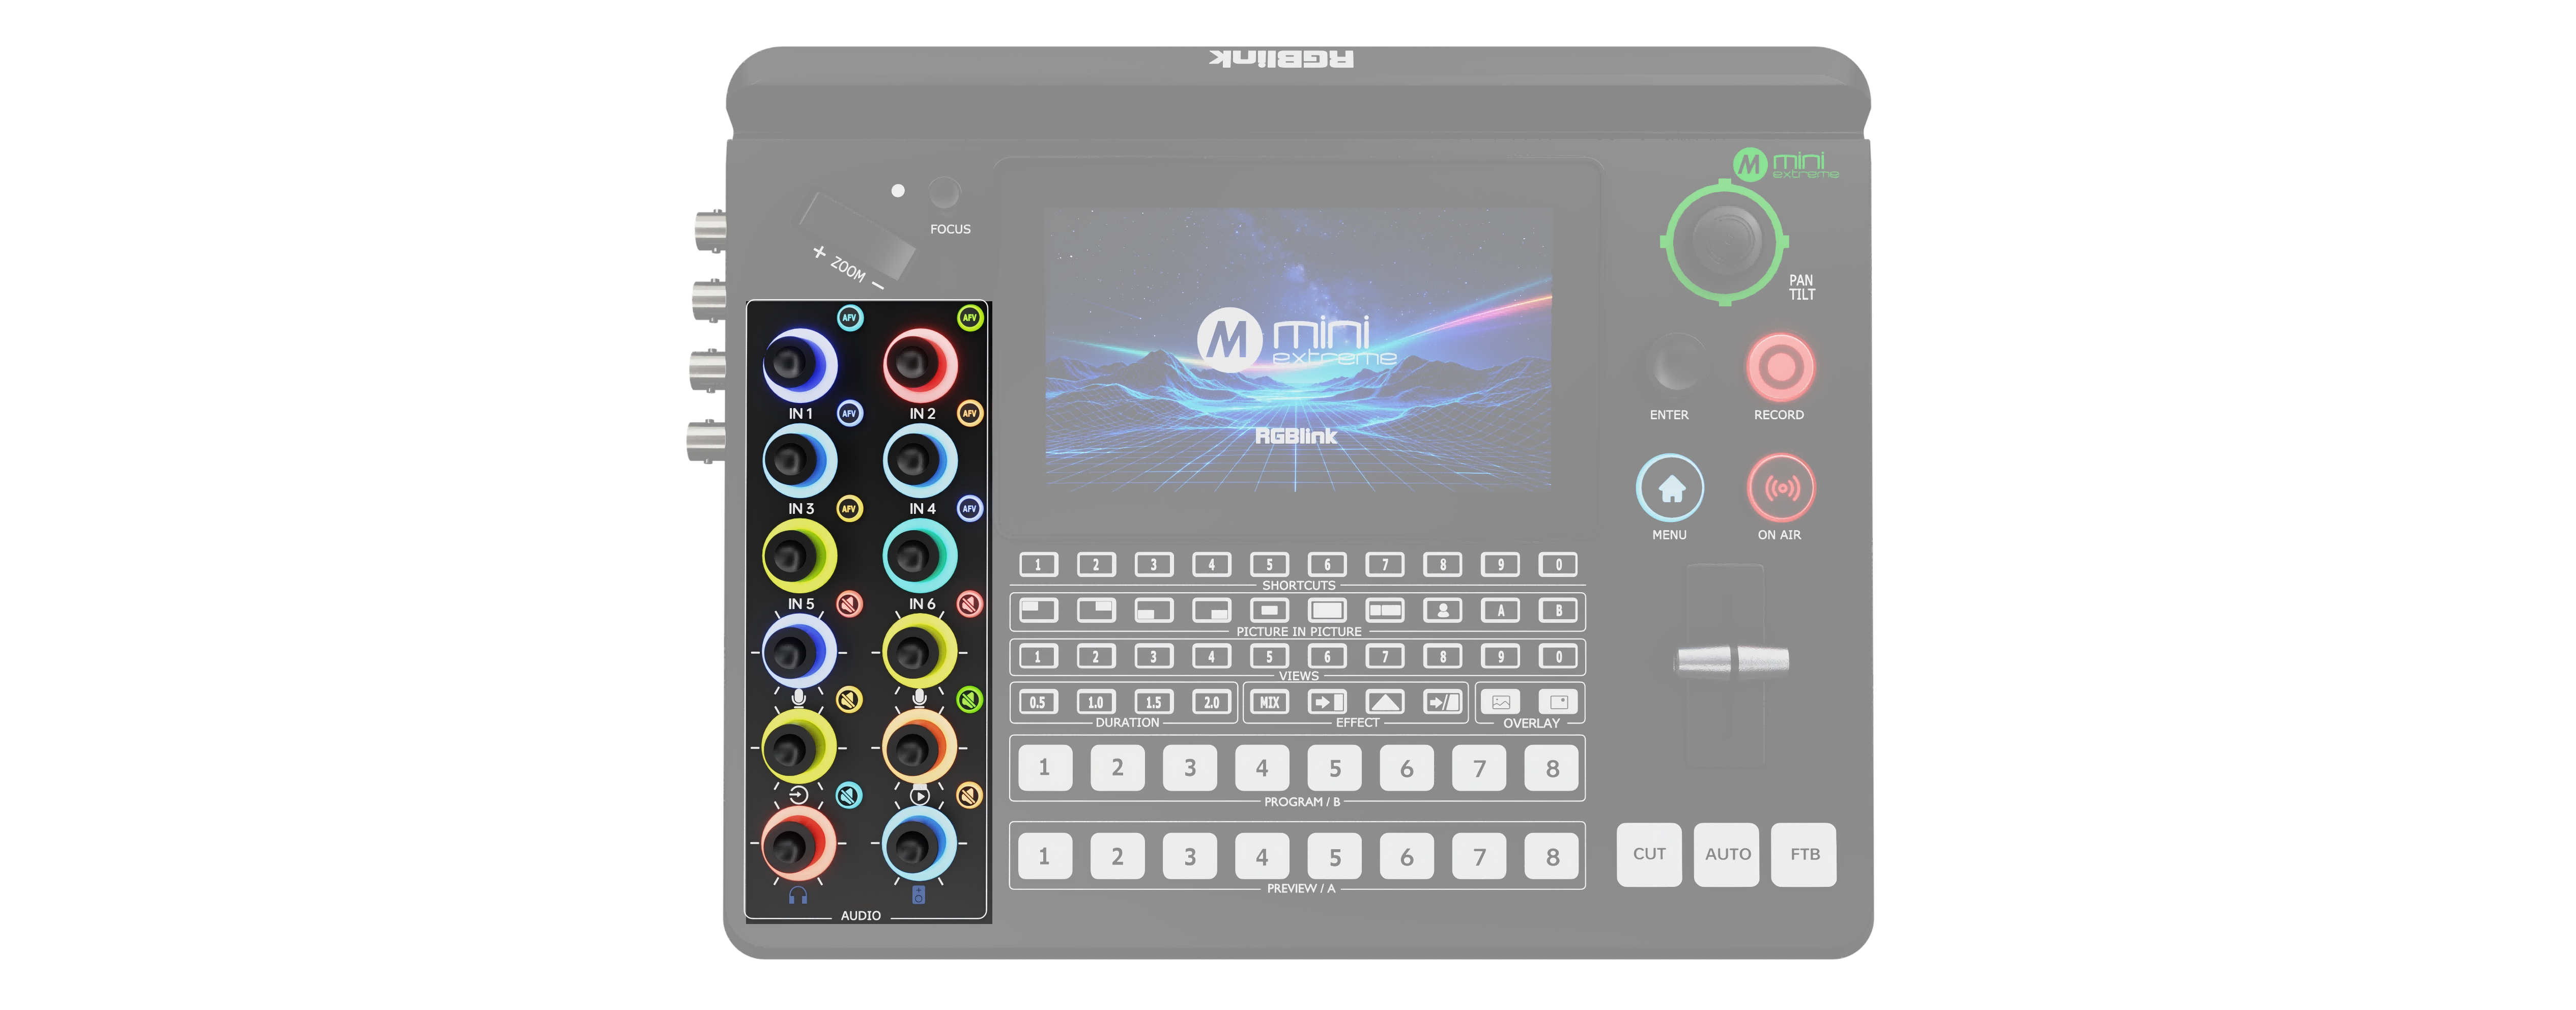
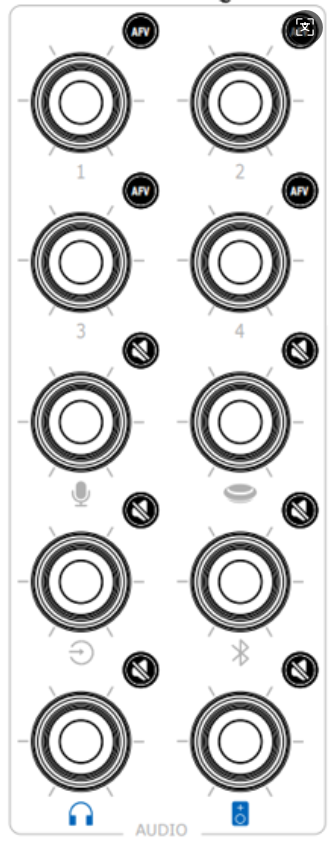 | Audio Adjustment Knobs **○ **The numbered knobs adjust the volume of the embedded audio from HDMI 1–4 and SDI 1–4 inputs. **○ **The knobs labeled with audio icons adjust the volume of the microphone input, XLR input, monitor output, and program output. |
 | AFV Button Indicator Status ○ Off: AFV is disabled. ○ Solid white: AFV is enabled. Operation ○ Press: Enables or disables AFV. |
 | Indicator Status ○ Off: Mute is disabled. ○ Solid red: Mute is enabled. Operation ○ Press: Enables or disables mute. |
Layer Settings
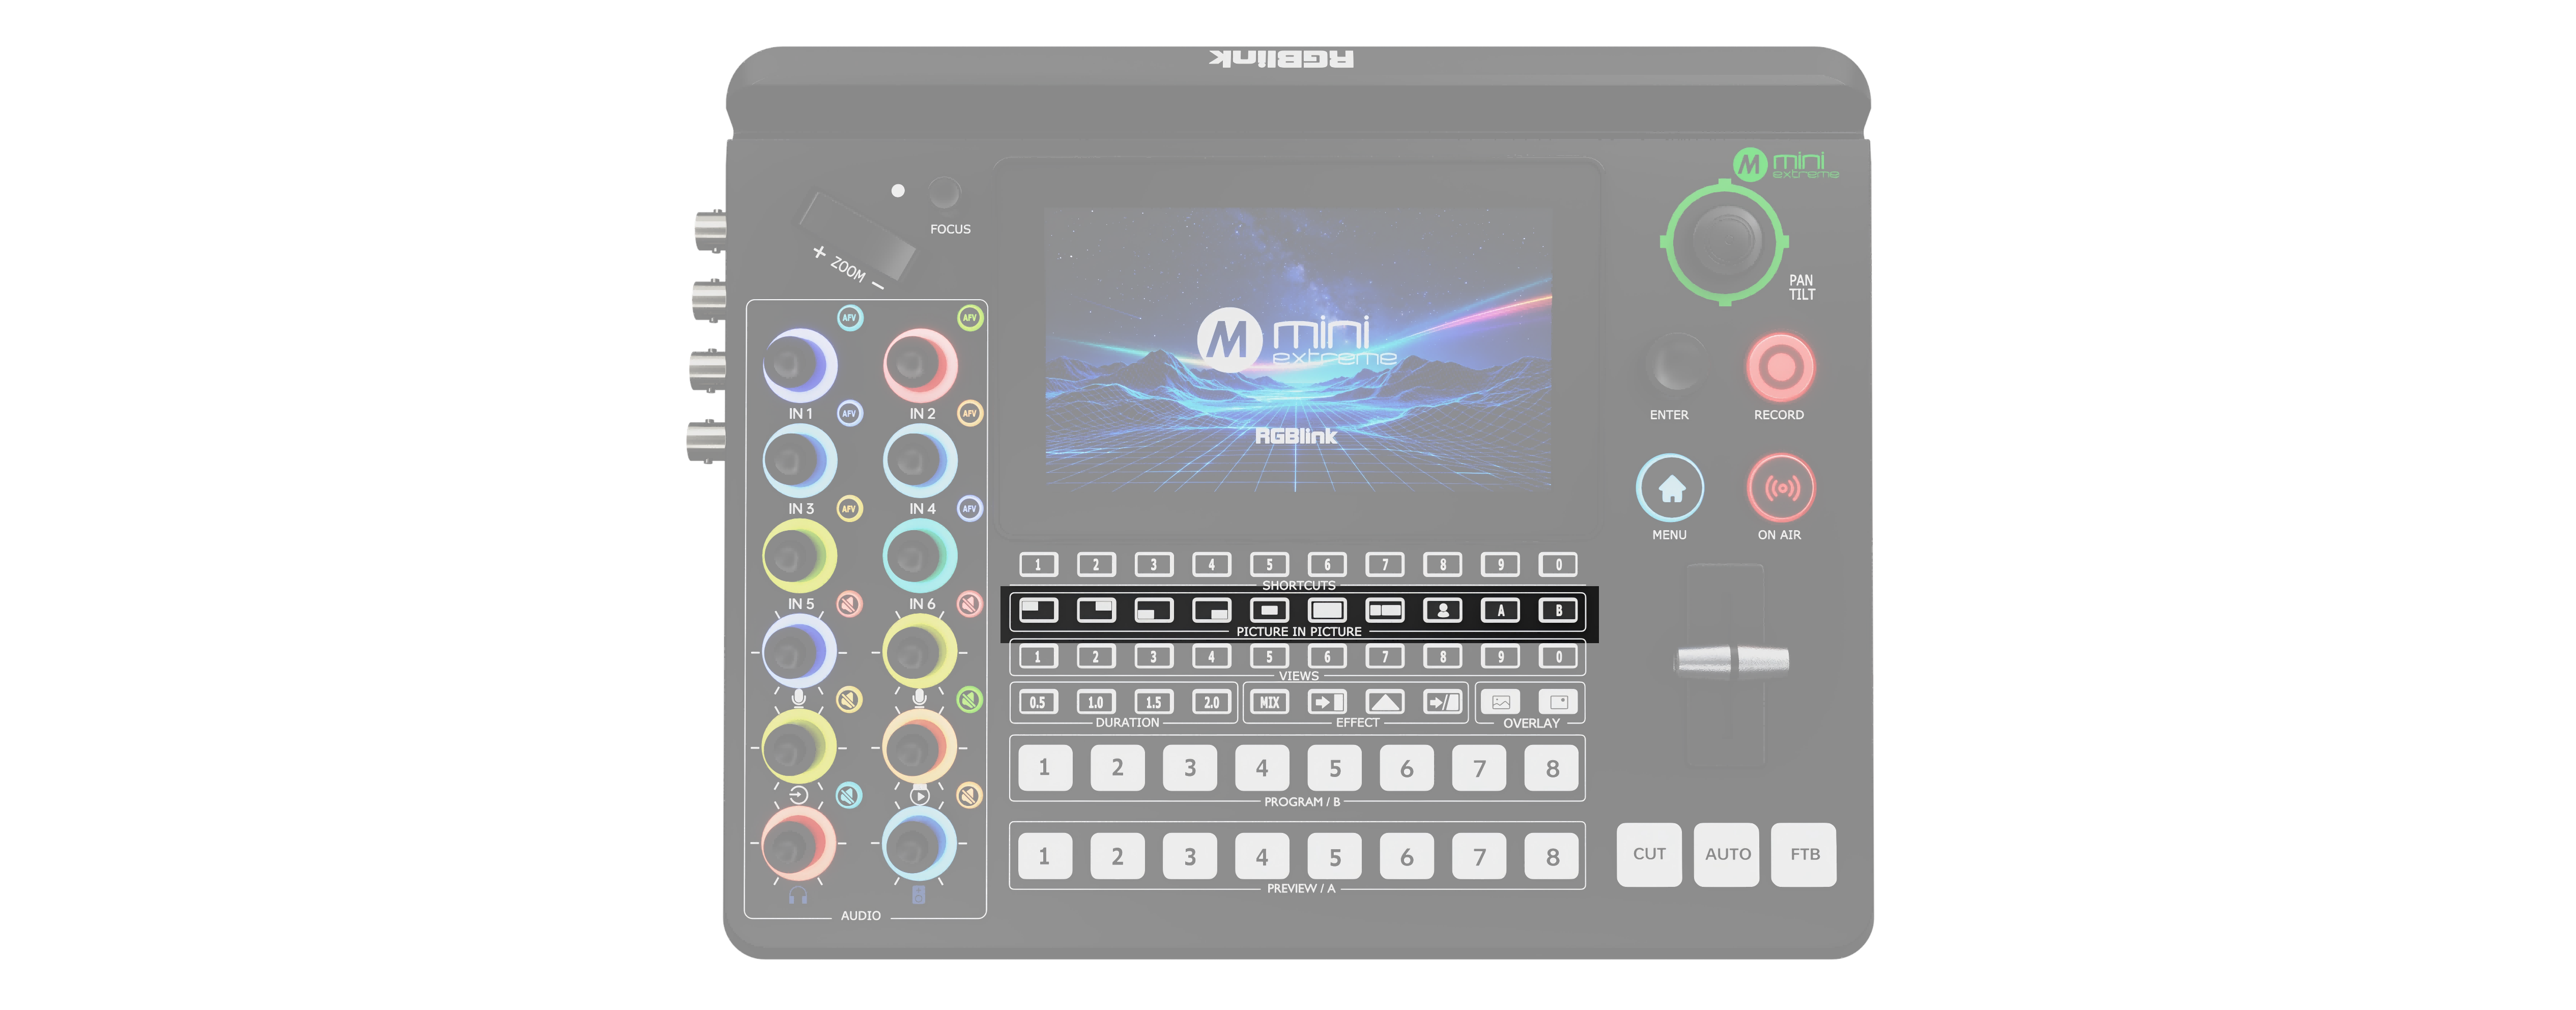
| Picture in Picture | |
|---|---|
| Area | Description |
 | PICTURE-IN-PICTURE Layout Selection Buttons **○ Press: **Selects the layout for the selected layer. The selected layout button lights solid green. |
 | Chroma Key Button **○ Press: **Enables chroma keying. Layer B is enabled by default. The button lights solid green. |
 | A/B Layer Selection Buttons ○ Layer A: Main picture. ○ Layer B: Secondary picture. ○ Layers A and B can be combined for PIP. ○ The indicator is off when the layer is disabled or not displayed in Preview. Press a Layer Button ○ Off: Press to select the layer. The indicator lights solid blue. Use ZOOM and the joystick to adjust its size and position. ○ Solid blue: Press another layer button to switch the selected layer. The current layer changes to solid green. ○ Solid blue: Press again to disable the layer. The indicator turns off. |
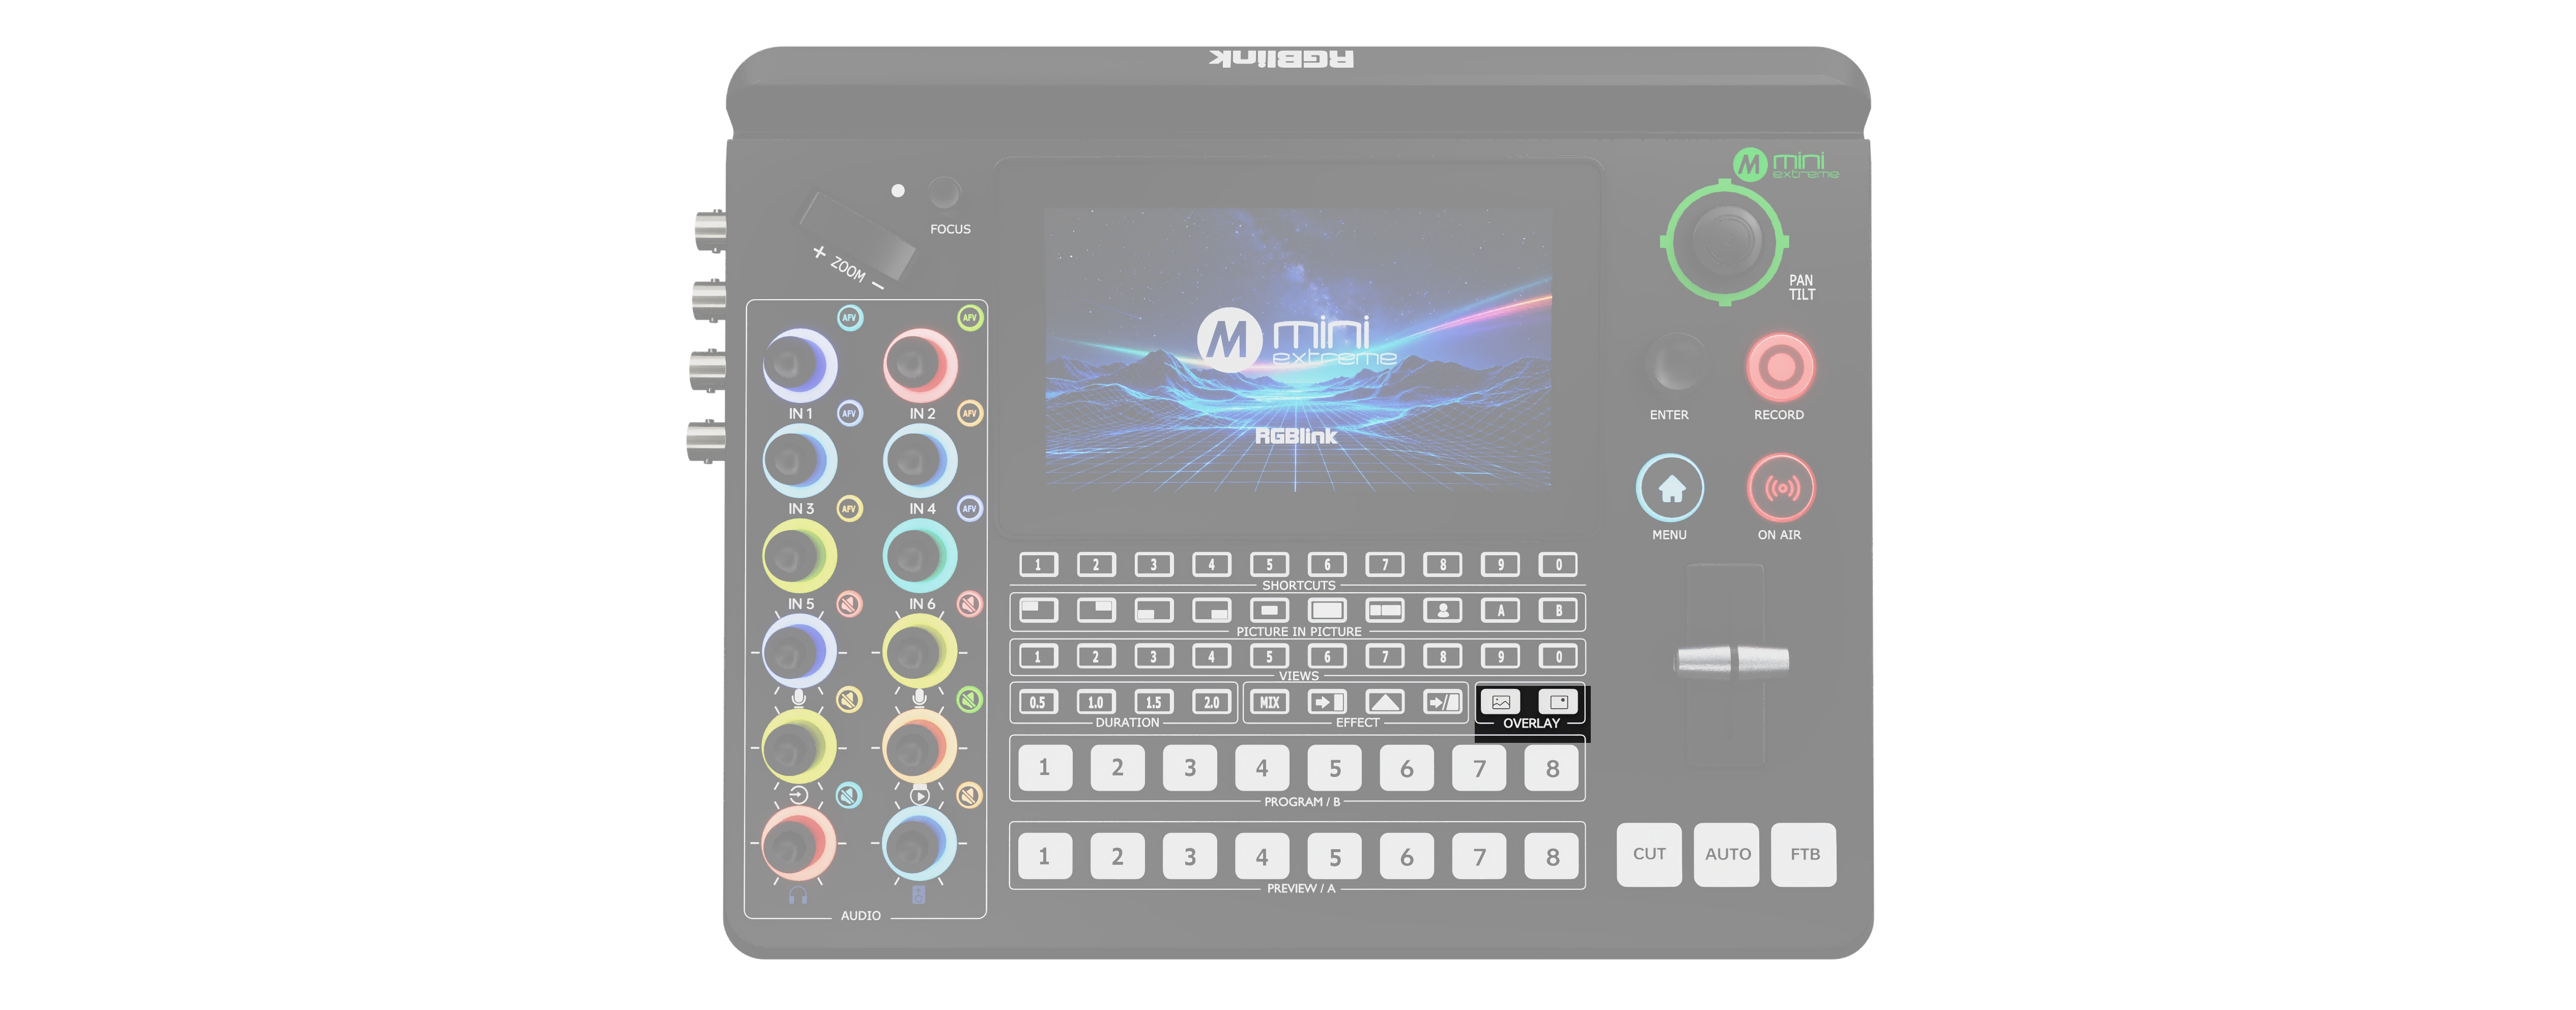
| OVERLAY Layer Selection Buttons | |
|---|---|
| Area | Description |
Background  Foreground | Includes the Background and Foreground buttons. Indicator Status ○ Off: No layer asset is loaded. ○ Solid white: A layer asset is loaded. ○ Solid red: The layer is displayed on the program output. Operation ○ Solid white: Press to add the layer to the program output. The indicator changes to solid red. ○ Solid red: Press to remove the layer from the program output. The indicator changes to solid white. |
| Area | Description |
|---|---|
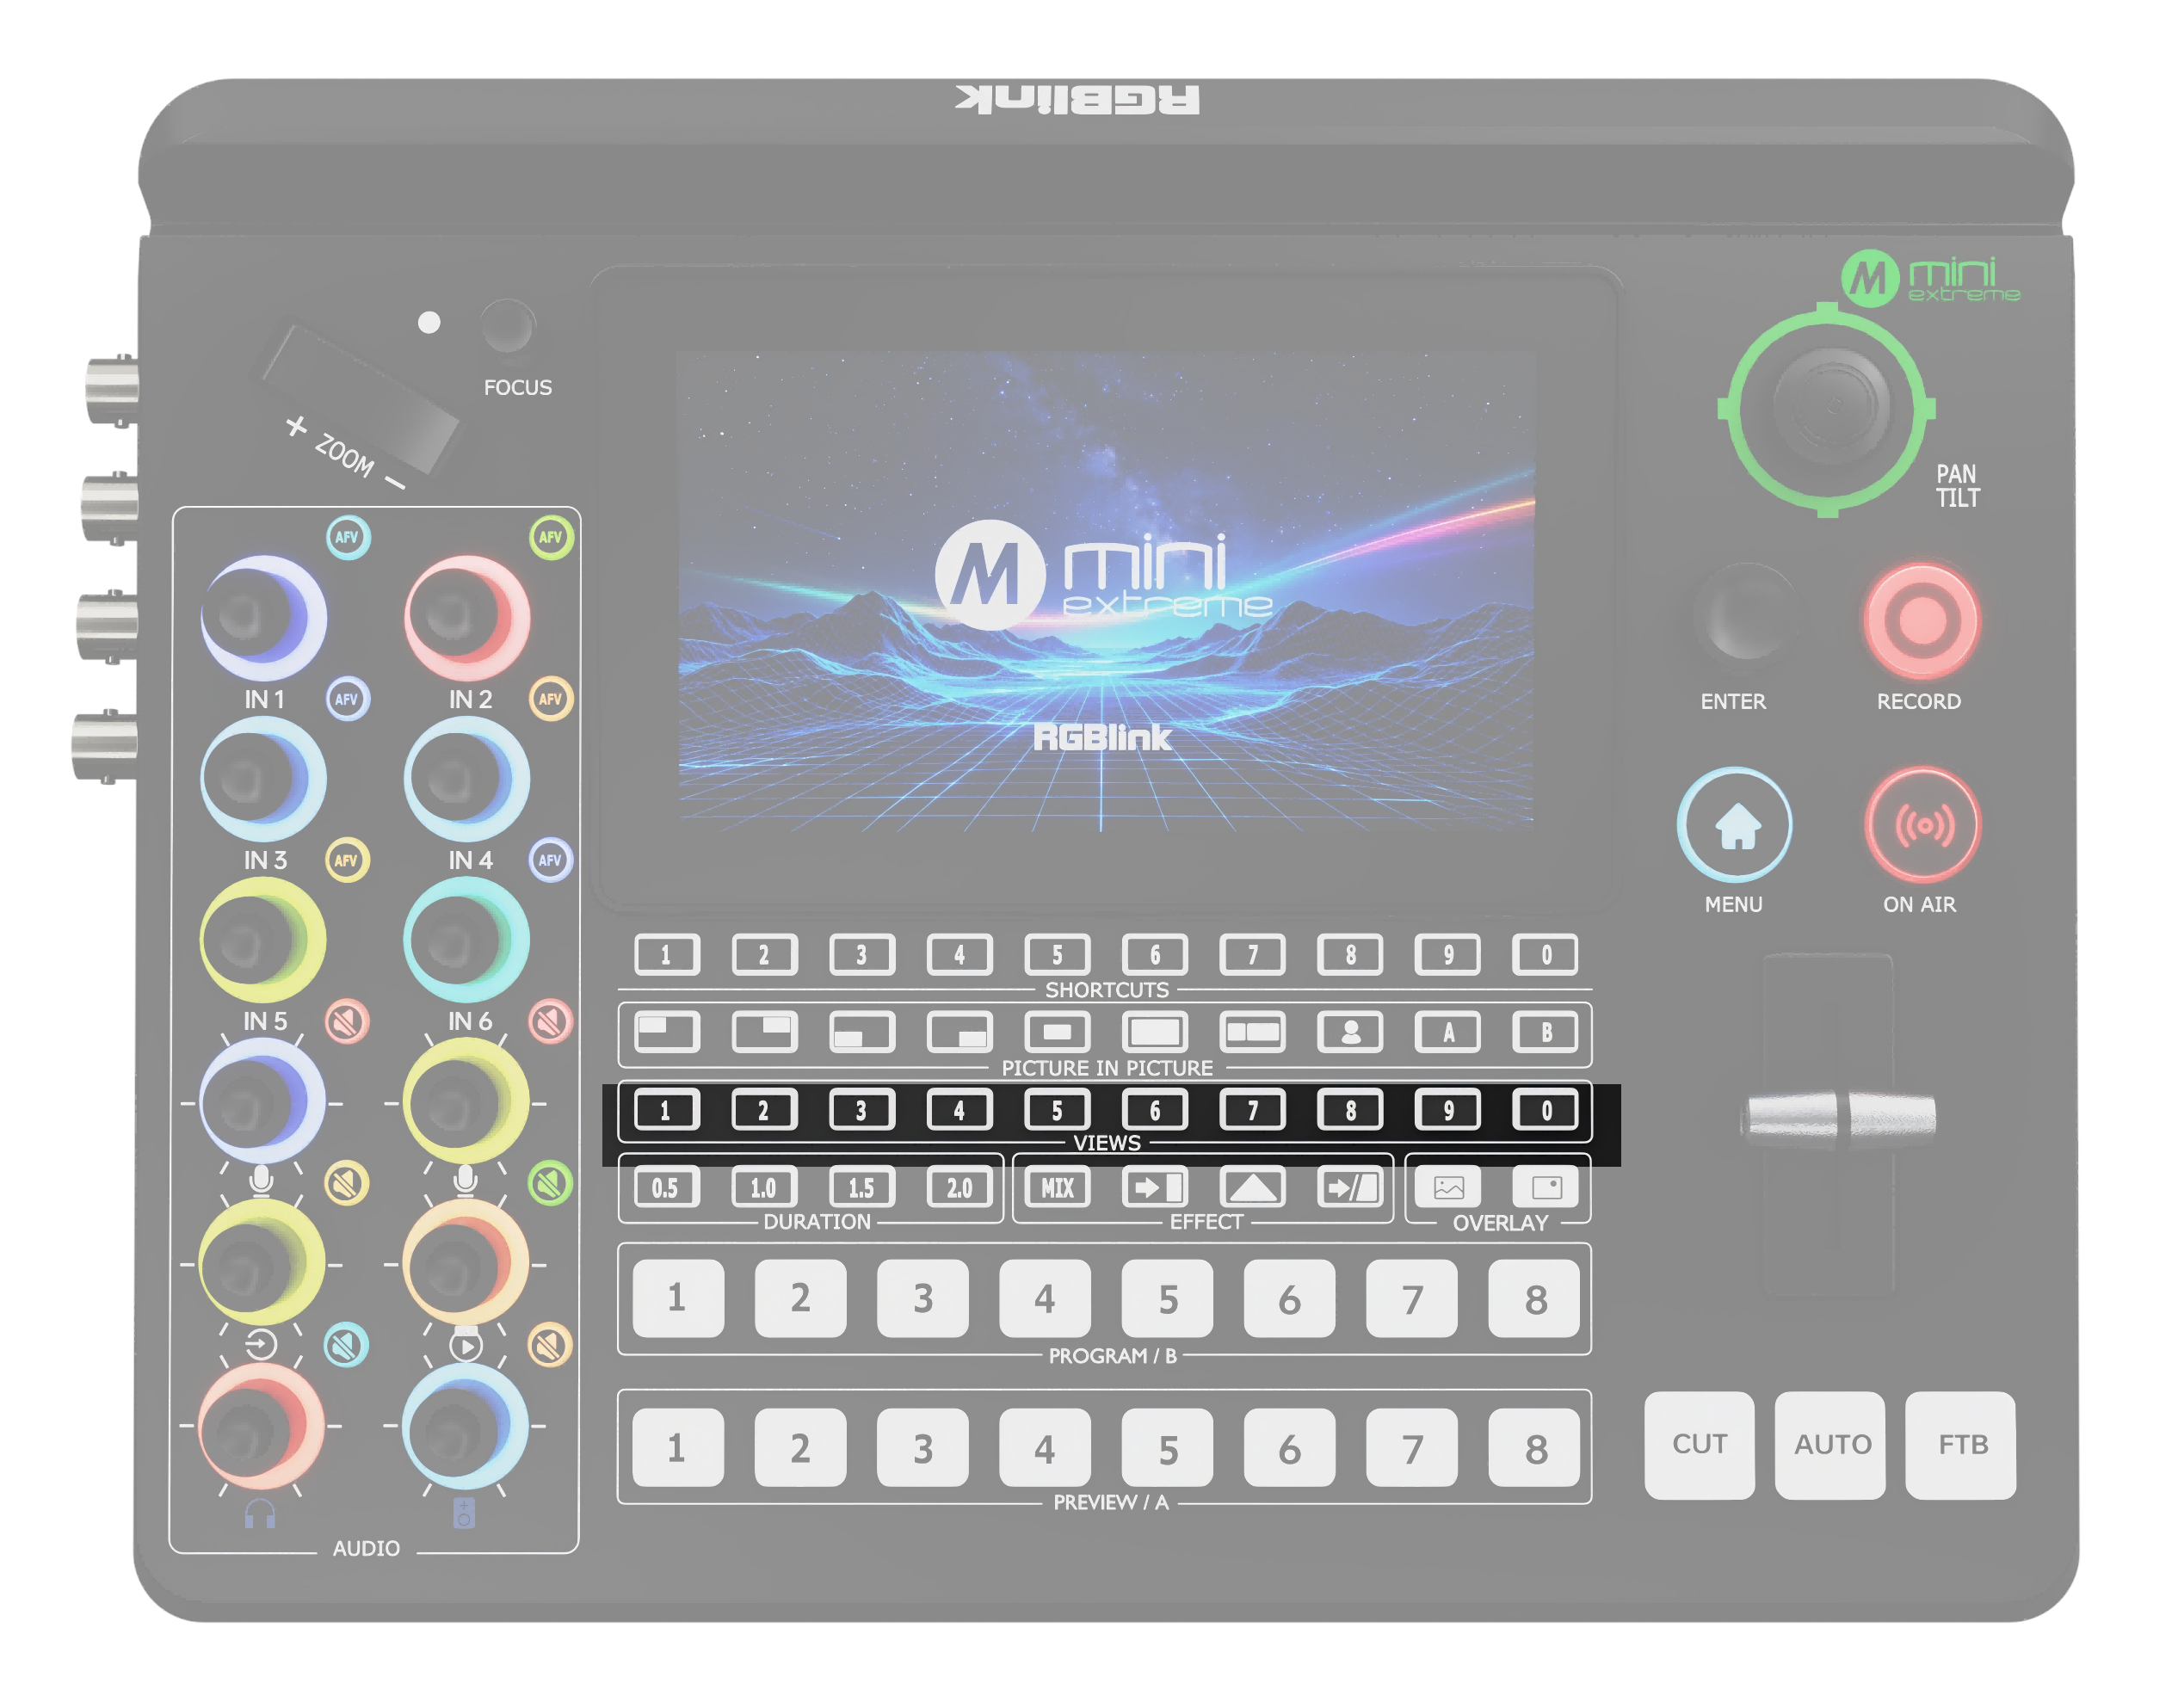 | VIEWS Recall Buttons Indicator Status ○ Solid green: view saved. ○ Solid red: view recalling. ○ Off: No view is saved. Operation ○ Indicator off: Press and hold to add a view. The indicator lights solid green when the view is saved. ○ Solid green: Press to recall the view to Preview. The indicator changes to solid red. ○ Recall another view: The button for the view being recalled changes to solid green, while the button for the current scene changes to solid red. |
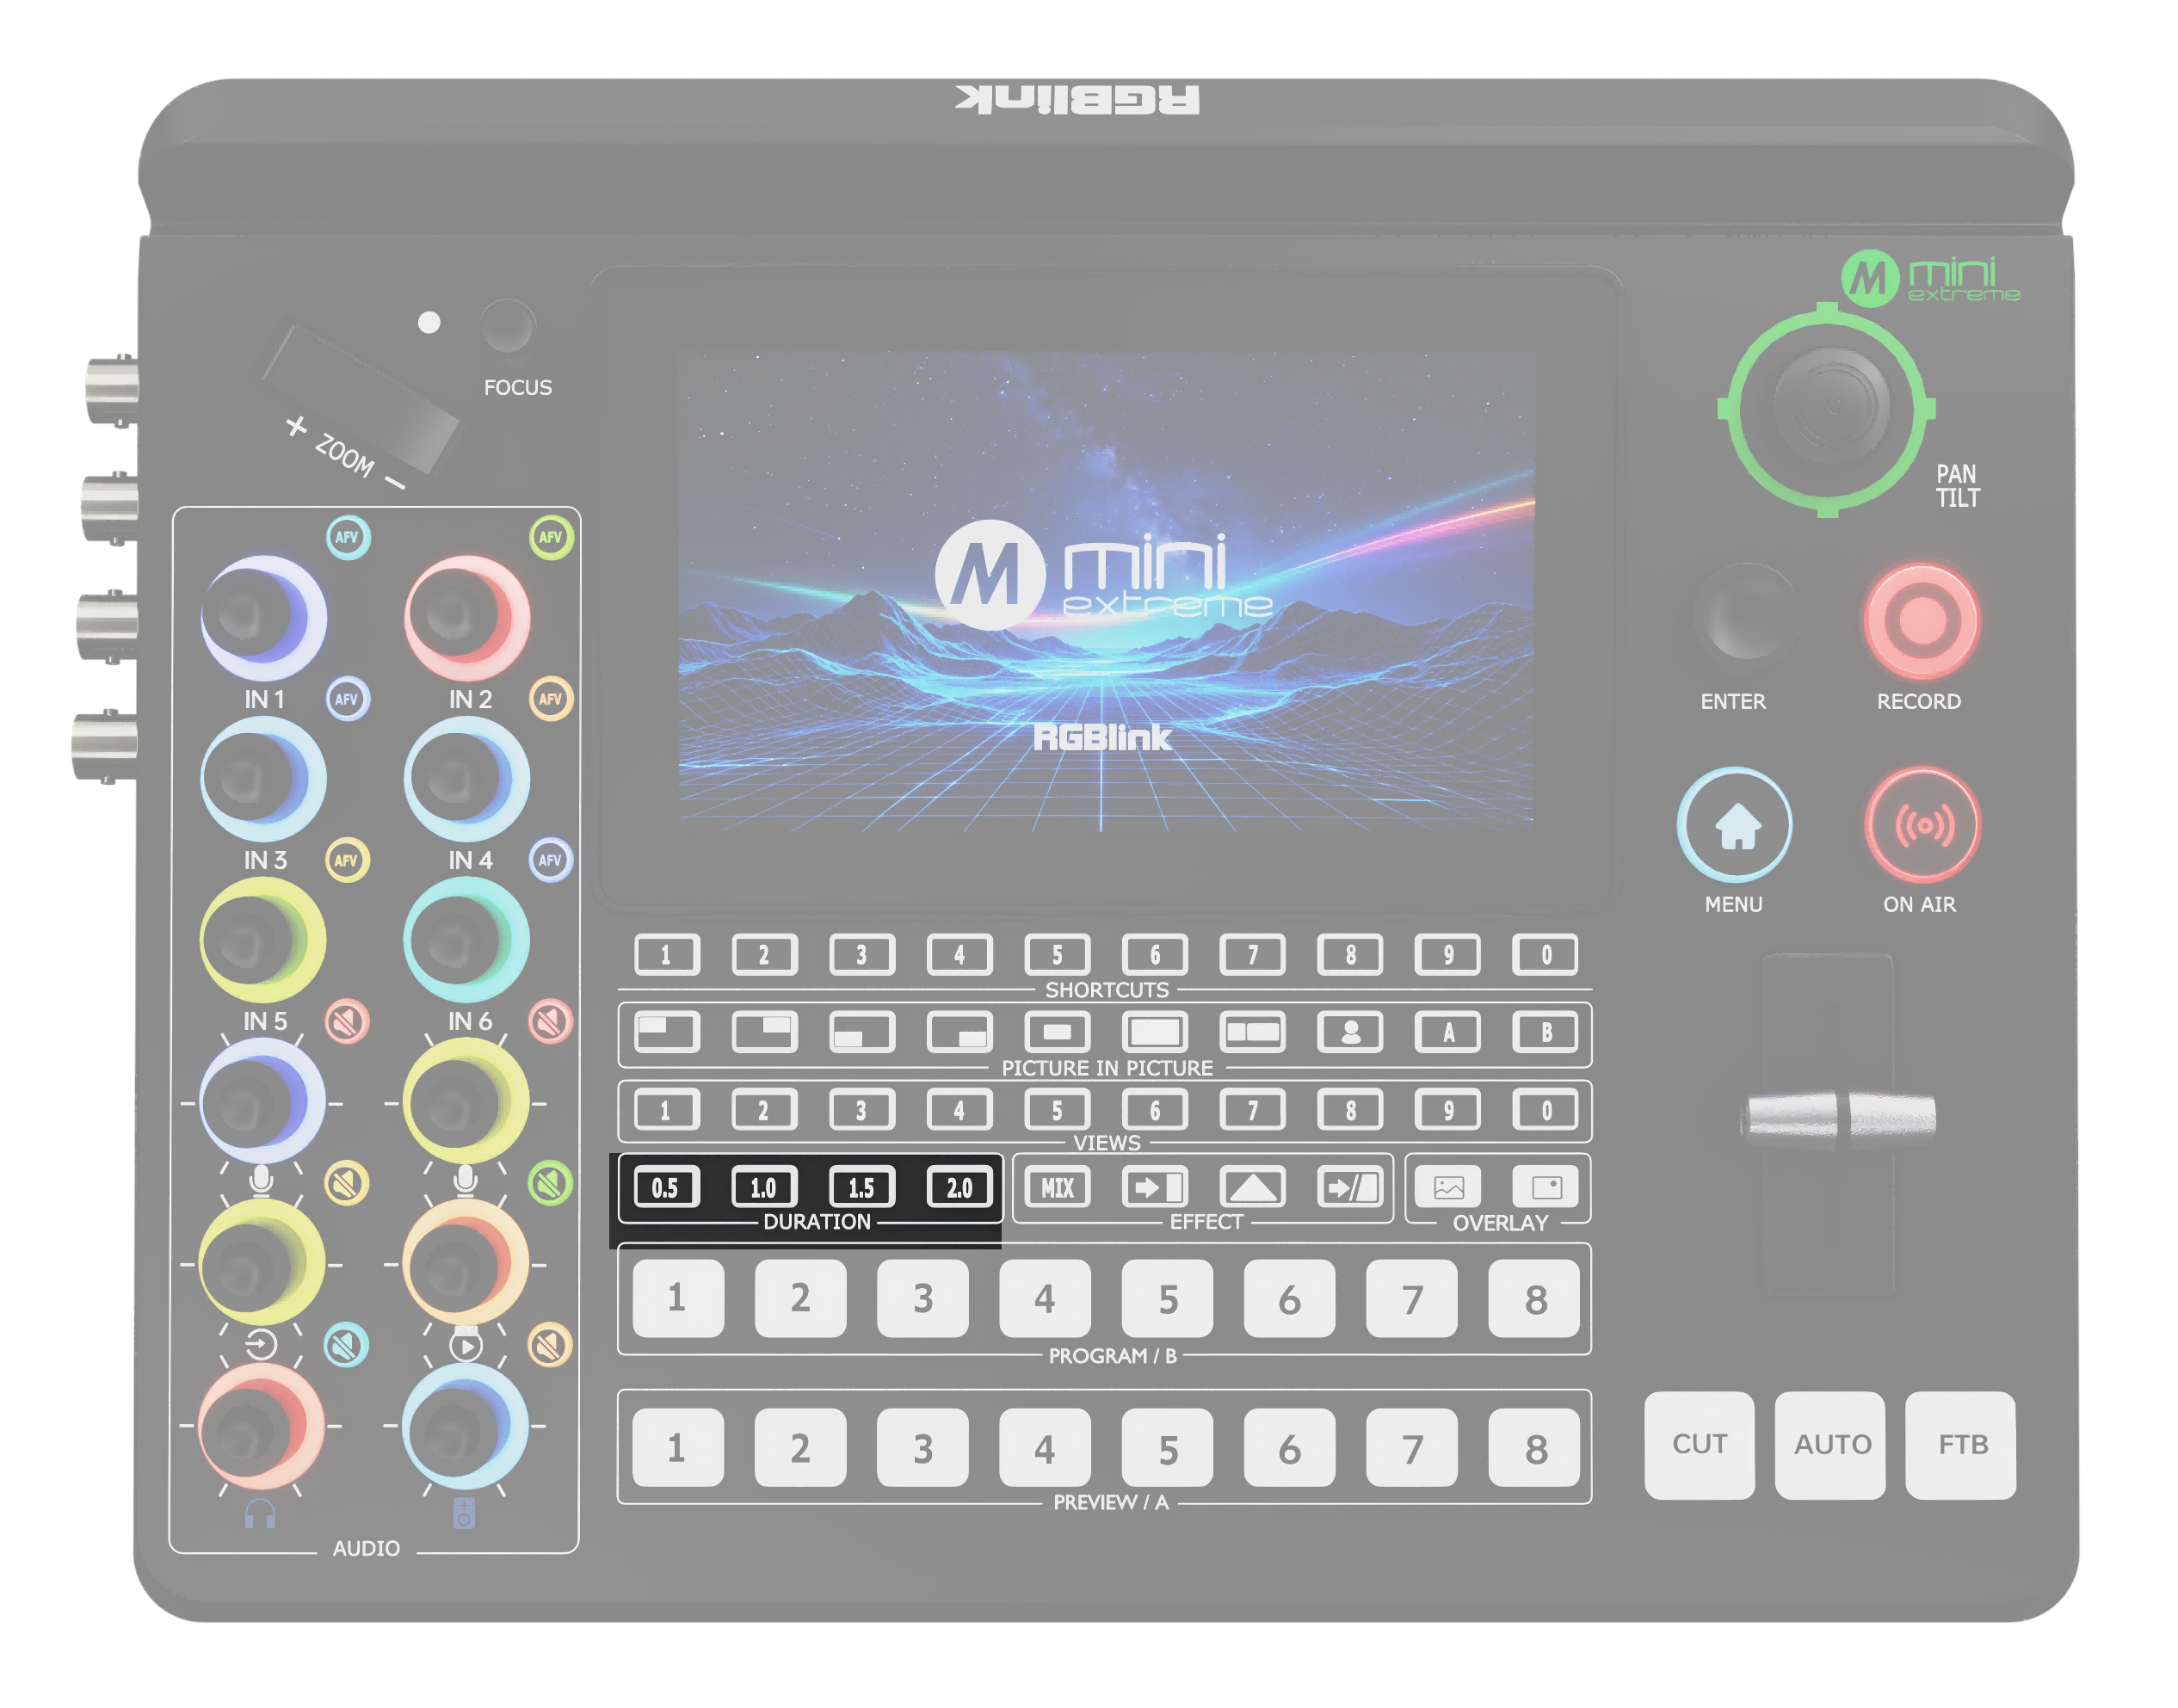 | DURATION Transition Duration Buttons ○ Default: 1.0 s ○ Options: 0.5 / 1.0 / 1.5 / 2.0 s ○ Selected: Solid white |
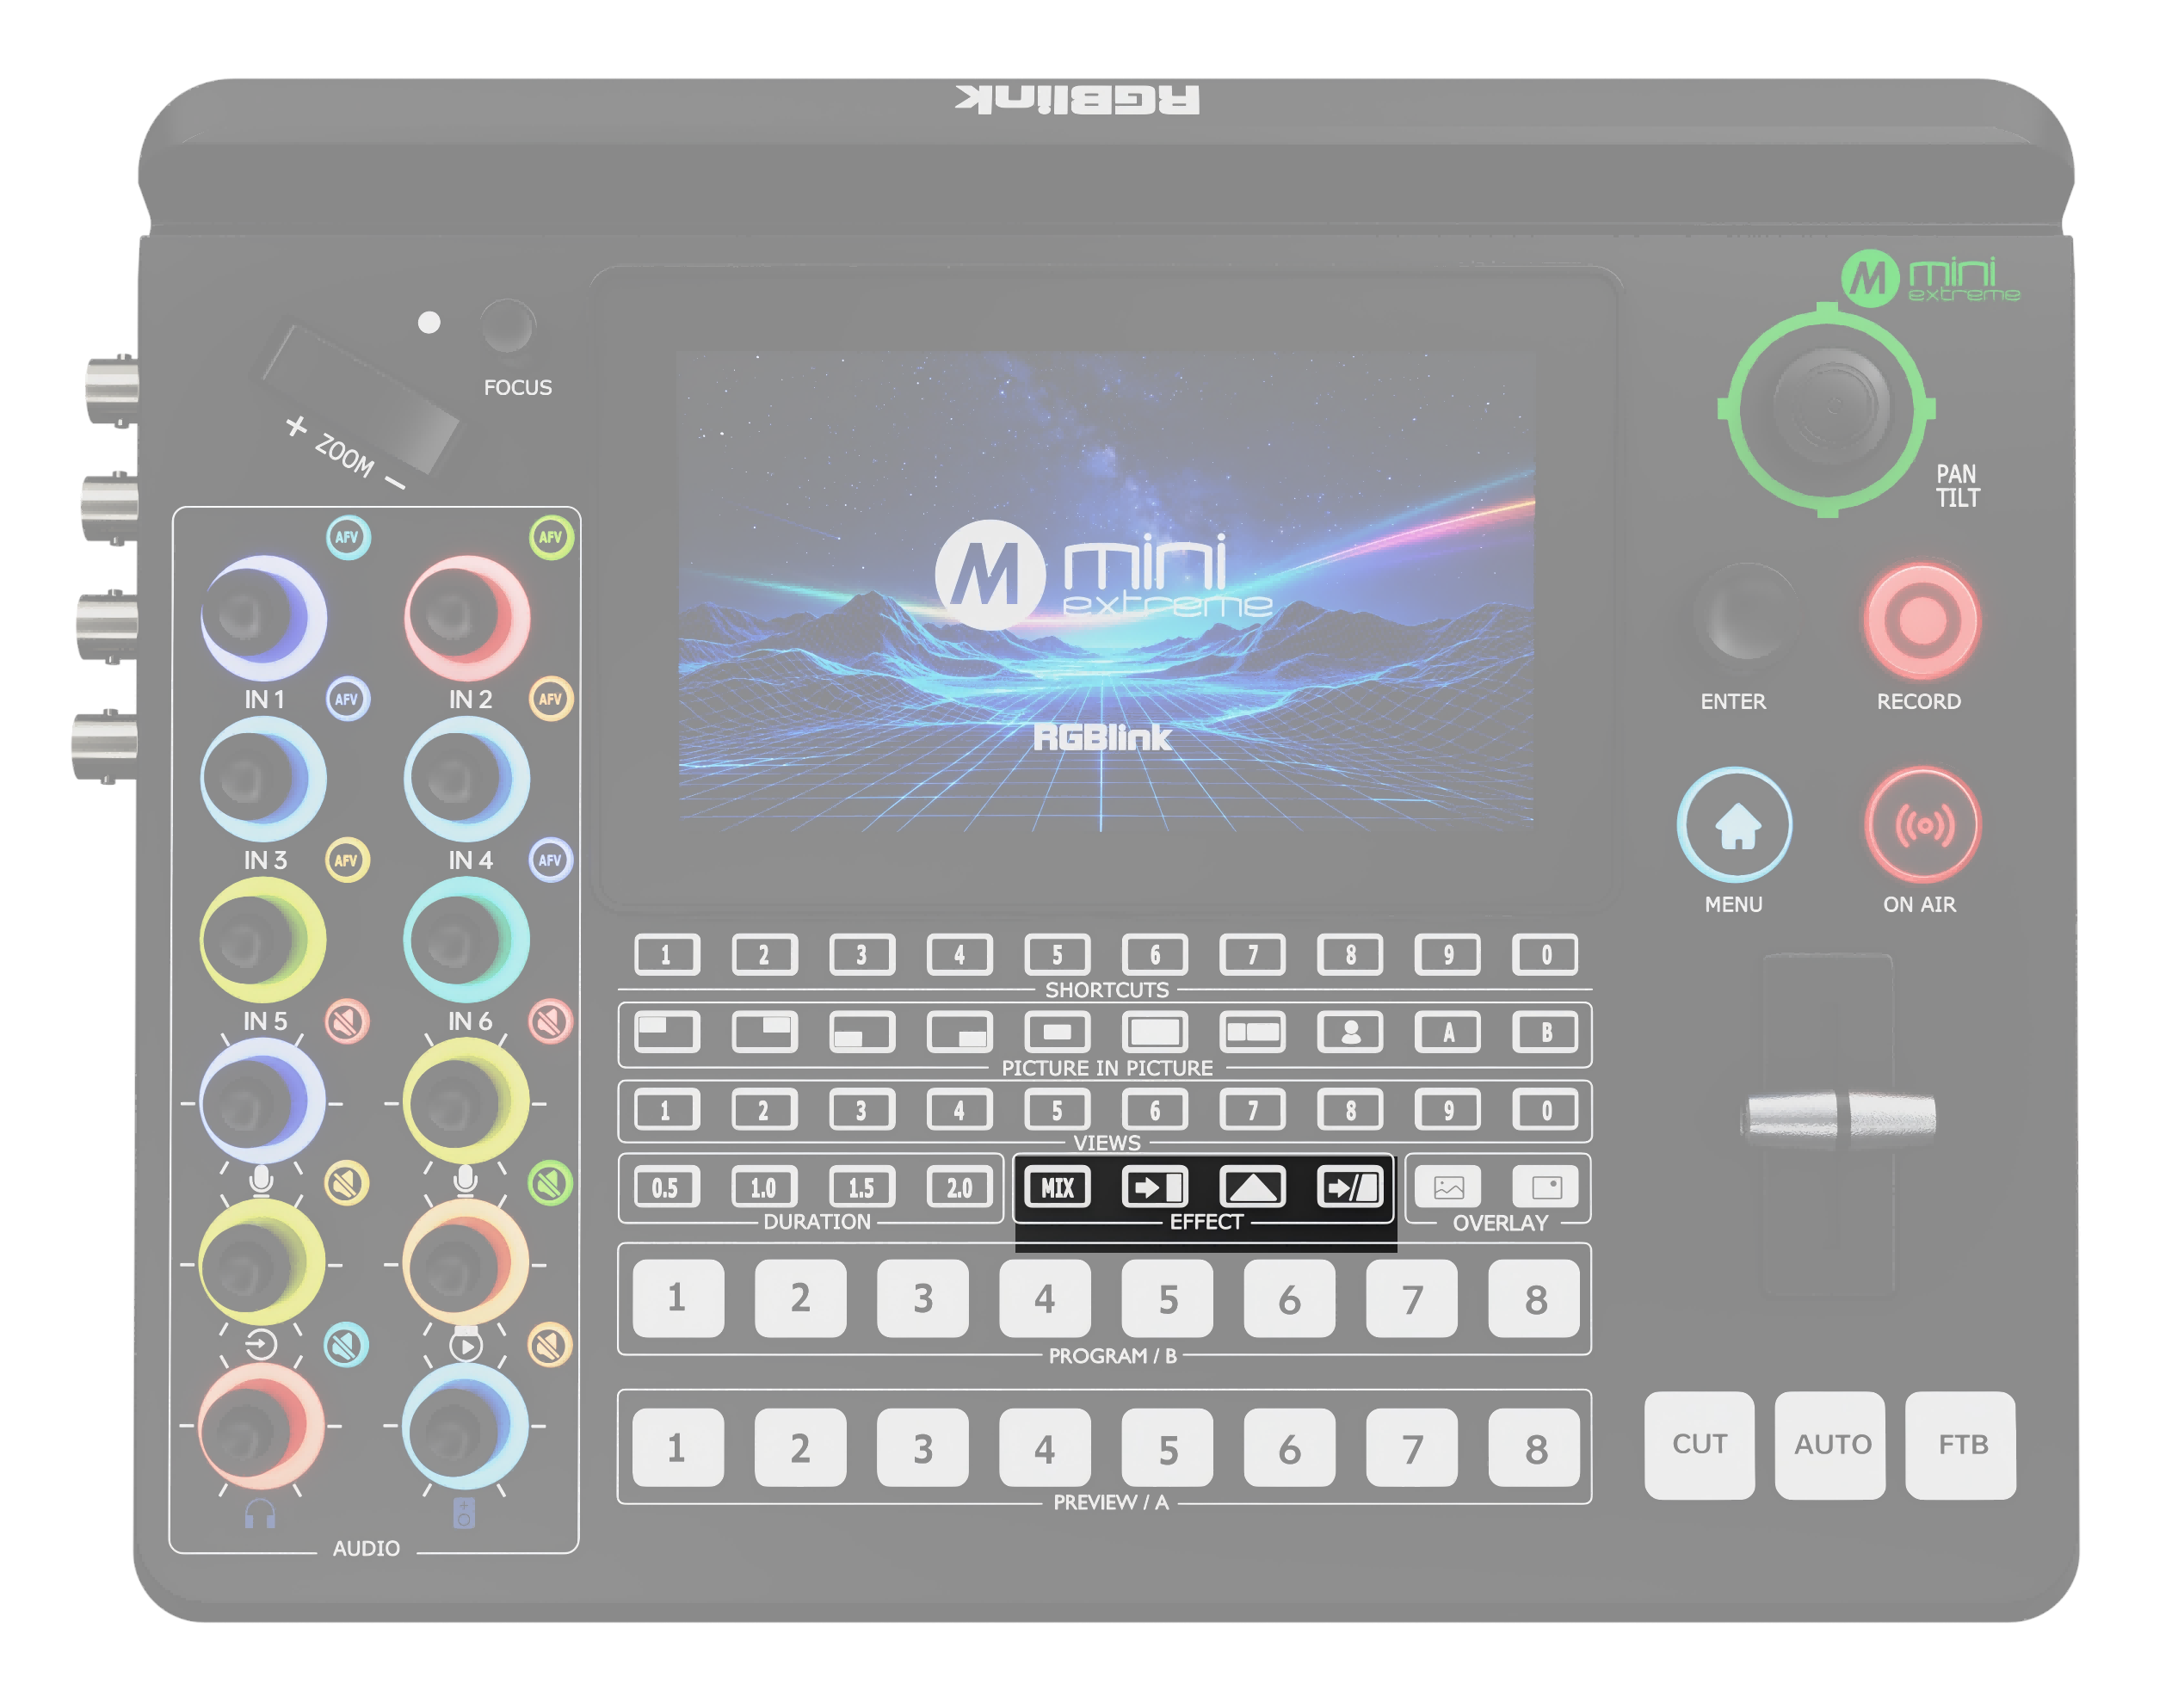 | EFFECT Transition Effect Buttons ○ Default: MIX (fade) ○ For more effects, go to MENU > EFFECT. ○ Selected: Solid white |
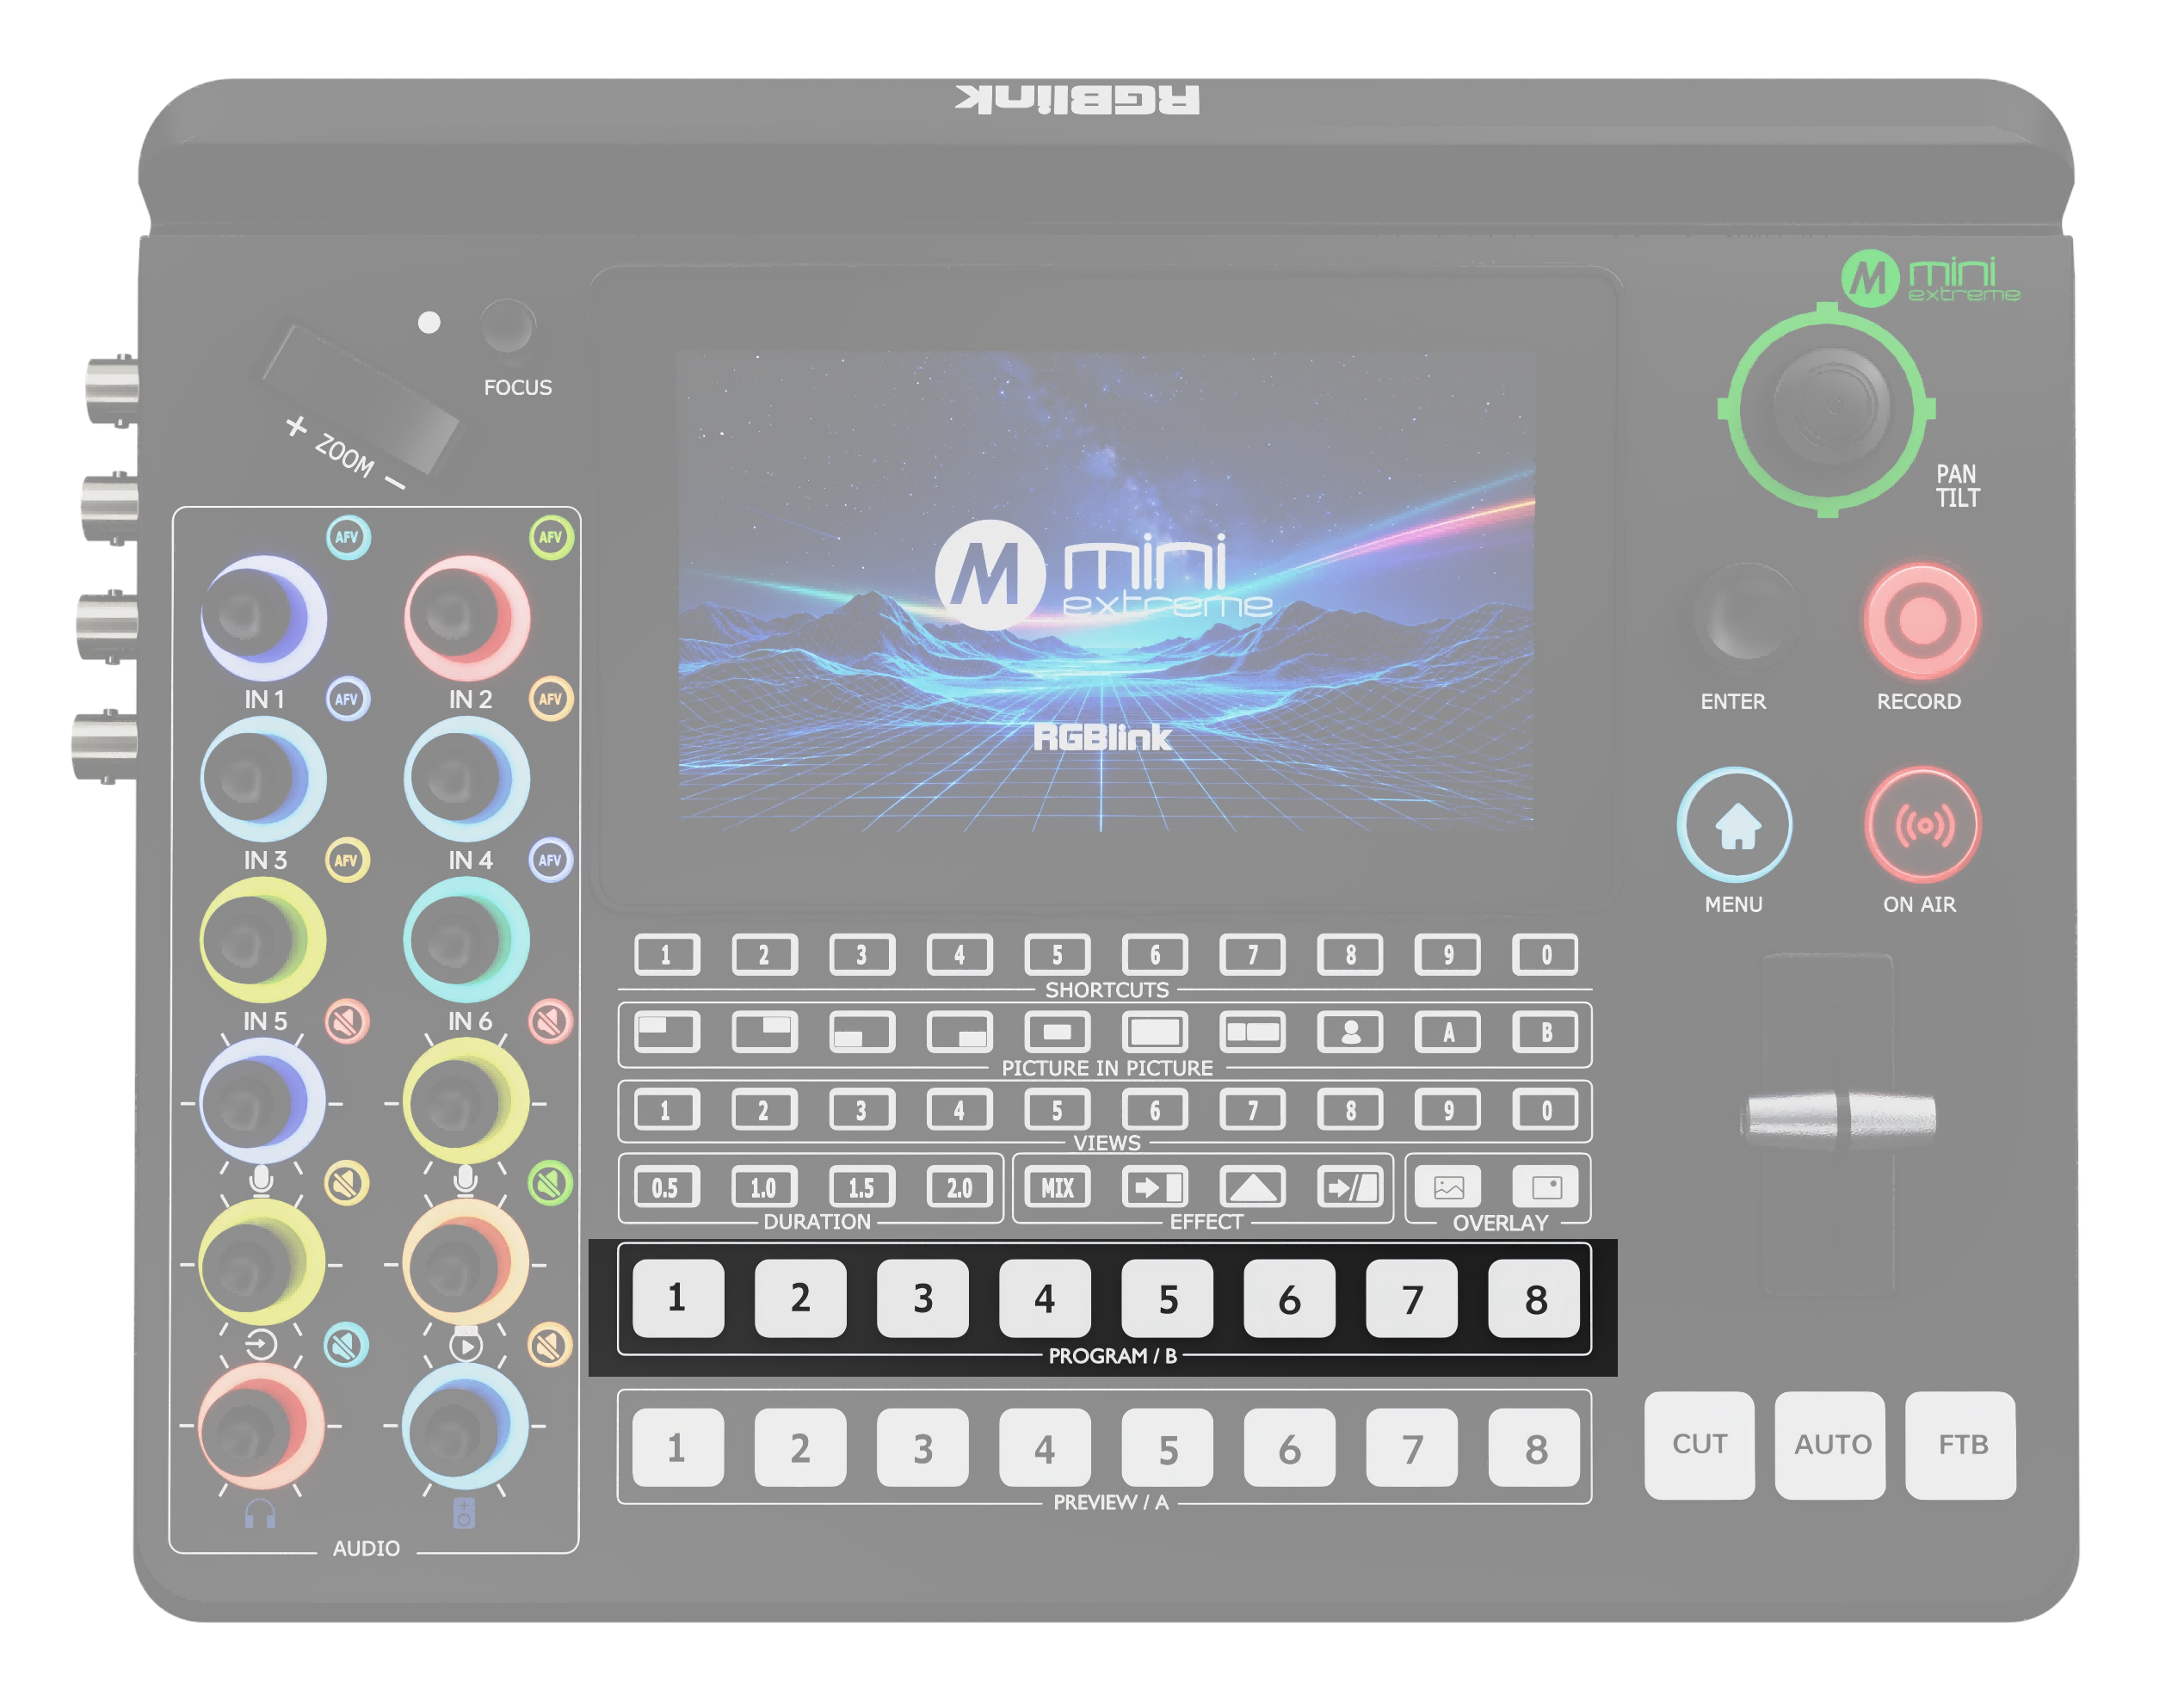 | PROGRAM Program Output Selection Buttons Button Assignment ○ 1–4: HDMI 1–4 ○ 5: SDI 1 / SDI 2 ○ 6: SDI 3 / SDI 4 ○ 7–8: UVC / NDI Operation ○ Press to switch the PROGRAM output to the selected input. |
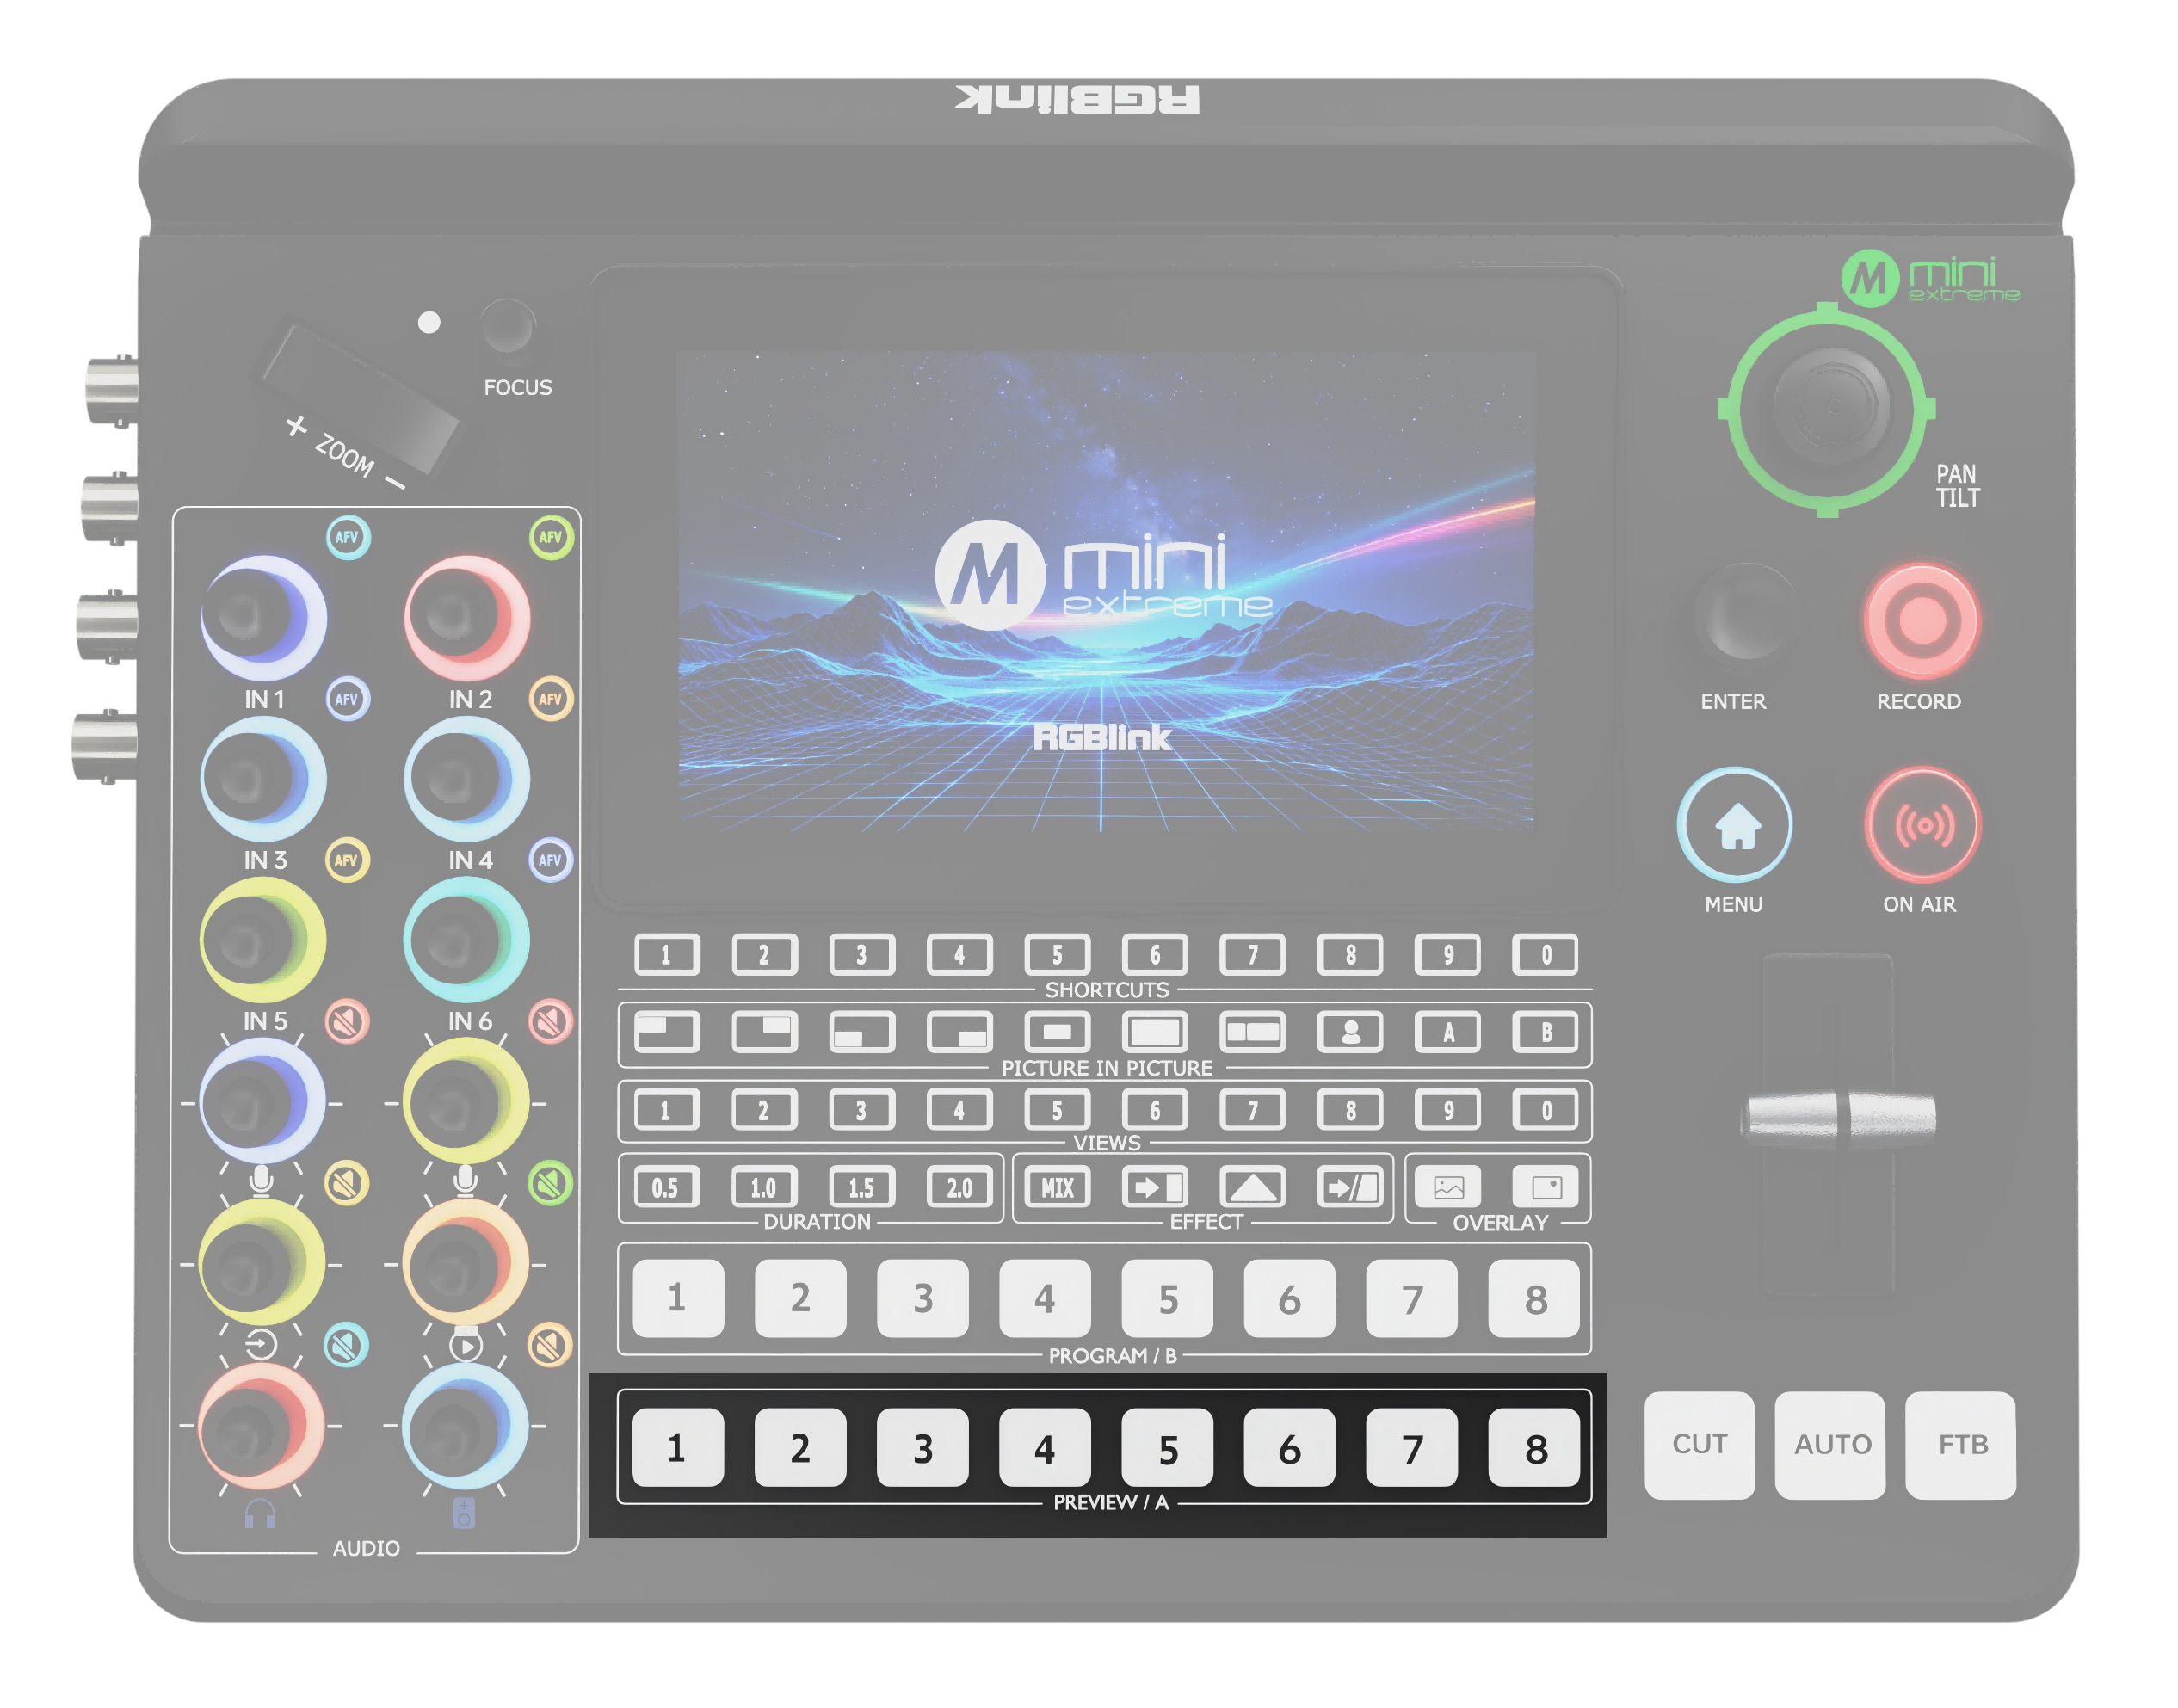 | PREVIEW Preview Output Selection Buttons Button Assignment ○ Assign signals via MENU > Input. ○ 1–6: HDMI 1–4 / SDI 1–4 (IN1–IN6) ○ 7–8: IN7–IN8 Operation ○ Press to switch the PREVIEW output to the selected input. |
Transition
| Area | Description |
|---|---|
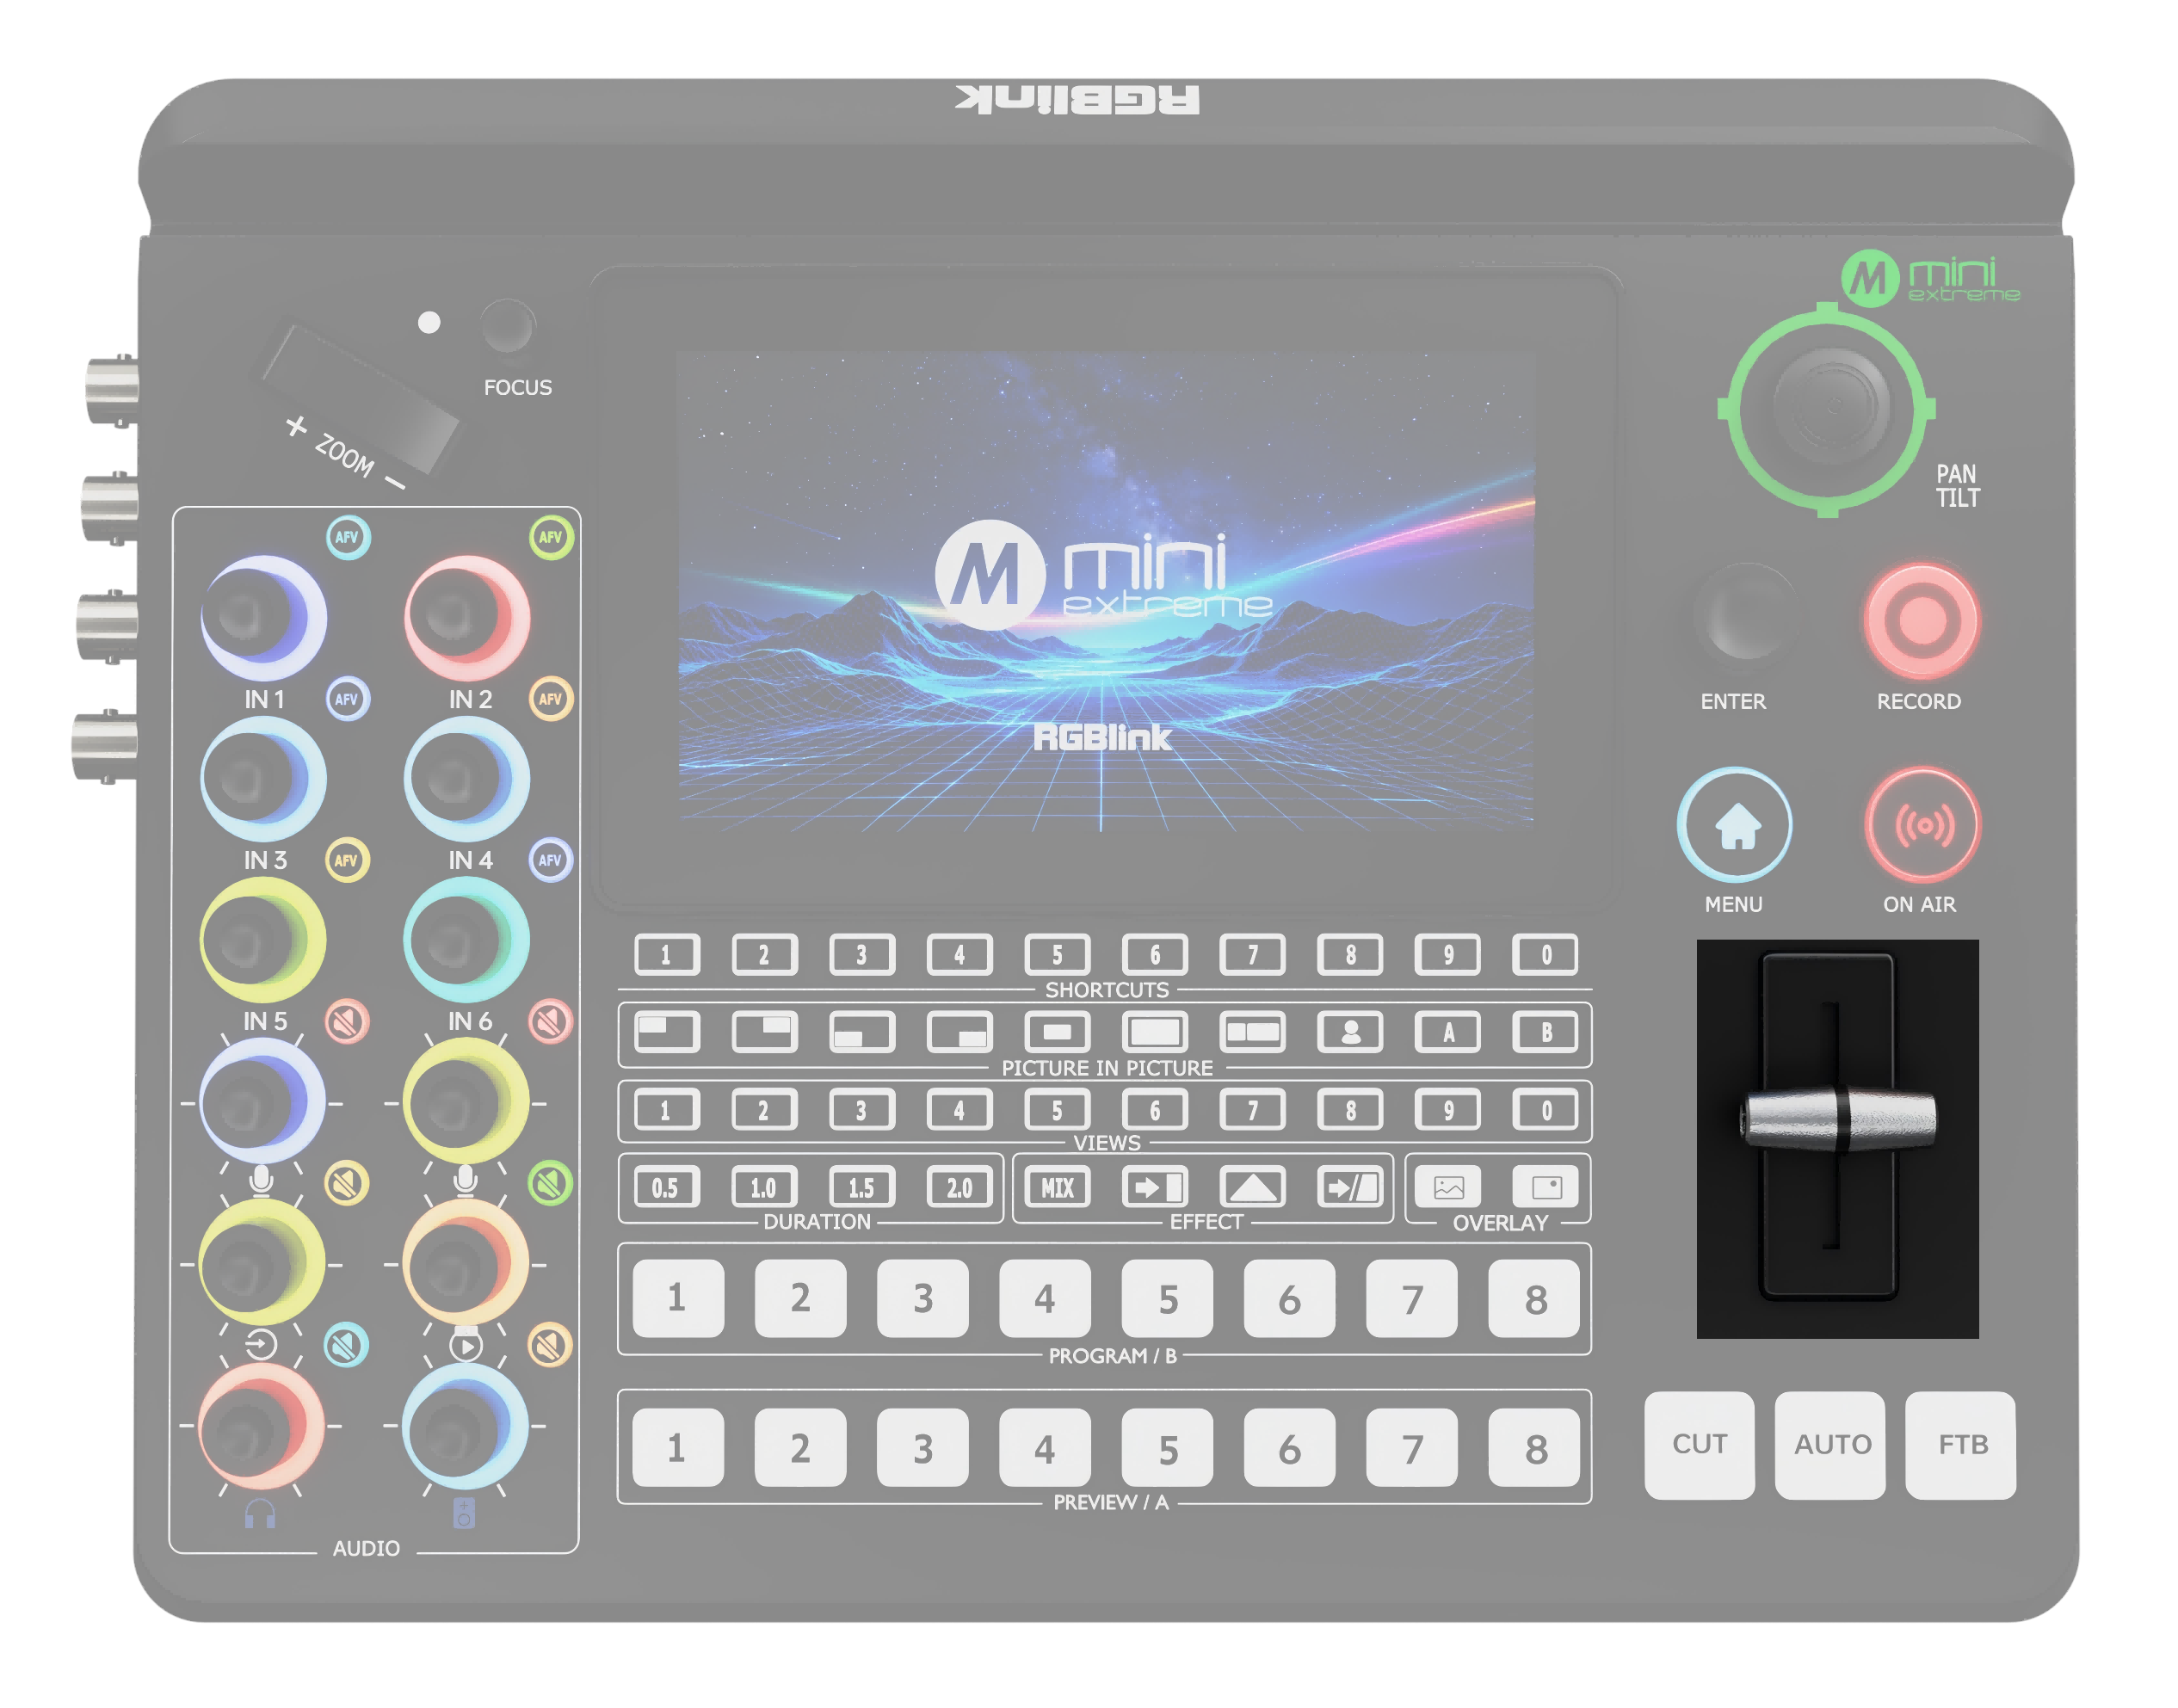 | T-Bar Manually transitions from Preview to Program using the selected transition effect. |
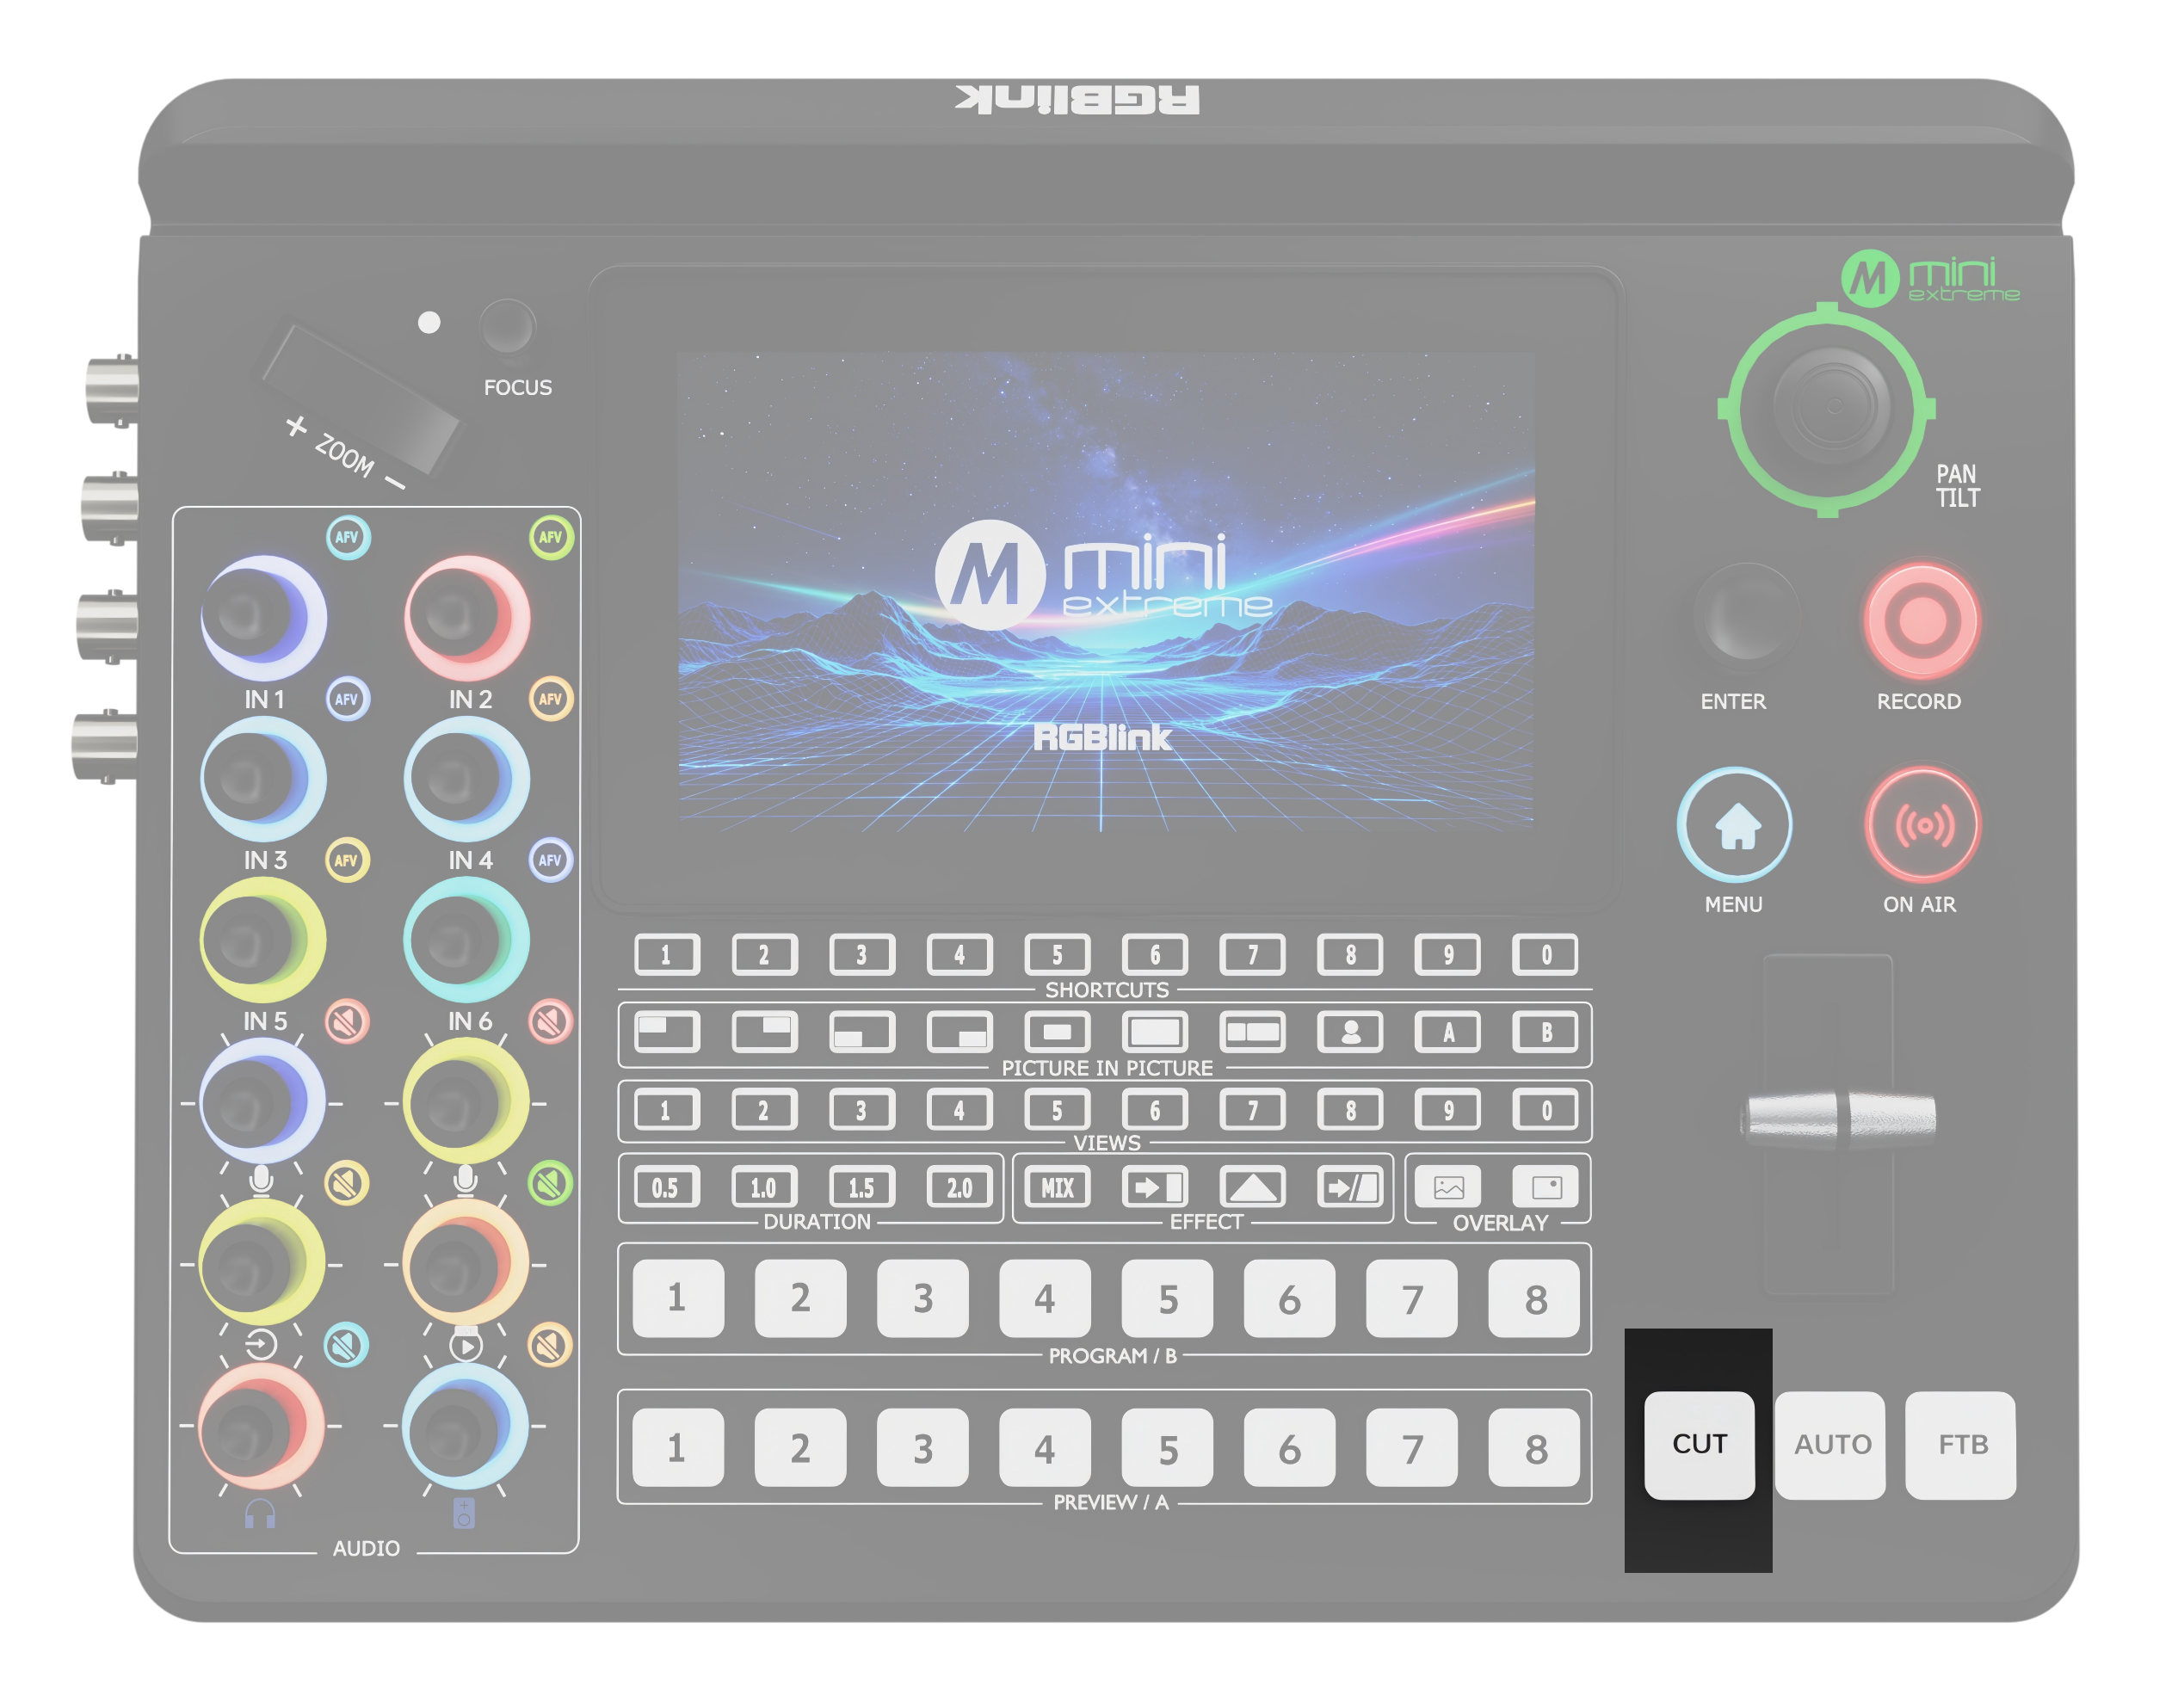 | CUT Press to switch between Preview and Program without a transition effect. |
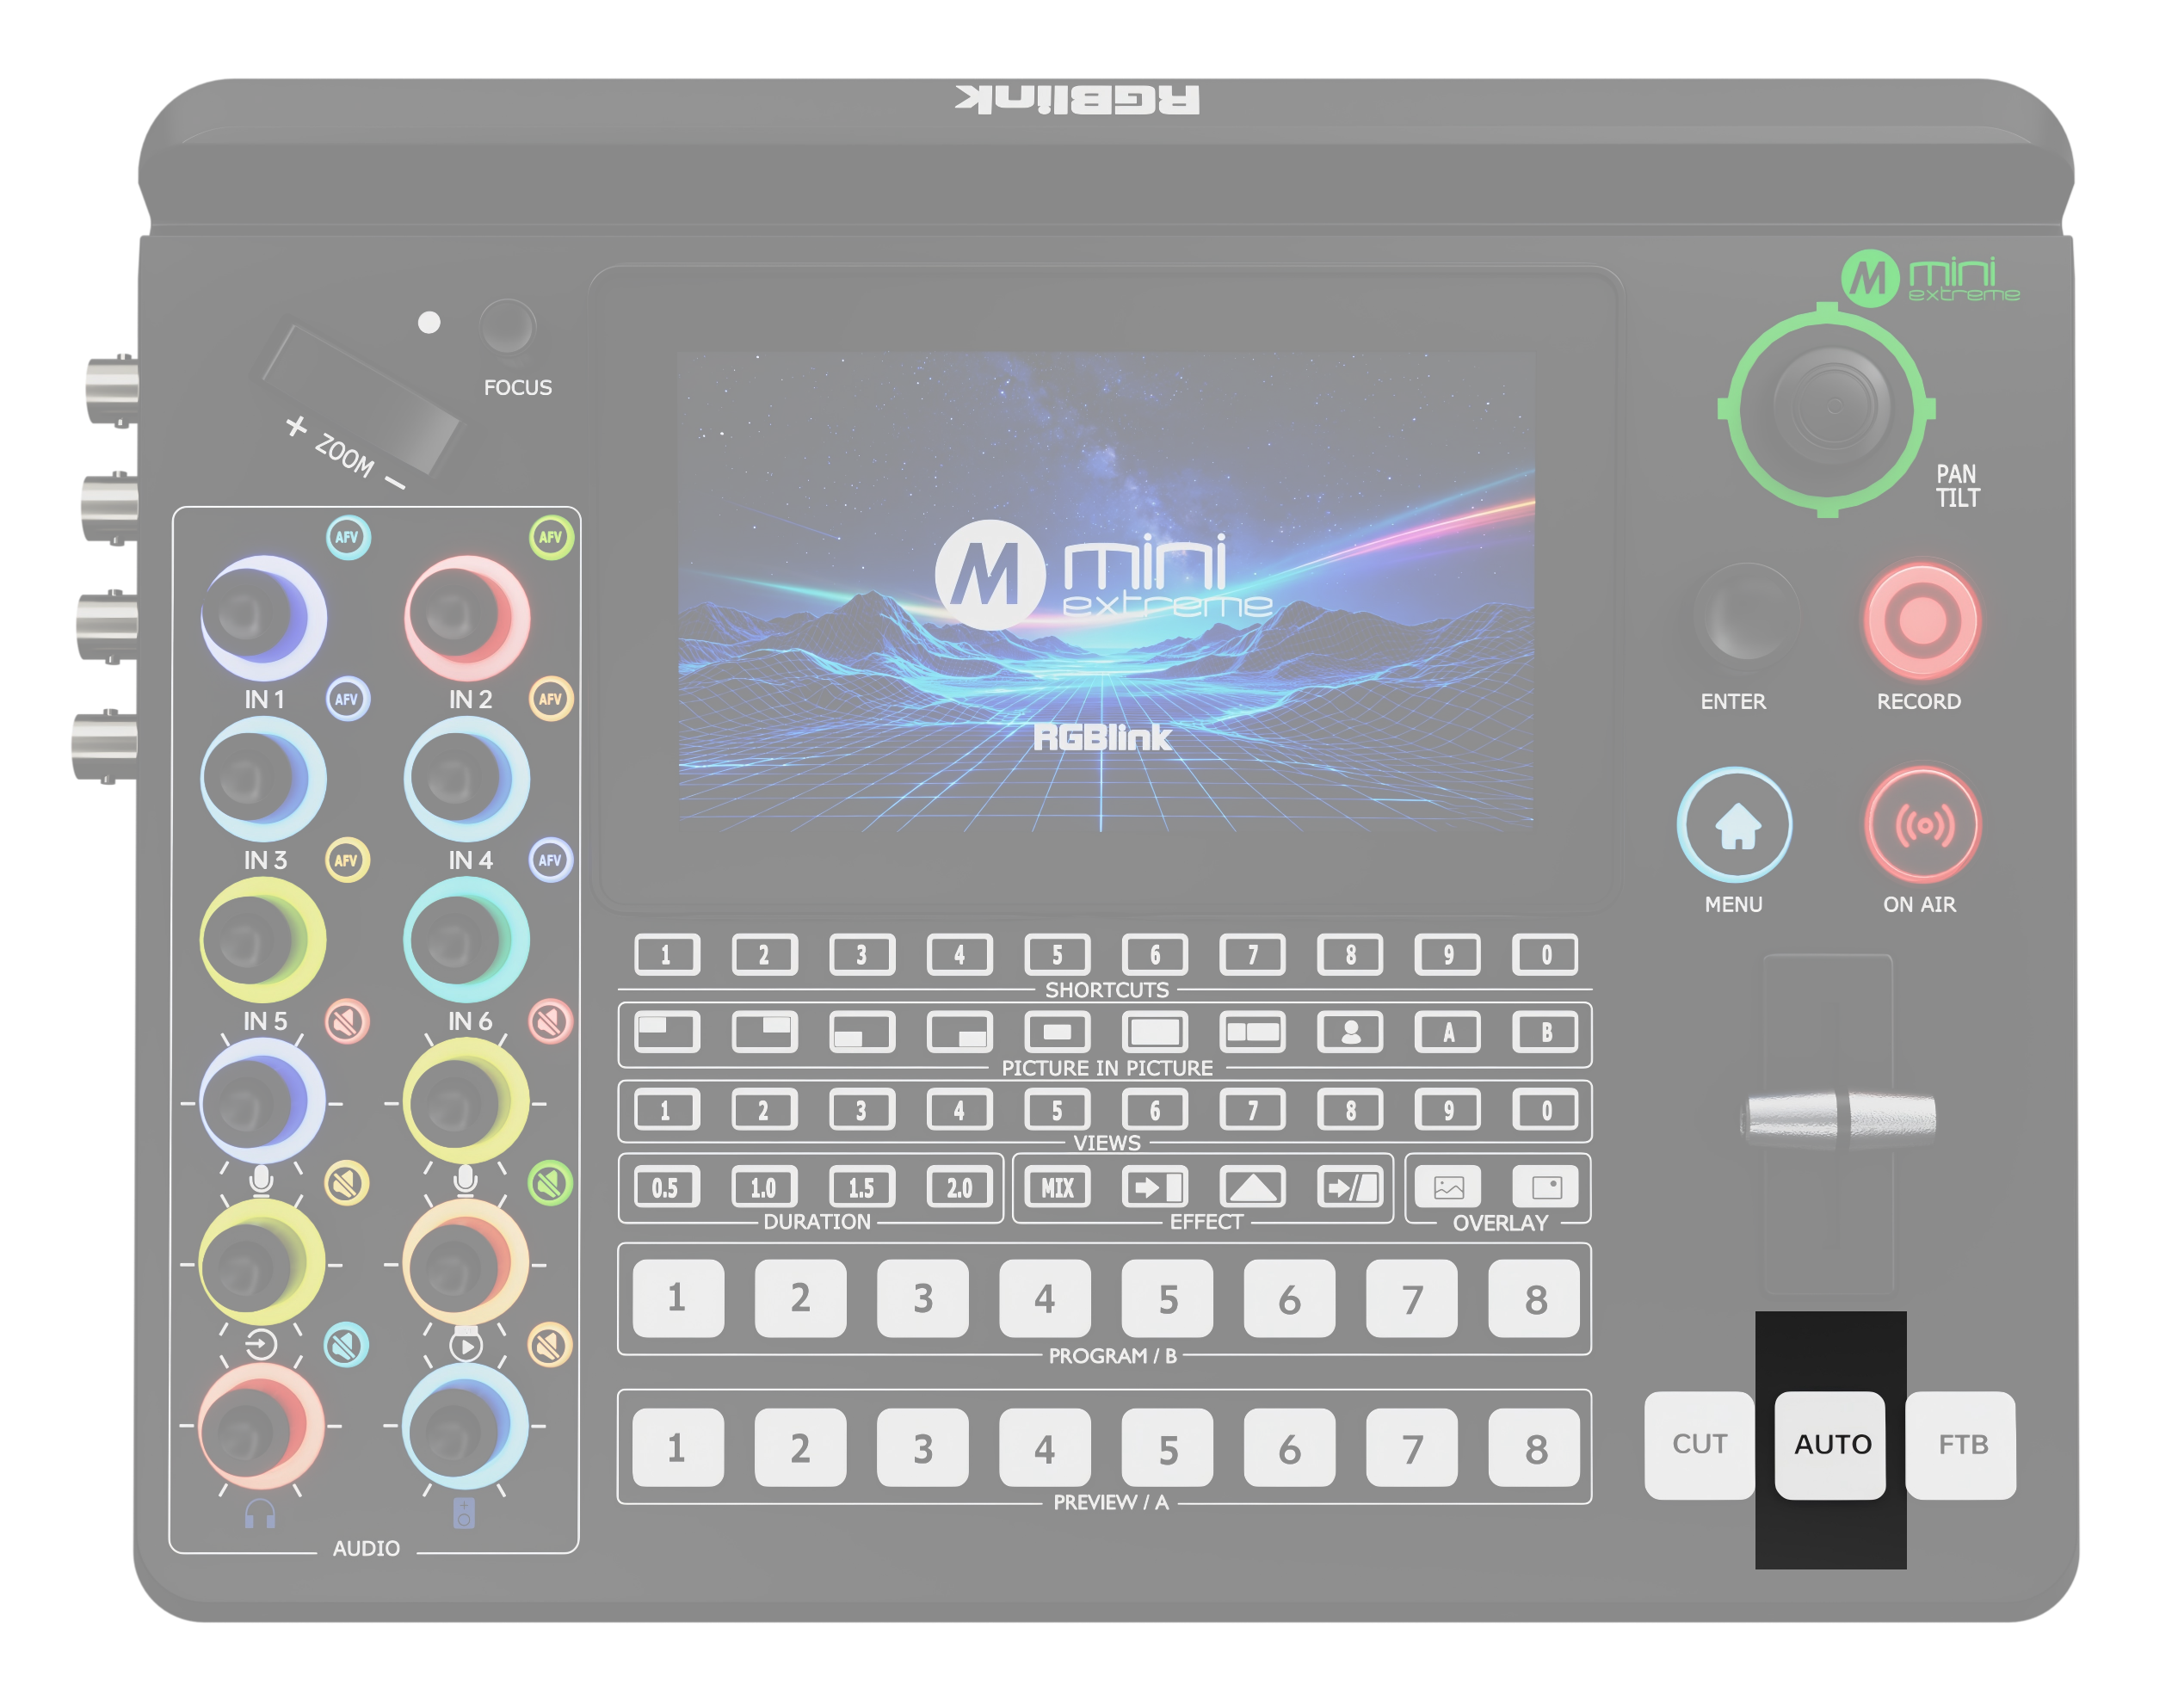 | AUTO ○ Press to execute the selected transition effect at the selected duration. ○ Flashing red: Transition in progress. ○ Off: Transition complete. |
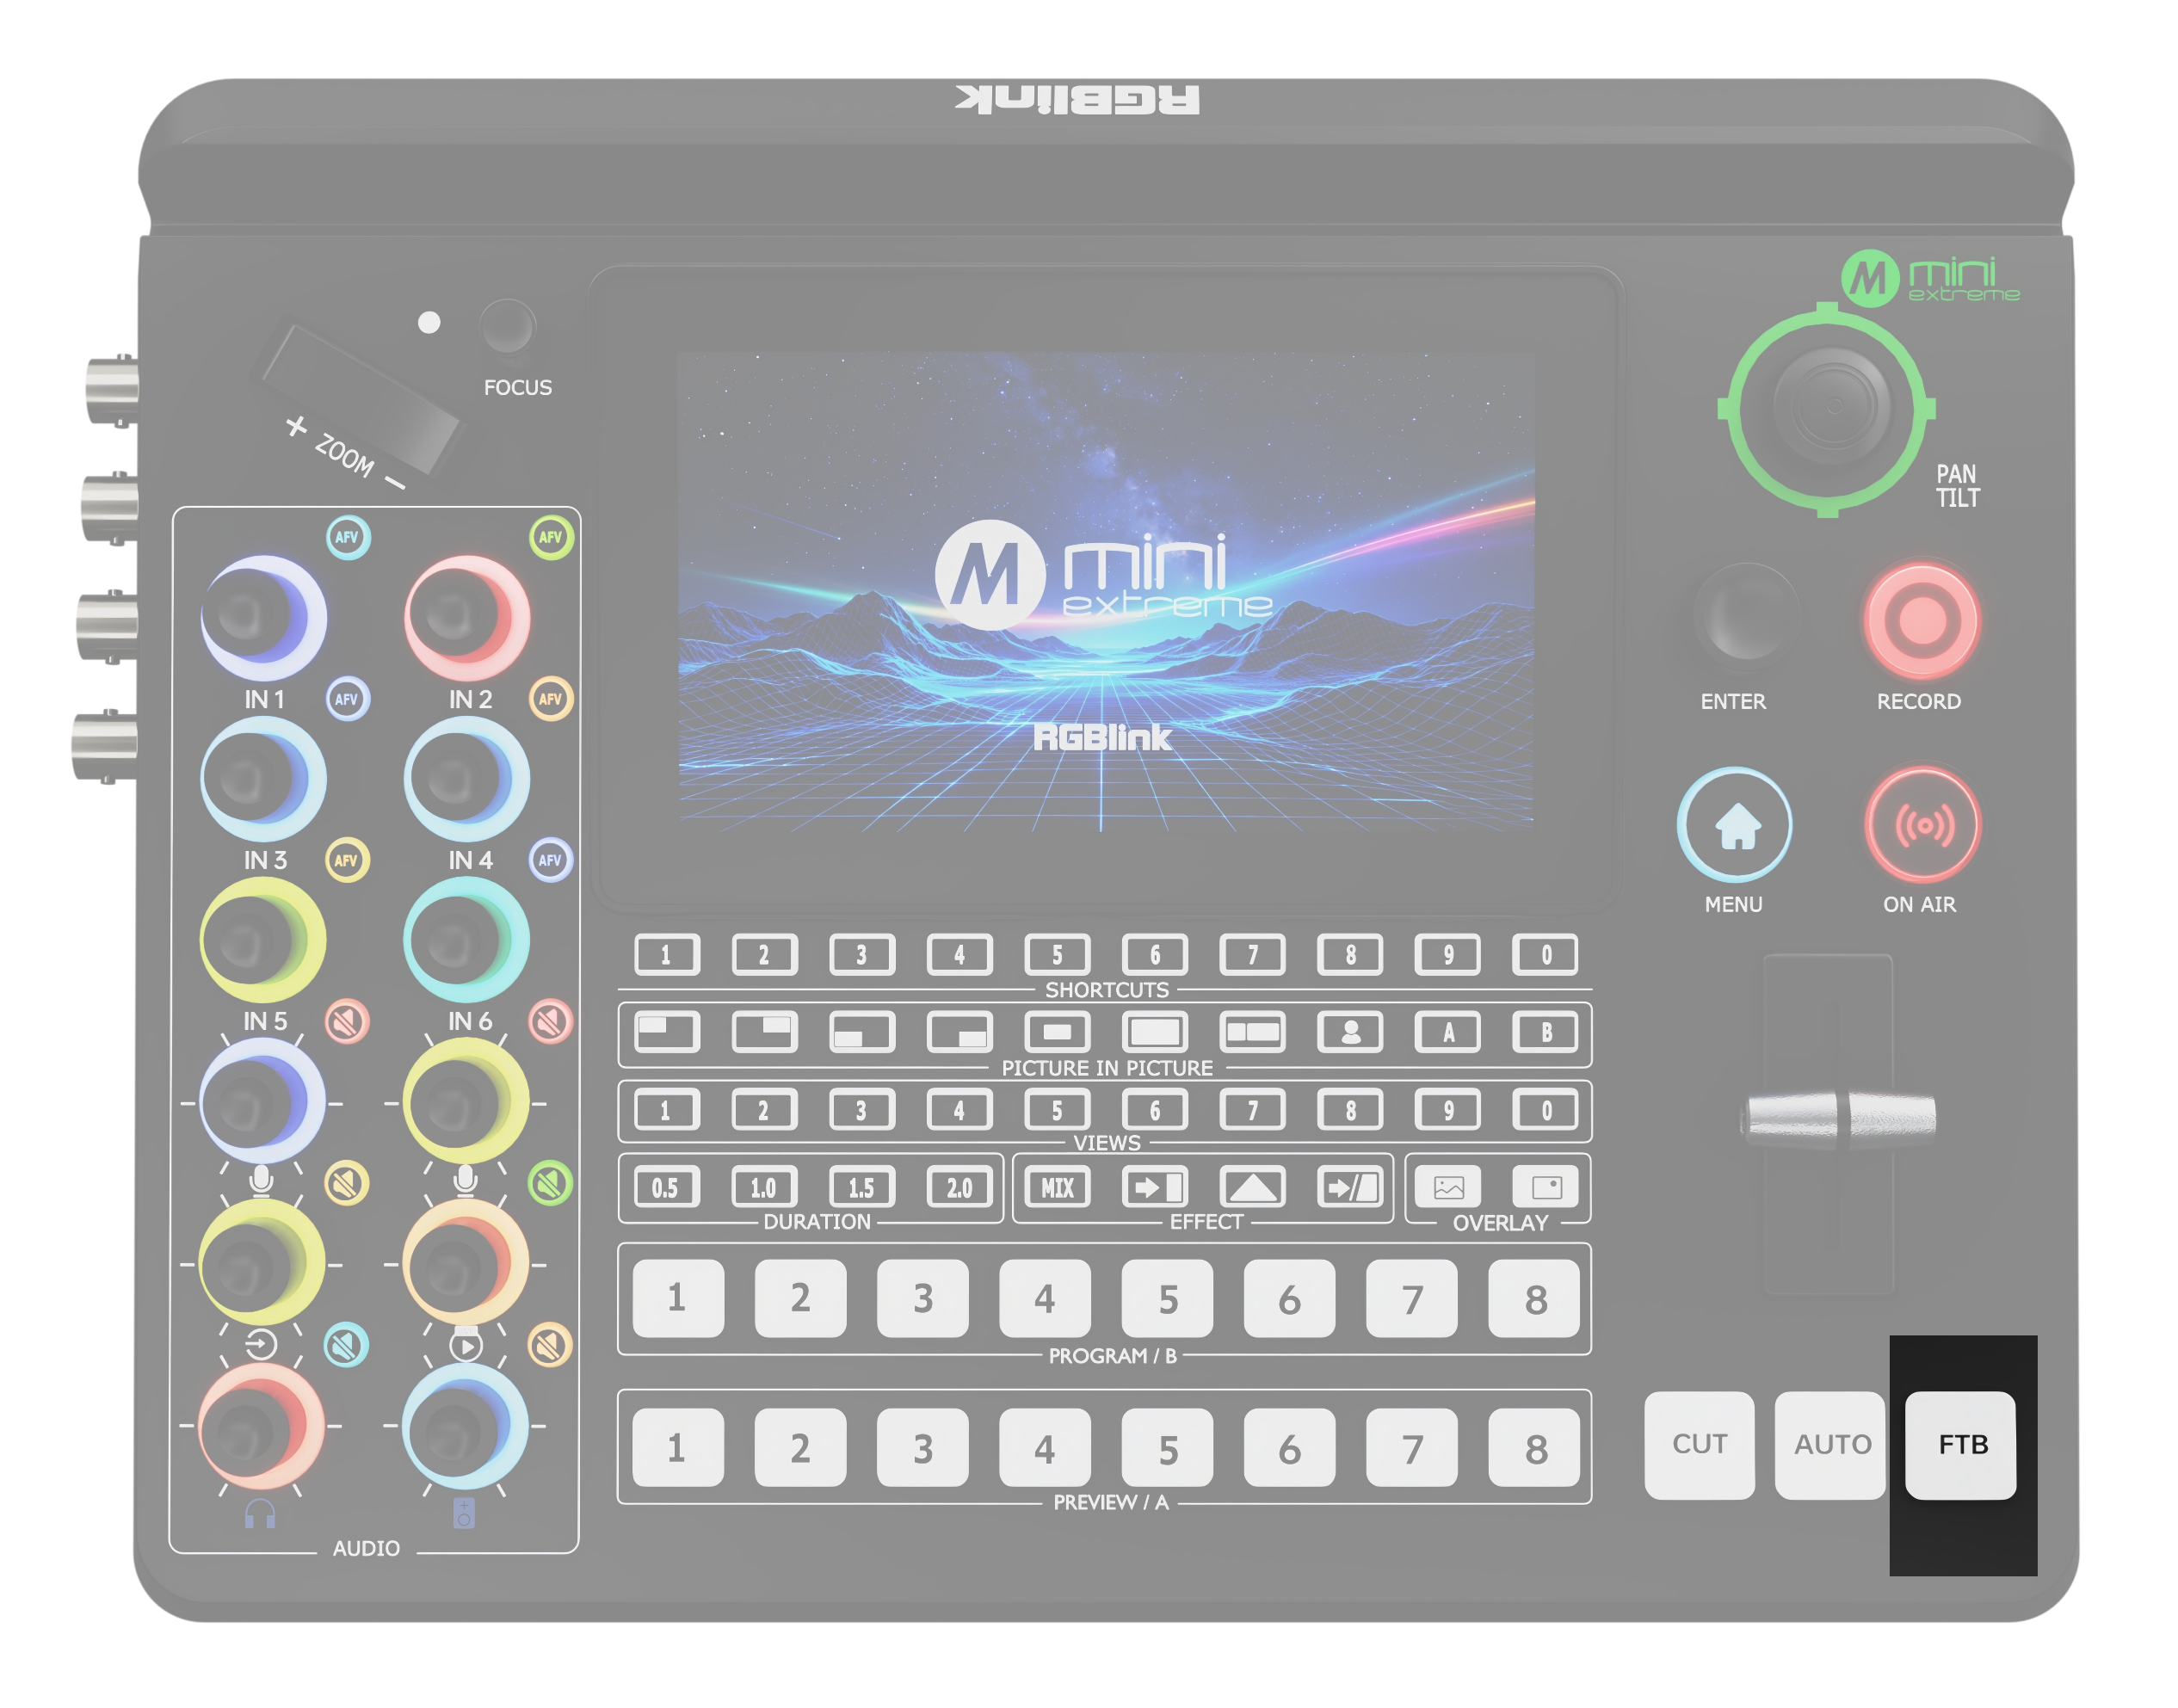 | FTB (Fade to Black) Press to toggle the Program output: ○ Off: Displays the actual Program output. ○ Solid red: Fades the Program output to black. |